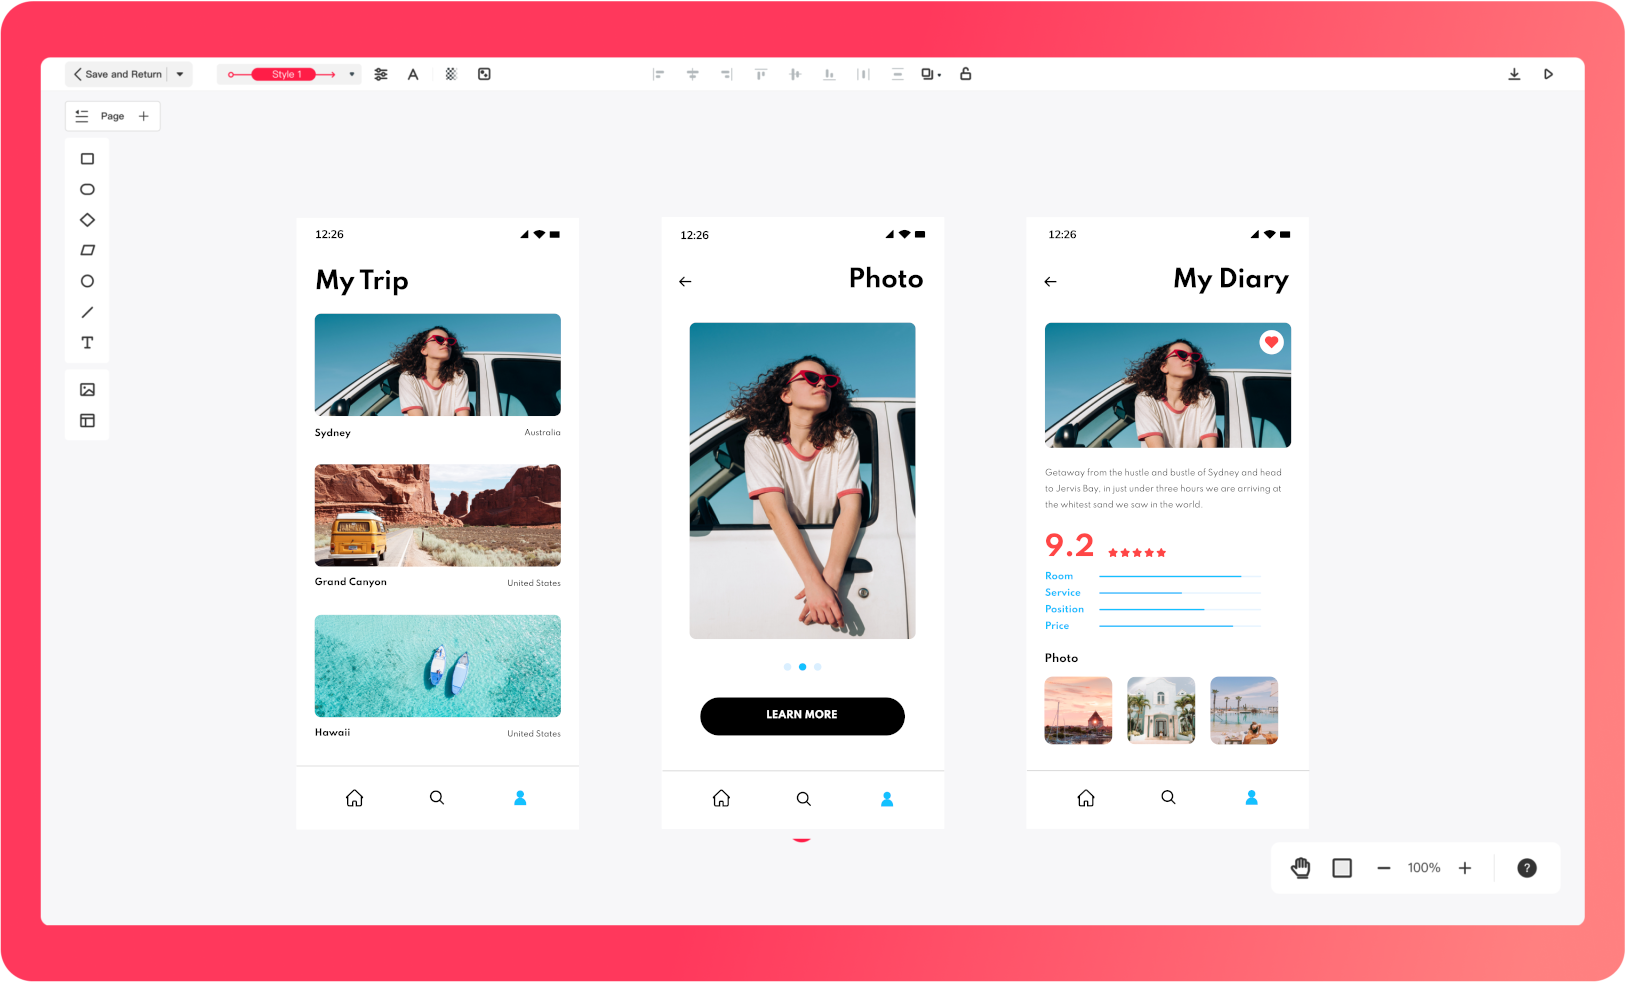
Highlighted features of
Mockitt flowchart maker.
Mockitt creates professional diagrams in minutes,
thanks to its real-time collaborative editing, built-in templates, and easy operations.
thanks to its real-time collaborative editing, built-in templates, and easy operations.

No boundaries, no limits
Flexible Operation
· Create visual user flows with prototypes.
· Spark your diagram with graphics.
· Work seamlessly across devices yet free of charge.
· Spark your diagram with graphics.
· Work seamlessly across devices yet free of charge.
Clarify ideas, align teams
Smooth, Intelligent Diagramming
· Kickstart with pre-set themes and templates.
· Streamline workflow in three steps.
· Unleash your ideas on the infinite canvas.
· Streamline workflow in three steps.
· Unleash your ideas on the infinite canvas.
Instant sharing, working together
Collaborate with Everyone
· Share your flowchart, and all team members can weigh in.
· View version history at any time.
· Integrate with other Mockitt tools.
· View version history at any time.
· Integrate with other Mockitt tools.

More great features of Mockitt flowchart generator.
Template
Library

Diagramming
Arrows

Dozens
of Shapes

One-click
Sharing

Rapid
Positioning

Infinite
Canvas

Jumpstart your flowchart with templates.
Create better flowcharts from professional templates in minutes, not from scratch.
Make flowcharts within 5 steps.
-
Step 1. Create a flowchart.After you log in to the Mockitt app, click the +Create button and choose the Flowchart option.
-
Step 2. Start drawing the flowchart.Drag the shapes into the canvas. And then drag the red arrow to anywhere you like, no matter a straight line or a polyline.
-
Step 3. Change the properties of the flowchart.Change anything you like: the color, the theme, the style of the shapes, and the settings for the text of the flowchart.
-
Step 4. Invite team members to co-edit.Click the Member button on the top right corner to invite your team members to co-edit the flowchart. (*For Team Plan only)
-
Step 5. Preview, download, and share the flowchart.You can preview your flowchart online, export it as a PNG or PDF file or share it rapidly with a link.
FAQ about flowcharts.
-
What is a Flowchart?
The flowchart is a diagram that illustrates an algorithm, workflow, or step-by-step approach to solving a complex task. For various purposes, flowchart often comes with different levels of complexity. However, Mockitt ensures everyone can have a kickstart. -
What are the most common types of Flowcharts?
There are four most common flowcharts for describing a business process: the process flowchart, the workflow flowchart, the Swimlane diagrams, and the data flowchart. -
What are the Basic Symbols of a Flowchart?
There are five primary symbols of a flowchart: Arrow, Start/End, Input/Output, Process, and Decision. -
How to create a flowchart in Google Docs?
Creating a flowchart in Google Docs is not tricky. You just have to do the following;
Step 1: Open Google Docs. Click File and select Page Setup from the drop-down. Then, select Orientation to be landscape.
Step 2: Click Insert from the top left side and select Drawing > New.
Step 3: A blank canvas should appear in front of your screen. Before adding anything, you should take a quick look around the tool.
Step 4: Click the Shapes tool to select a preferred shape used in the flowchart. Then, click Line to add Arrows, Elbow Connector, Polyline, etc.
Step 5: Click the Text tool to add needed texts in the relevant areas.
Step 6: Click Save and Close from the top left side to finish the operation. -
How do I create a flowchart in Word?
The process to create a flowchart in Word is as follows:
Step 1: Open Microsoft Word. Go to the Layout tab and select Orientation > Landscape.
Step 2: Now, navigate to the Insert tab, select SmartArt Design> Process, and choose a preferred chart.
Step 3: Click the Text Pane from the top left corner and type your text.
Step 4: Click Add Shapes from the top left side to add more shapes.
Step 5: Format your flowchart and apply relevant settings to finish.
Explore More Features
Prototype
Drag and drop to create interactive
wireframes and prototypes.
wireframes and prototypes.
Mindmap
Build mind maps to explore and organize
your ideas graphically.
your ideas graphically.
Diagramming
for any project.
If you need the Mockitt desktop version,
please download Mockitt here!
please download Mockitt here!


