How to Create Carousel in React

Carousels are a great way to make your website or online stores look more professional. They are being used in different areas of the virtual world like ads, and homepages. However, many resources are available to create carousels but React is considered one of the best. It could help you create well-optimized carousels without investing a lot of money and time. So if you want to learn to create react carousels, then here we have given a step-by-step comprehensive guide that will clear all of your doubts from beginning to the end.
- Part 1. The Best Tool to Create Carousel in React
- Part 2. How to Create Carousel in React
- Part 3. Tips for the React-Native Snap Carousel
The Best Tool to Create Carousel in React
React is an extensive JavaScript library that helps users build interactive UIs very conveniently. Now as technology is evolving, new tools are coming that make the process even simpler. The best example of that is Wondershare Mockitt. It is an online prototyping platform that allows you to make, test, and organize prototypes very easily.

With the full suite of beautifully designed resources, this tool eliminates the need for hiring a professional and helps you design everything yourself. Being a cloud-based prototyping solution, Mockitt saves all of your progress automatically and enables you to share your creation in a single click.
It supports interactive teamwork, which means you and your team can communicate and share feedback in real-time without the need of installing third-party software. Mockitt also has a carousel feature that helps you turn carousel prototype into react and make it to CSS code.
How to Create Carousel in React
Step 1. Sign Up
First, you need to visit the official Wondershare Mockitt website and create a free account.
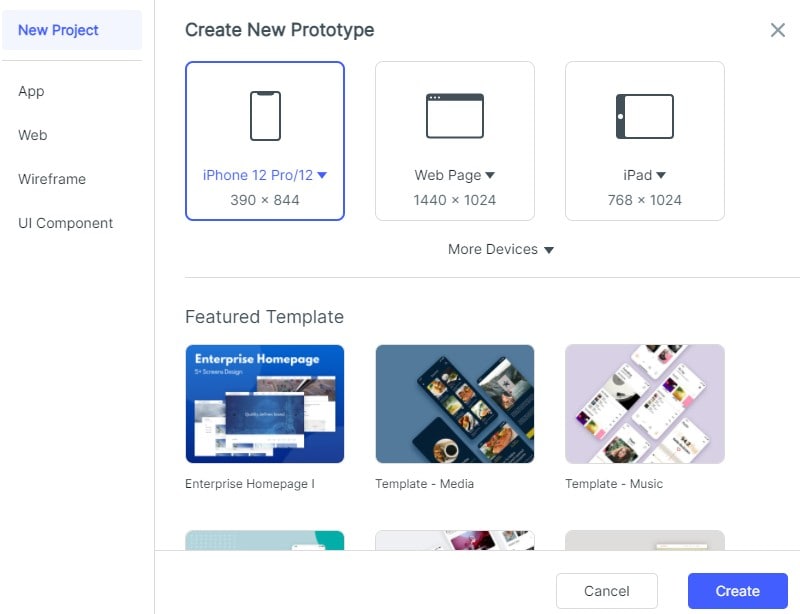
Step 2. Create a Project and Select the Size
Once you have created your account, you will be redirected to the dashboard where you will see "Create" > "Project".

Now you have to name your project and select the device you want to create the carousel for. You could select as per your needs.
Step 3. Add a Carousel and Upload Images
A new art-board-like window will appear where you will see various options. Click on the built-in button (cubical icon) and a pop up will appear. Hover down the pop-up windows and you will see a "Carousel" option. Double click on that and it will add a carousel widget on that art-board.
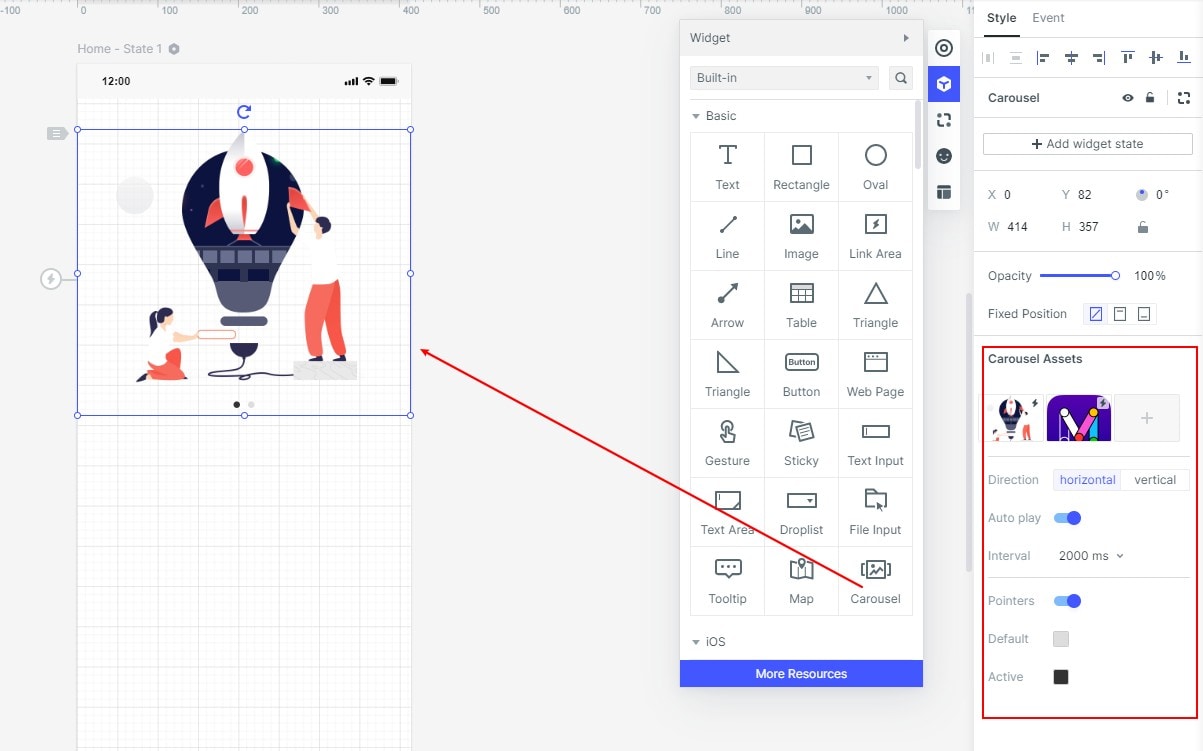
Now decide the size of the carousel by expanding and collapsing it. After that, you will need to upload your preferred pictures. Tap on the carousel widget on the art-board and the upload option will appear on the right-hand side.
Now upload as many images as you want to have in your carousel. To upload more images, just press the plus (+) icon under the "carousel assets section". You could also add text by click on the "Text Input widget". Set the opacity as per your needs and decide the fonts that match your objectives.
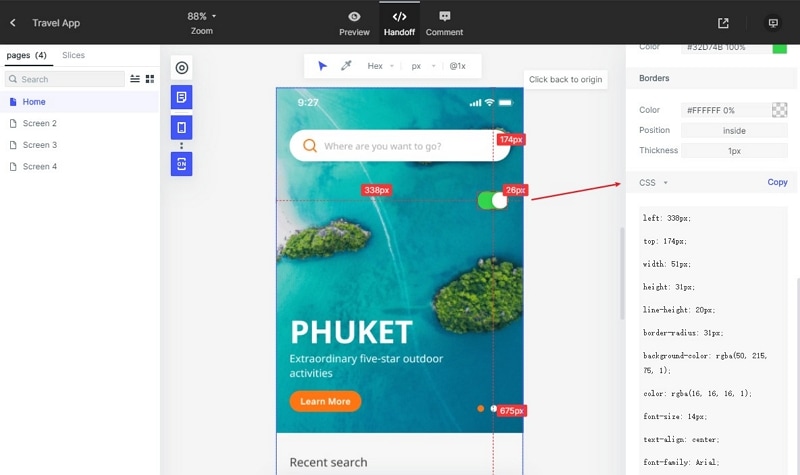
Step 4. Turn Carousel into React
Your carousel is almost done. To use it as the React carousel component, you will need the CSS code. Simply click on the "Preview" button and select the "Handoff" option.
Once you click "Handoff", you will get a CSS code on the right side. Copy this and take it to the React panel, so you could use it as a React image carousel. Now make the necessary changes in React. You could use your custom code to make it a pure react carousel.
Tips for the React-Native Snap Carousel
React Native is an open-source cross-application development environment that web developers and designers utilize to build Native mobile applications. It helps you leverage complicated UI items to create cross-platform apps.
Due to the optimal performance and code reusability, react native snap carousels are also getting good traction. The work structure of this framework is similar to React and if you have some experience with Swift or Java code, then you will understand it easily.
React Native utilizes a JavaScript library to build a UI. This simply means that this platform gives you a presentation of your application on the basis of the code you have written. After discussing the fundamental workflow, here are some tips that will help you create a react native carousel, react responsive carousel, or any other React project more efficiently.
1 - Never Forget to Optimize Images
Whether you are designing a mobile application or working on a react bootstrap carousel, images play a very crucial role. You could easily implement images by utilizing the static resource. The main thing you should do is to optimize Native images at the server level. No need to process the images from the client's end as it could degrade the performance. It is best to opt for CDN options to host images. This won't only enable you to make API calls easier but also save time while uploading the images.
2 - Utilize shouldComponentUpdate
The shouldComponentUpdate is very useful when you are working in React. This method helps you eliminate the unwanted re-retendering of different components. For example- if you want to start with carousel react, then only the components that return true will render and all the false ones will not consume time.
3 - Learn Native Code
React Native allows you to develop apps for multiple platforms in a short period. However, the extensive library helps you find components easily but there are some scenarios where a developer needs to implement a functionality that's not present in the library. In these cases, you will need to have expertise in core native languages like Java, Swift, etc. That's why it is best to learn the native code to use React Native to its maximum potential.
4 - Reduce IOS and Android App Size
The majority of the developers utilize core library and external components for their projects, which increase the application size. This impacts the loading time and performance of the application. That's why it is important to follow specific guidelines to reduce the application size. While creating Android apps, you could reduce the graphics size and enable Proguard. On IOS, this is a bit complicated but there are some workarounds that you could do to optimize the size.
