How to Create iOS UI Design with Sketch

The design of an Iphone should be appealing to the eyes. This is the only way that it can be downloaded often. There are various tool you can use as you create iOS UI design. Sketch is one of the top tools that can help you create a perfect design. You get free Sketch iOS kit that you can use for the designing and complete the job within a few minutes. Since sketch is a simple tool to use, you can do the designing even if you are a beginner. Here are steps on how Create iOS UI Design with sketch and Wondershare Mockitt which is the best alternative.

- Part 1: How to Create iOS UI Design with Sketch
- Part 2: How to Create iOS UI Design in Sketch Alternative
How to Create iOS UI Design with Sketch
The first thing you will need to do before you begin sketch app iOS is to install sketch so that you can begin creating the iOS UI Design. Here are steps to follow.
Step 1: Go to templates
- Go to the iOS UI Design template that contains navigation bar, tab bar, table view and many others; use the template as the springboard to create the design.
- Select file.
- Go to new iOS UI Design from the template.
Step 2: Go to artboards
You will need to use artboards if you are doing the creation of the sketch ios ui design with several screens. An artboard is a great option as it helps to organise layers inside the fixed frame. When you export the artboard, all layers get integrated into one layer.
- Hold space and then drag until you see clear area of canvas on your screen.
- Tap insert button and pick artboard from the list.
- In the right panel, select Iphone 6.
Step 3: Copy and paste
- Drag a few items from the template on your artboard. Begin with navigation bar, tab bar and then the table view cell. You can copy and paste or drag an item to place where you want it to be.
Step 4: Basic shapes
- Create a new artboard and then draw a square somewhere.
- To make shapes, click insert shape and you will find a menu with all available options. You can use the vector tool to create any shape you want. There is also the rotate copy feature that helps in creating several copies of your shape and fan them into a circle like flower petals. Sketch combines all rotated copies into one shape.
Step 5: styling shapes
- Style the shapes to make your iOS ui design sketch impressive to your clients. Make use of the inspector on the right side to alter the properties of a layer such as border radius, color and others.
Sketch allows you to create customised icons, combine shapes, create filled calendar icon, export images and others things as you create iOS UI Design.
Step 6: Preview the iOS UI Design
- Sketch allows you to preview your iOS ui sketch design and make the necessary changes.
How to Create iOS UI Design in Sketch Alternative
The best Sketch alternative that you can use to create iOS UI design is Wondershare Mockitt. This is a tool you can complete creating your iOS UI design within a few minutes, thus allowing you to save a lot of time. Since you do not need to write complex codes, it means a designer does not necessary need to have deep programming skills. Wondershare Mockitt has a lot of features that makes it the best among the many you will find online. The tool has a perfectly organized space that makes it easy not only to create designs, but also learn how to use it. It has easy to use drag and drop features and this is why no coding is needed as you do the designing job. Once you have completed creating your iOS UI design, you can easily share with your iOS device.
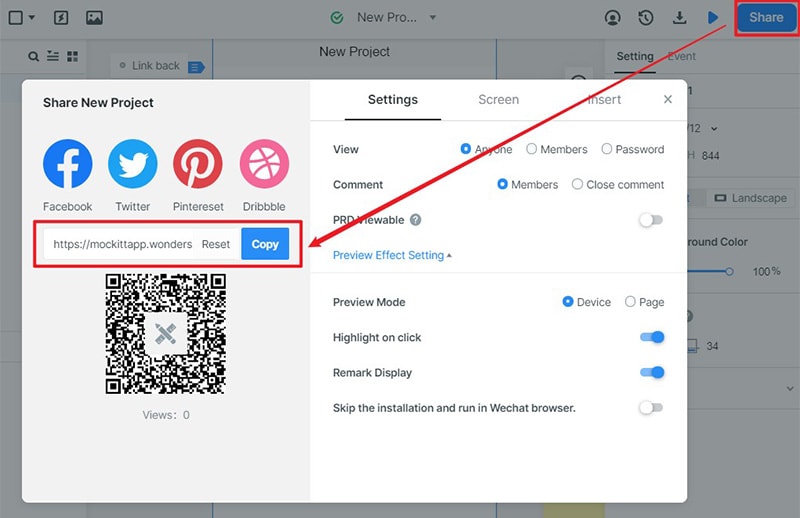
With Wondershare Mockitt, you can enjoy real time collaboration because you can easily share your prototypes with others. It allows you to add others members to your project fast. The success of any iOS UI design is determined by how people will view it. Wondershare Mockitt allows you to share the prototype with others and get recommendations that can help you do the necessary improvements. However, they cannot make any form of changes to your design. The tool helps in generating a URL that can be viewed in a web browser.
The tool generates QR codes that allow you to scan code by use of your iOS device camera to do the testing of the prototype. The testing process is critical as it helps you determine whether your design has the look and functionality you desire. With the tool, you also can view all the app screens in a single place. You also have the ability to see your entire workflow and do the necessary editing.
Here are step-by-step guide on how to create iOS ui design with Wondershare Mockitt
Step 1: Create a new project
- Login and then click new project. Create it as a blank project.
- Go to settings where you can do the necessary changes. You can change the project name, size and then save.

Step 2: Create the iOS UI Design
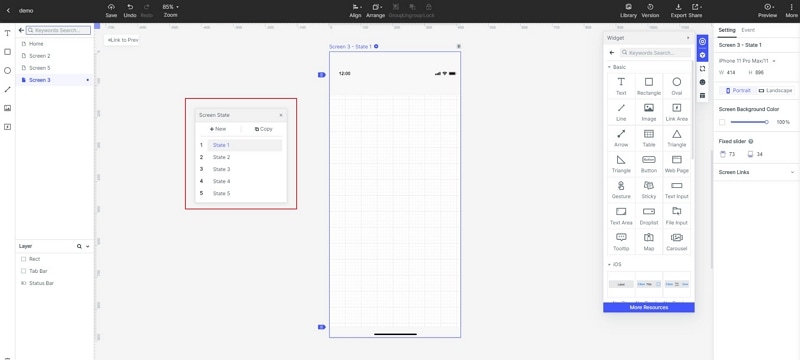
- Add widgets and icons- Wondershare Mockitt has fast widgets, built in widgets, my widgets and icons. You can add them by drag and drop on the canvas functionality offered by the tool.
- You have the option to edit and save so that you ca use in the future designing.

- Add links- add links between the different screens by choosing one widget. Click the new link in the link panel found on the right side. You can also add the links by dragging the link icon to the target screen.

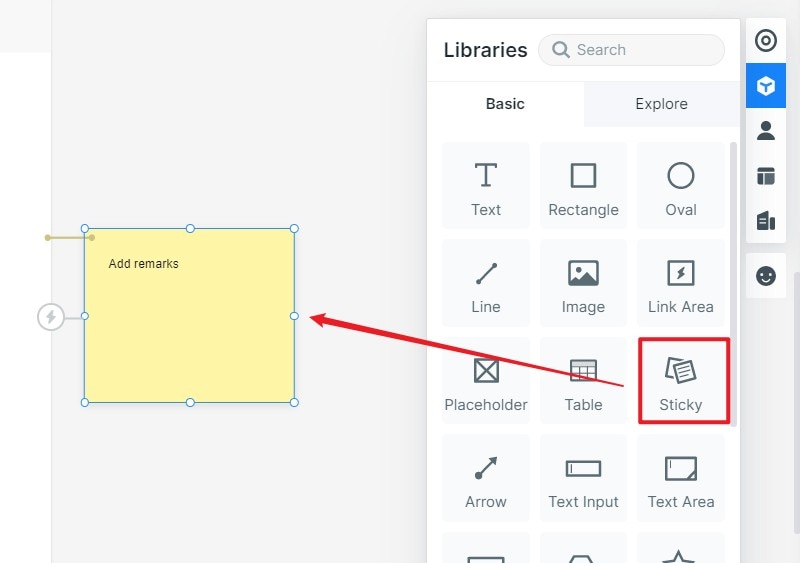
- Add notes- give more information about your design by adding notes by using a sticky feature found in build in widget library.
- Create animations-create interactive animations by use of the dynamic widgets.
Step 3: Preview the iOS UI Design
- Preview the design to test it look and functionality.

Step 4: Share the design
- Share the iOS UI Design with others to get feedbacks and get comments. Do this by clicking share button to get the sharing link.