Steps to Make Prototype in Axure RP

Prototyping is a basic step in any project development. Developing a prototype can be fun and rewarding since it allows showcasing your creative skills. The main reason people opt for developing a prototype is that it allows testing the product and refining if in case of any improvements required. Prototypes are often considered to be the most valuable deliverables among the clients. There are plenty of tools used in the development of a prototype and there are plenty of ways you can create a prototype. Axure prototype is the one which simple to create and reliable because of the several advantages Axure provides for the users.
- Part 2: How to Create Prototype with Axure RP
- Part 3: How to Create Prototype with Axure RP Alternative
How to create a prototype with Axure RP?
Axure is considered to be one of the best tools for prototyping for its features such as drag and drop, resizing, and many more. Highly interactive designs can be created. Rapid prototyping is possible which enables quick deliverables to clients. Collaboration between the engineers is possible with a shareable and easily portable file format. Adaptive and responsive designs are available. Numerous templates and widgets are available and they can be customized so that you can use them in another project as well.
A few of the Axure mobile prototype examples are as follows. Screens can be exported from Omnigraffle as PNGs. They can be cropped and masked and added as layers in Axure. Interactive components such as form fields and drop-down menus can be added and a functional prototype can be created quickly. Prototypes for mobiles will be different when compared to desktops. Axure mobile prototype options can be customized where you can give the device screen details such as width, length, and pixels as well.
The software allows you to use different features to create your attractive prototype such as;
Step 1: Adding Pages in the Axure Prototyping Tool
Pages
Open a new RP file. Pages can be added by clicking the "Add Page" button on the right-top of the screen. To open it on canvas you have to double click on the page you want to edit.
Canvas
- The canvas is a screen that allows you to build your design by adding boundaries along with setting the dimension of your pages according to the device you are working on.
Widgets
- It allows you to add widgets in your prototype or design that you are building. The app comes with a pre-installed widgets library and available as Default, Flow, Sample UI patterns, and Icons. It also allows you to add your creation or libraries created by your teammates.
Interaction
Interactive elements can be added to the prototype to make it more engaging. You can do it by adding a link to another page.
For that you need to follow below steps:
- In the pane, Pages add a new page. Now, you have to add two pages page 1 and page 2.
- On page 1, drag a widget on the canvas from the libraries pane.
- Select the button and hit Click or Tap > Open Link in the > interaction pane.
- Select the second page in that on your screen and press OK.
- Click the Preview button given on the top right of UI that will allow it to open the prototype in your browser.
- Click the button to visit page 2.
Step 2: Hiding and Showing Widgets for Your Axure Prototype
The software also allows you to show or hide your widgets to do it given below is its guide;
- Open the new PR file and double click on page 1 in the pages pane to open on the canvas.
- Drag the placeholder widget and three buttons on the canvas of your screen from the libraries pane.
- Change the text of the button and set to Show, Hide, and Toggle.
- Hide placeholder by clicking it and hitting the Hidden icon in the Style pane of the style toolbar.
Step 3: Sharing Your Axure App Prototype
After making your prototype you can share it with your teammates or publish it to the cloud for free. For that, you need to click the Share button at the top-right of the screen and enter your project name and password to the system. After that hit the publish button for the shareable link of your completed project.
How to Create Prototype with Axure RP Alternative
Wondershare Mockitt is one of the best Axure RP alternative software that allows you to create an accurate prototype for your business without any problem. It has more features in comparison to various other apps that offer great flexibility to make prototypes easily such as.
Its in-build unique designs allow you to make your prototype more attractive and enhancive.
This is the best feature of the software that allows you to add some engaging factors to your websites for the business.

Given below is a step by step guide of using the software
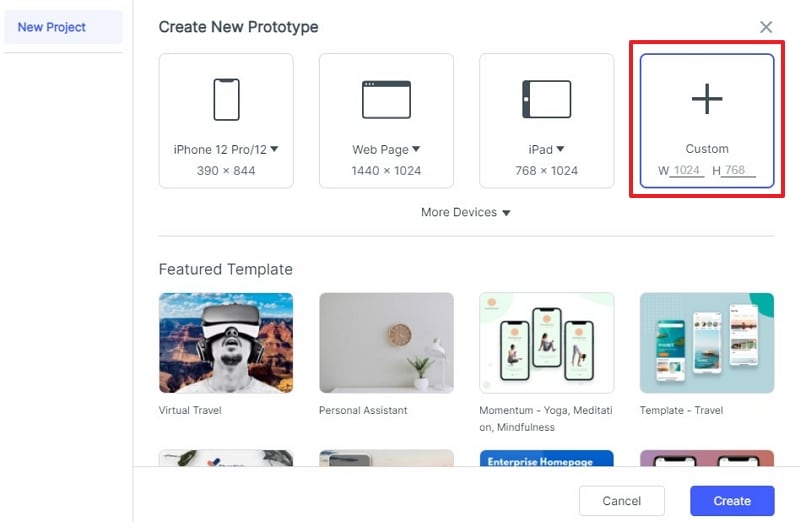
Step1: Create a Project and Customizing the Size
After creating the account on the Wondershare Mockitt official website, you can click " Create Project" to start work. You can select the type of project and device you want to work on.

For editing the shape and size of your project, click "..." and then visit its setting.
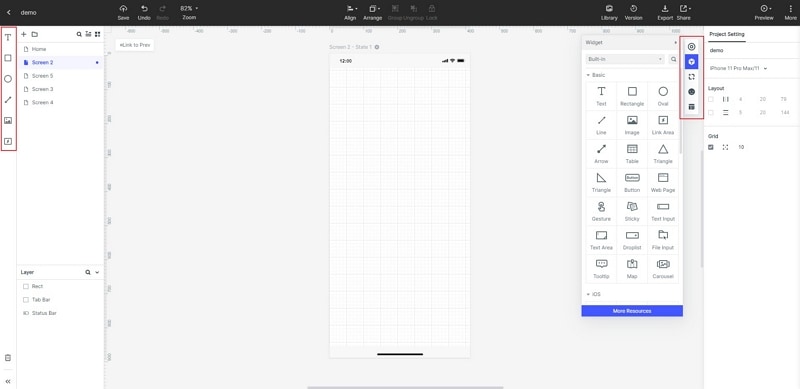
Step 2: Adding and Editing Widgets
For adding widgets you can simply click on the left side of the screen and implement your desired one from the fast widgets. You can directly drag and drop the widget or double click on in to add in the canvas.
You can also add some Build-in widgets, My widgets, and Icon given on the right side.
You can directly edit the widgets by changing the properties in the Inspector Panel.
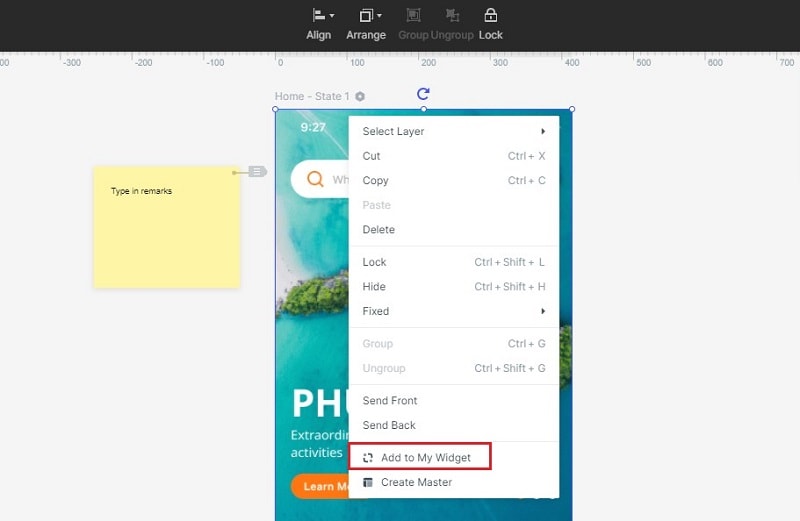
Step 3: Saving Widgets For Future Use
You can save the widget for future use by adding it to the "My Widget" option in the library. This could be done by dragging the "My Widgets" option or by selecting "Add to Widgets"
Step 4: Adding Links Between The Screens
To add the link between the screens select the widgets and click the "New Link" option in the panel on the right. After that set the action, gesture, target state, and screen as well as animation for the desired widgets.

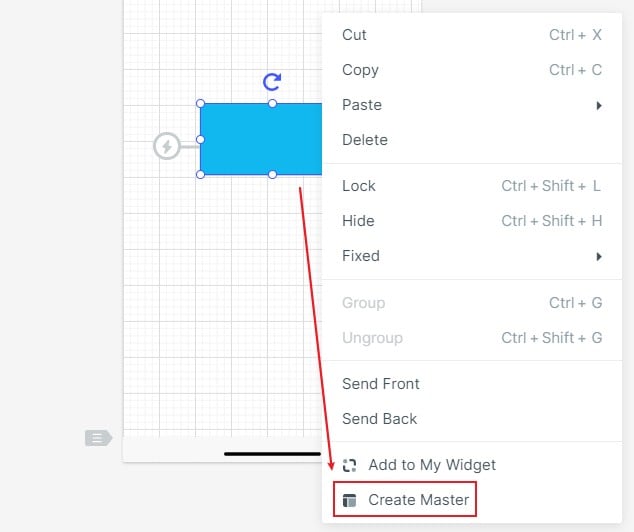
Step 5: Converting widgets into master for bulk editing
Select the widget by hitting the right click to "Create Master". As soon as you click on the option it will get saved into the master library.
For changing the master setting bring your mouse to the edit option.
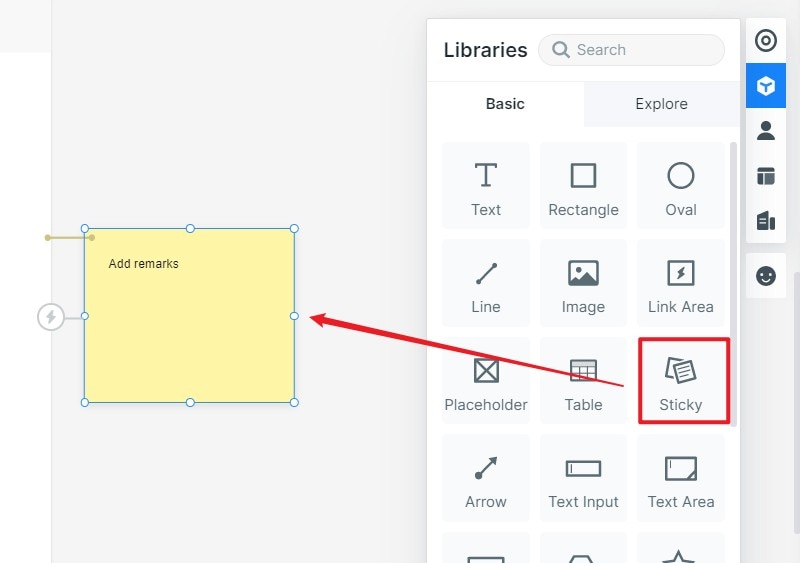
Step 6: Adding Notes for Widgets and Design
You can add the notes by just clicking the "Sticky" option in the widget library.
After doing that you can enter the text in the Sticky that you can see easily.
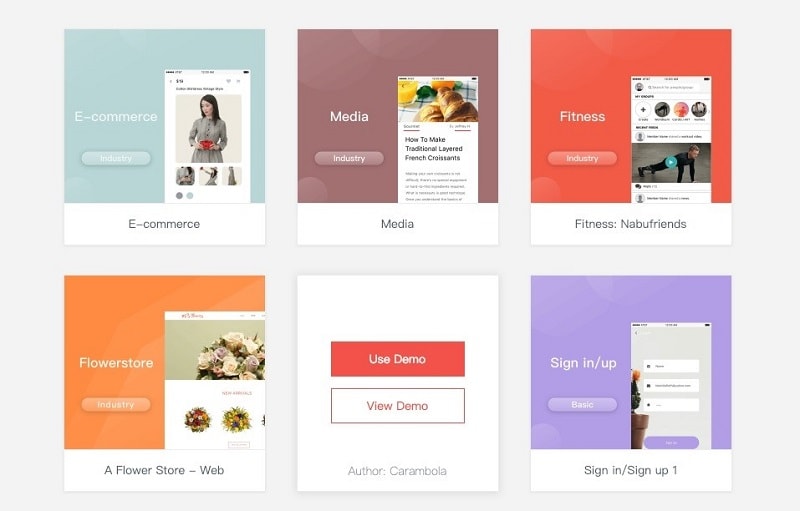
Step 7: Using Screen Widgets from Templets
You can also use in-build screen widgets by clicking "UseDemo" to enter the project.
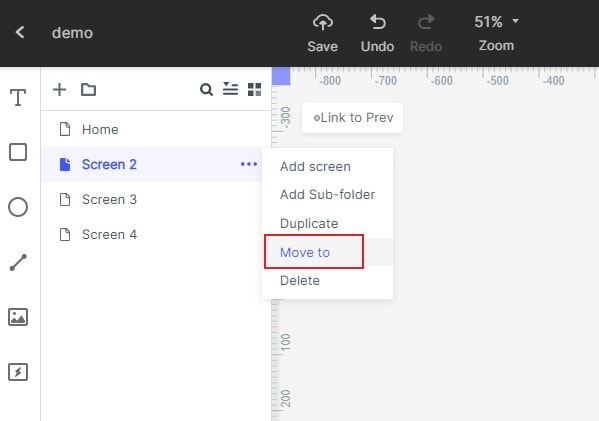
To use the screen in the template bring your mouse to the screen list and click on "Move to" to the target project.
To use the widget in the template hit the right-click to the widget and select "Add to Widgets" and it will get saved in my widgets library.
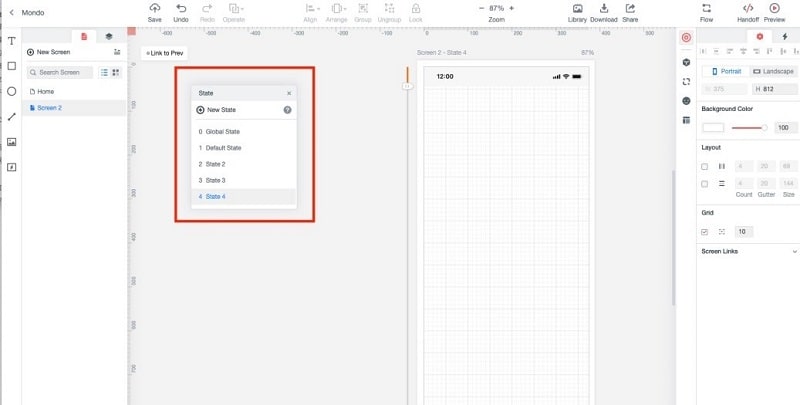
Step 8: Adding Interactive Animation and Share Your Project
Screen states can be used to add interactive and engaging content in the project easily. It also allows you to change the shape, size, and color of the image.
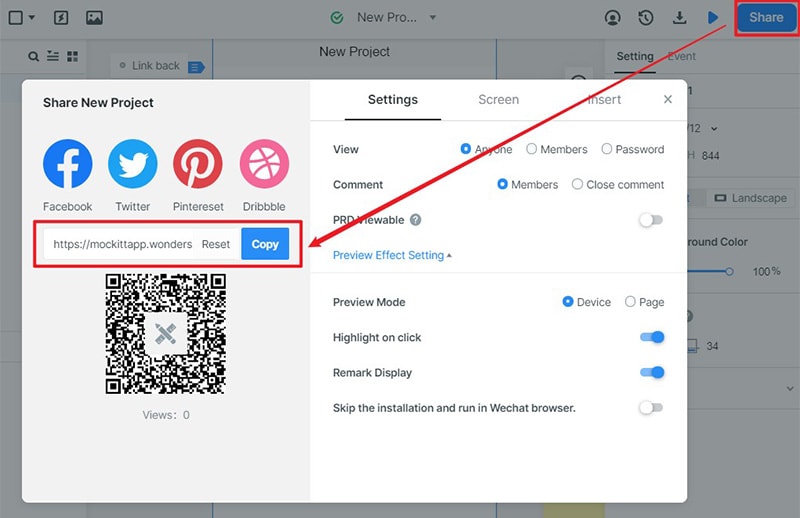
Once you have created your web app prototype, you can save the changes. You can click on the "Share" option from the top to share your website mockup project with others via a link or a QR code.