How to Create a Calendar Cover Design
Creating a calendar cover design may seem like a difficult task but with the right tools, it's very simple and convenient. In the past few years, many amazing UI/UX design tools have come into the market, which has eliminated the need to hire a professional to finish these designing jobs. This article contains a step by step guide to making a calendar cover design. Along with this, we have also gathered some amazing calendar cover design ideas to give you an inspiration boost.
4 Amazing Calendar Cover Design Examples
1 - The Red Calendar
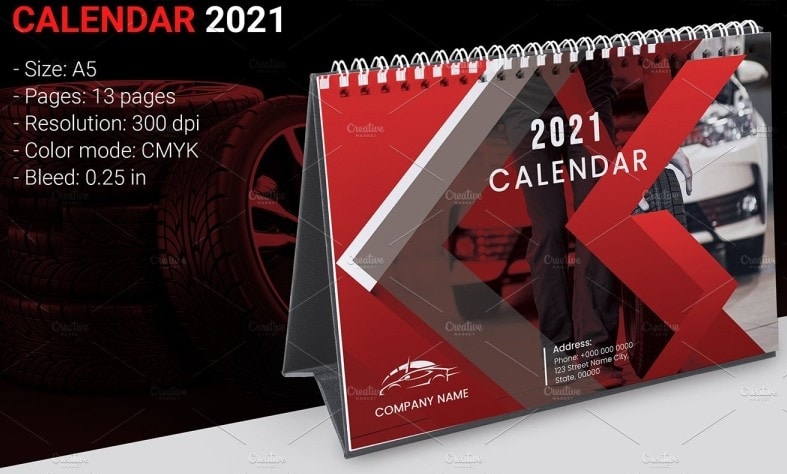
For people who would like to play with different colors, this red calendar cover page design is an ideal option. It gives a vintage look and exhibits various patterns. On the left side, you could add your company name and logo and it also gives you space to mention your address. The rough elements used in this cover makes it look a bit rough. You could place it in your office cabin, it will add some details to the interior.
Source: dribble
2 - Desk Calendar 2021
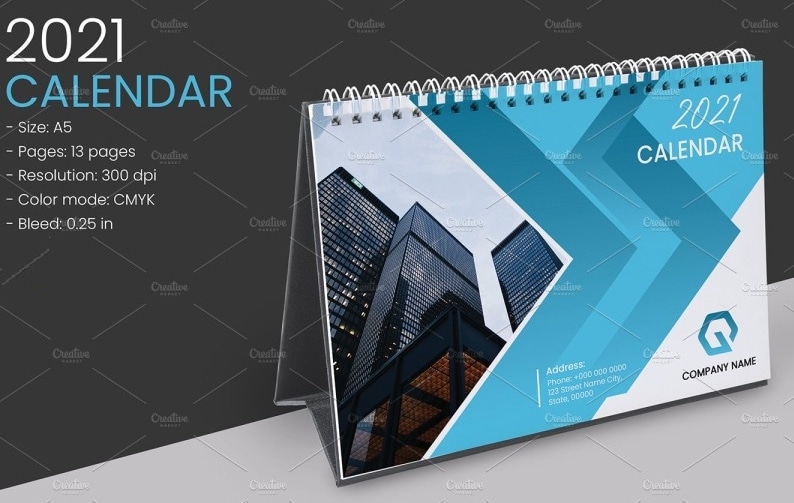
This calendar cover features a blend of eye-soothing colors. The blue and white combo looks elegant and the clean font makes it very easy to read. To make it look more professional, a stock image of a professional building is used. This addition makes it a bit edgy, so you could use it for residential as well as commercial use.
Source: dribble
3 - Corporate Calendar
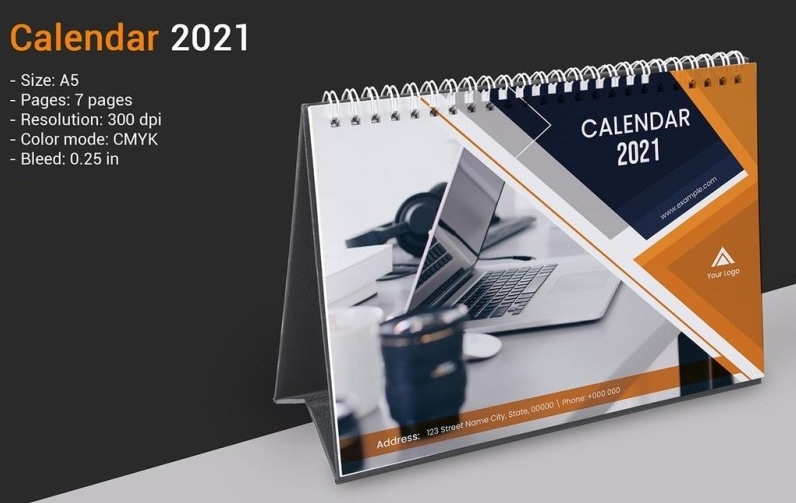
If you want inspiration to design a highly professional calendar cover for a company or organization, this option will definitely excite you. It gives you enough area to mention all of the major company details like company name, website, and address, and contact number. The laptop stock image makes it suitable for the working environment and the orange and black combo is very eye-pleasing.
Source: dribble
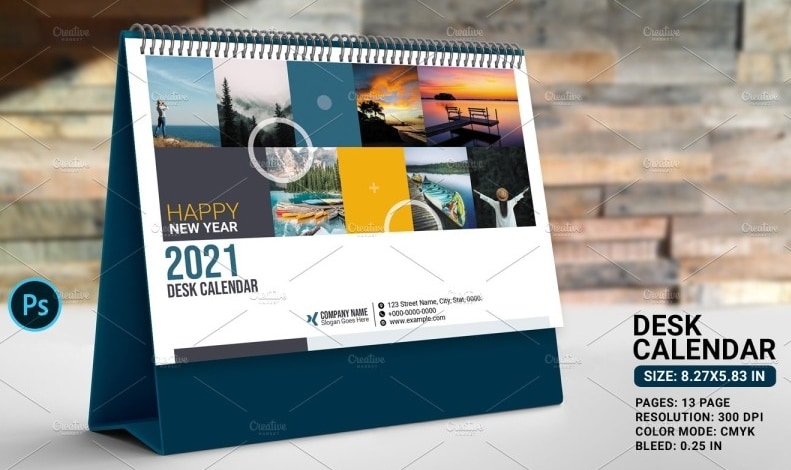
4 - New Year Calendar
This calendar front page design is on the casual side of the spectrum. It boasts a mix of funky colors, which makes it good for your guest or chilling room. This cover features multiple landscape shots as its main highlight. You could add your company's name, address in the mid-bottom. It also has a well-designed space to add your company's logo. It's a perfect inspiration for people who want to design a unique calendar cover.
Source: dribble
How to Design a Calendar Cover Using Mockitt
Wondershare Mockitt is a collaborative, prototyping tool that enables its users to seamlessly design almost everything with keeping the productivity at maximum efficiency. With all the endless possibilities that Mockitt can offers in terms of designing, today we will be looking at a specific one "Calendar Cover Designing".

Calendar covers are nothing but a visual presentation of a calendar with denotation of the year in bold accompanied by wishes. Designing totally depends on the user and his/her choices.
Designing a Calendar Cover Step-by-Step
Note: For your better understanding some points will be followed with the image screenshots.
Step 1. Create a Project
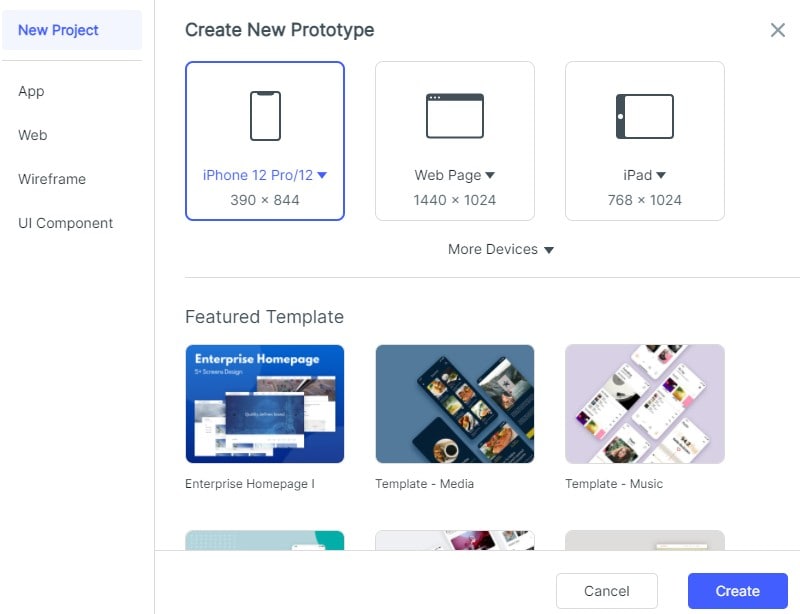
Once you signup Mockitt and create an account on the site, you will see a screen like shown in the image below. Now, once you see this screen. Click on the blue "Create" button on the top left side and select "Project".

Step 2. Set the Size for Your Calendar Cover Design
Choose the project type depending upon your choice. In this case we will use the "Webpages/TV" aspect ratio.
Step 3. Add a Rectangle Widget
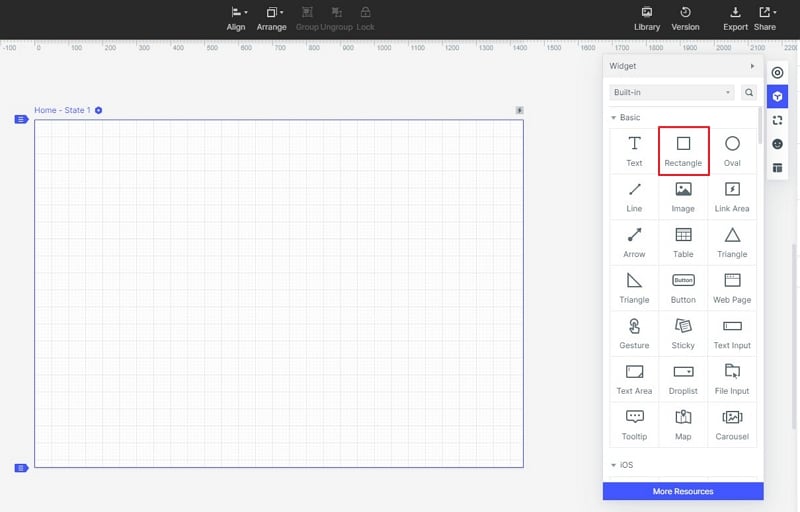
Now, a page will load up in front of you with all the Mockitt designing options available collectively. Click on the "build-in" option at the almost top right side of your screen and double click on the "Rectangle". We will need two rectangles for designing our calendar cover.
Step 4. Adjust the Rectangle Size
Once you double tap on the "Rectangle" widget. A small sized rectangle will load on your artboard located on the center of the screen. From there you can drag it and place it at any desired position. We placed our rectangles like shown in the image below.

Step 5. Fill the Color of the Rectangle
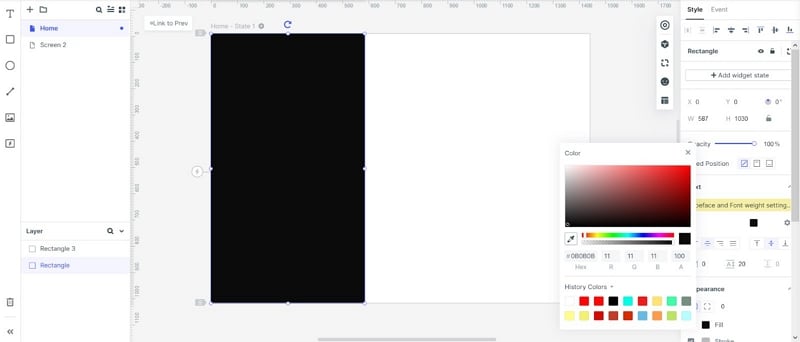
Now, select the first rectangle and click on "Fill" option at the bottom right side of the screen. A small pop up window pallet will open up displaying all the colors in front of you. Choose your desired color and press enter. We will be using the black color for this very example for our first rectangle and keep the other one white.
Step 6. Add Text Widget
Now, double click on the "T" symbol that refers to text. A small text will pop up on your artboard.
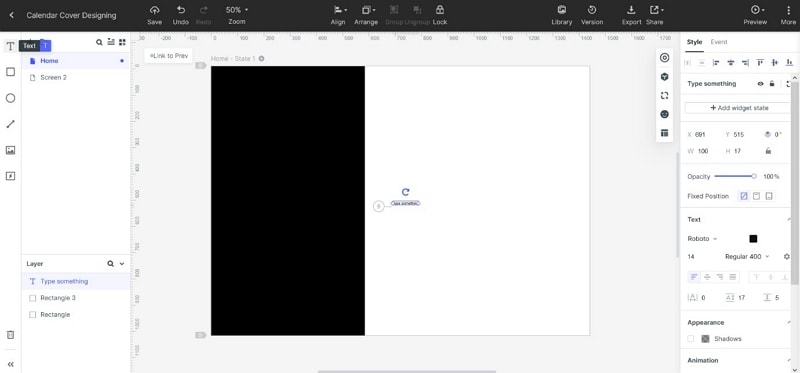
Step 7. Adjust the Size of the Text
Double click on that small text on your artboard and type "20" instead of it. Now, select that "20" once again by clicking it two times and increase its font size by your choice, just go to the right of your screen and under the "Text" heading you'll have access to the font style, size, color, position, and more. Rotate the "20" by clicking and holding the small circle on its top and dragging the mouse. Stop once it is 270 degrees (look at right to verify) and place it as I did I the image below.
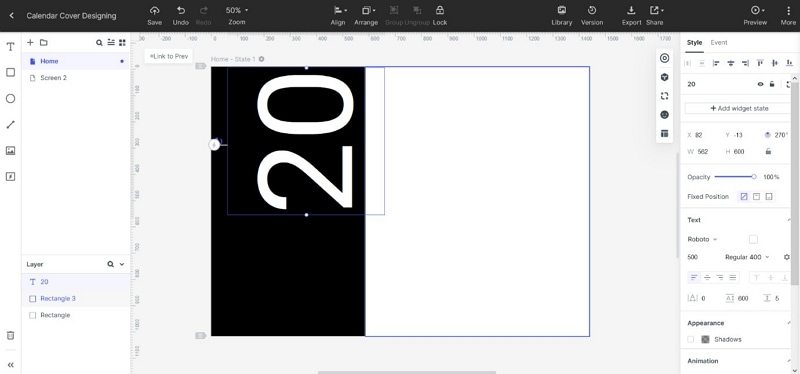
Step 8. Paste Text to the Canvas
Select the "20" text and copy it by pressing CTRL C keys and right click on the artboard anywhere and choose "to the canvas" under the "paste" option.
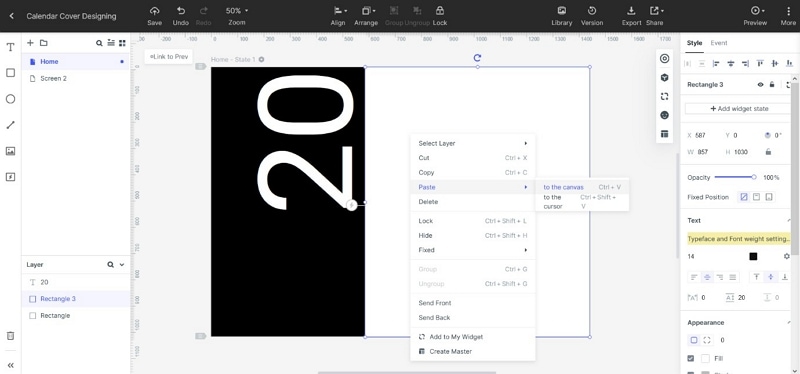
Step 9. Adjust the Text
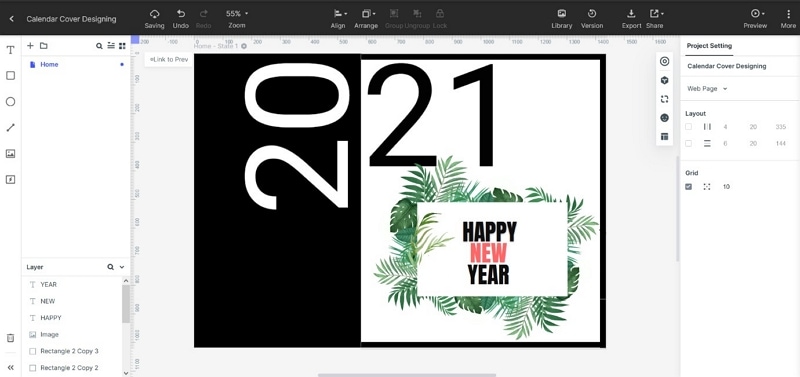
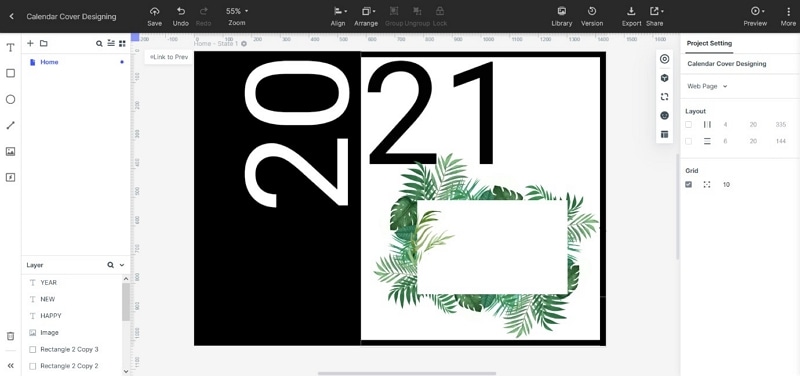
The "20" text will get duplicated as it was on the artboard. Select the duplicated text and invert its color to black to be able to see it on the white artboard. Replace the zero (0) with the current or upcoming year's initial in my case which is "1". Place the text to a location.
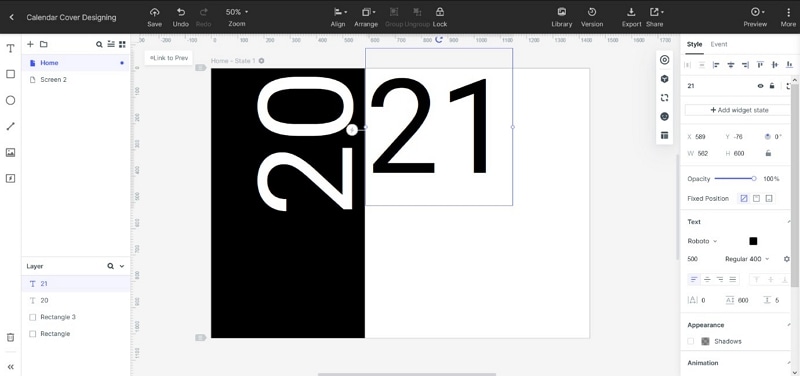
Step 10. Add Borders and Image to the Calendar
Add borders on the white side by using the rectangle tool and duplicating the rectangles. Download a vibrant and fresh plant or any png from the web. Make sure its copyright free or you have the license to use it. Once downloaded just drag and drop the image on the artboard.
Step 11. Finish Designing the Calendar Cover
Now, add a message by using the text widget like we did earlier, or simply type "Happy New Year" into the image box and your calendar cover design is perfectly done.
