3 Ways to Create Concept Map in Word
 Wondershare Mockitt Concept Map Maker
Build concept maps to explore and organize your ideas graphically. Mockitt makes it easy for everyone to create concept map in word with simple clicks. Give it a shot!
It has been estimated that 75 percent of students study better with visual cues. As a result, it is often easier to clarify confounded concepts with visual guides than with text. Confounded thoughts can be challenging to clarify during an introduction since you have a limited opportunity to catch and keep up your crowd's attention. That's where a concept map becomes crucial. The concept map makes it easy to visualize data.
The concept map is most likely something you've seen in reading material. A concept map is a graph that shows the connections between different ideas. It is common for concept maps to be used to coordinate data outwardly to increase students' understanding of the subject matter.
Keep reading this article if you are interested in learning how to create a concept map on Word.
- Part 1: What is a concept map?
- Part 2: How to create a concept map in Word using SmartArt?
- Part 3: How to create a concept map in Word using Shapes?
- Part 4. How to create a concept map in a Word file with Mockitt? [Customize Concept Maps]
- Part 5: Tips for improving productivity to creating a concept map in Word
Part 1: What is a concept map?
A concept map is a visual representation of information. In addition to benefiting students who learn better visually, concept maps can benefit any type of learner. They are a powerful tool for studying because they help you chunk information by focusing on higher-level concepts. The big picture makes details more meaningful and easier to remember.
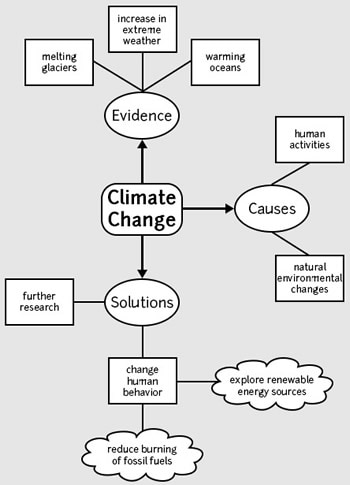
Concept maps are very useful when studying content that has visual elements or when examining crucial relationships between different things. In addition to analyzing information, they can also be used for comparing and contrasting. Let us look at an example to understand concept maps better.
Check out the example-
Part 2: How to create a concept map in Word using SmartArt?
Now that you are well aware of what are concept maps. Let us discuss ways to create concept maps on Word. The following steps will guide you through creating a concept map in Word using SmartArt.
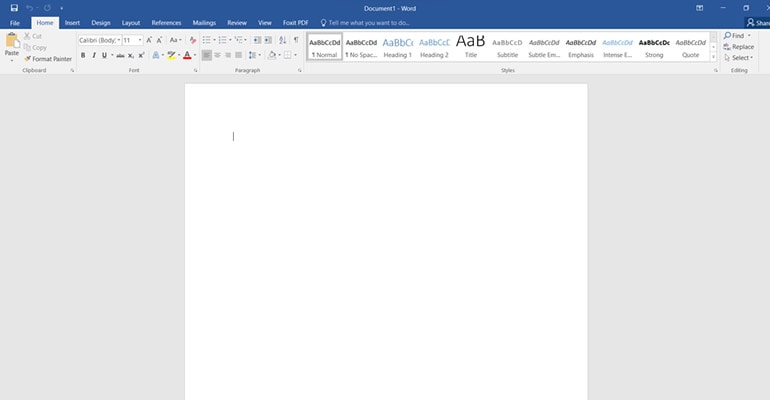
Step 1: Open Microsoft Word on your device and create a new word document.
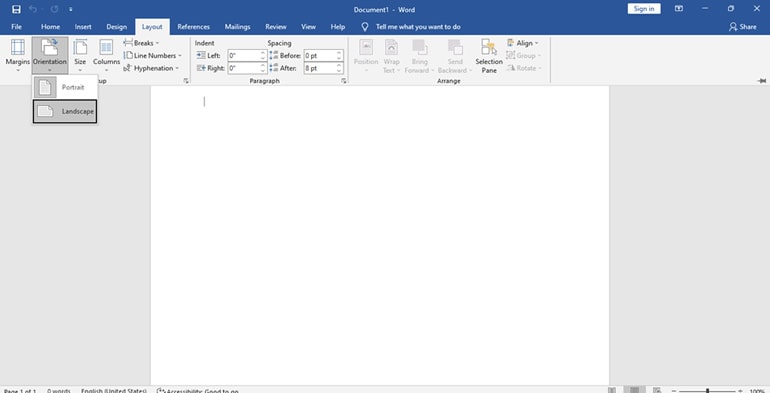
Step 2: Click on Orientation. Select Landscape from the Layout tab.
Step 3: After clicking the Layout tab, click the Margins and Narrow.
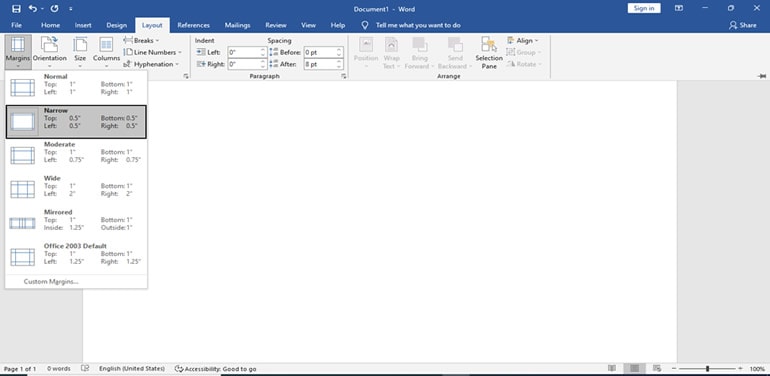
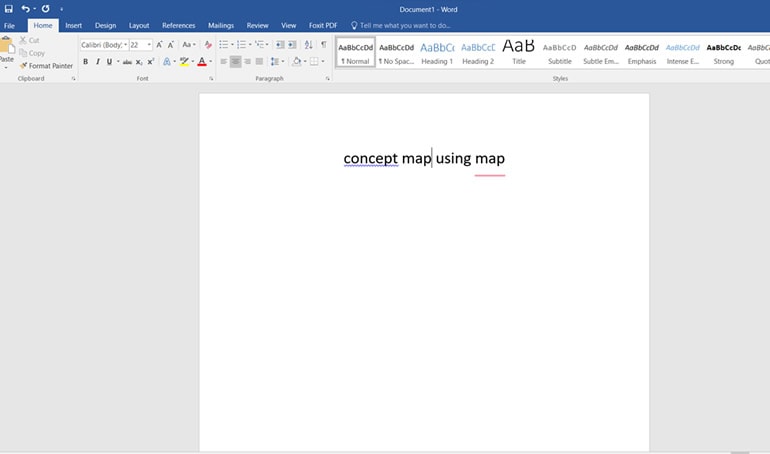
Step 4: You will have to type the document's title. Bring it to the center of the page, and the font size and type can be adjusted if necessary.
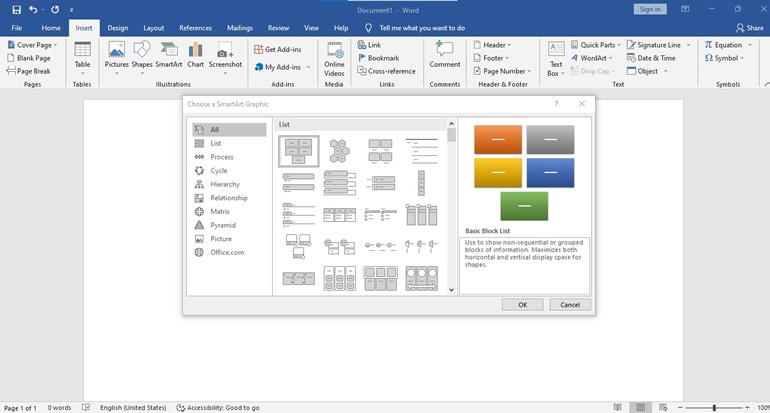
Step 5: Select the SmartArt graphic, then the Hierarchy and Horizontal Hierarchy from the Insert tab.
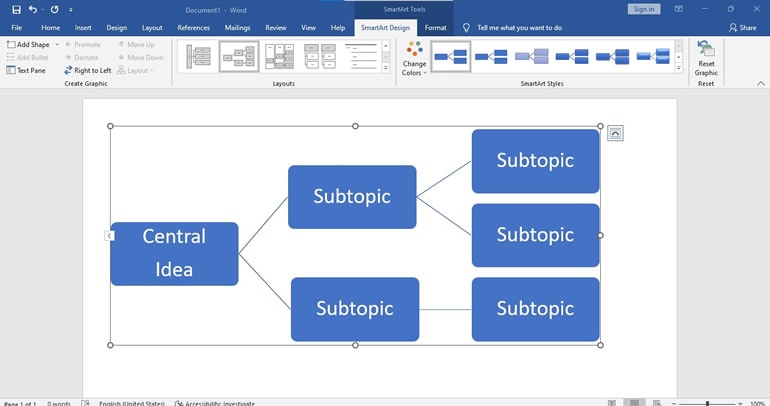
Step 6: In the Text Pane dialog box, add the Central Idea, Topics, and Subtopics of your choice.
Tips You Should Know
Wondershare Mockitt
Map Diagram Maker >>
Part 3: How to create a concept map in Word using Shapes?
Having learned how to create a concept map using SmartApp. There is an alternative method for creating a concept map using shapes. You can follow the steps below to create a concept map using shapes.
Step 1: Launch Microsoft Word on your device and select blank document to create a new word file.
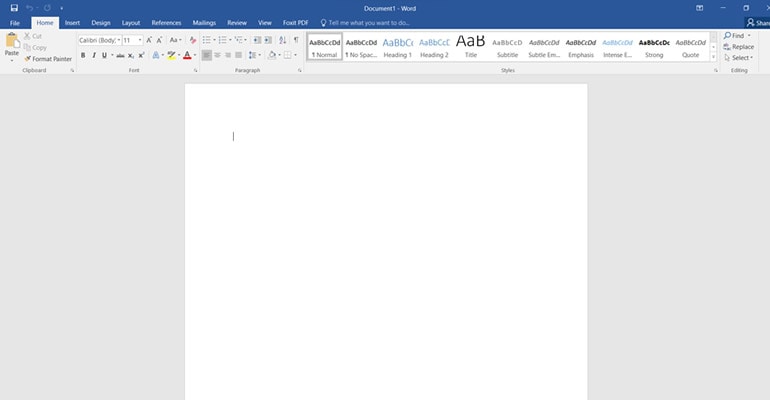
Step 2: Go to Layout and select Orientation, followed by Landscape.
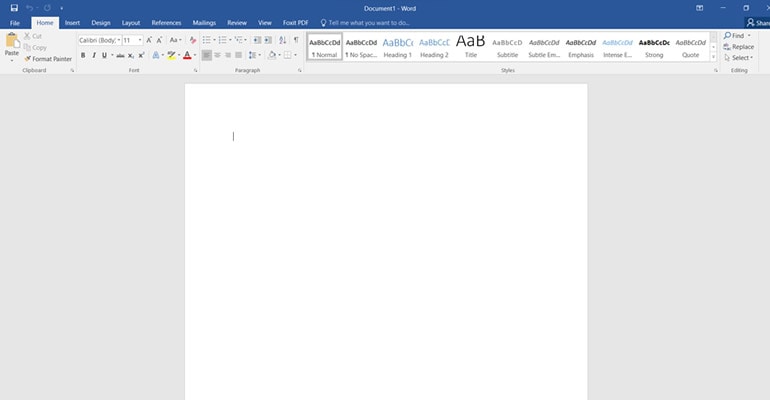
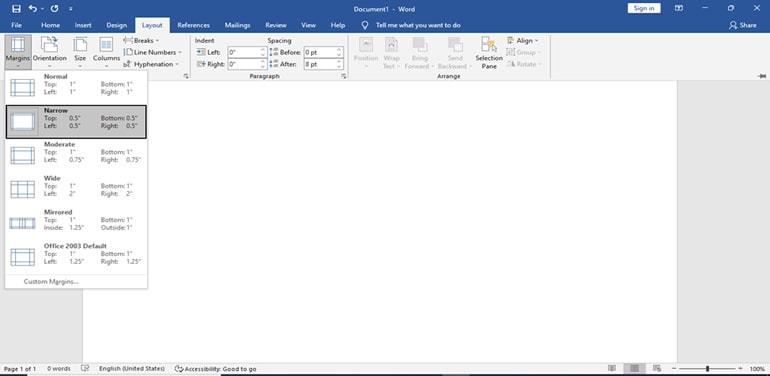
Step 3: Next, click on Margins and choose narrow option.
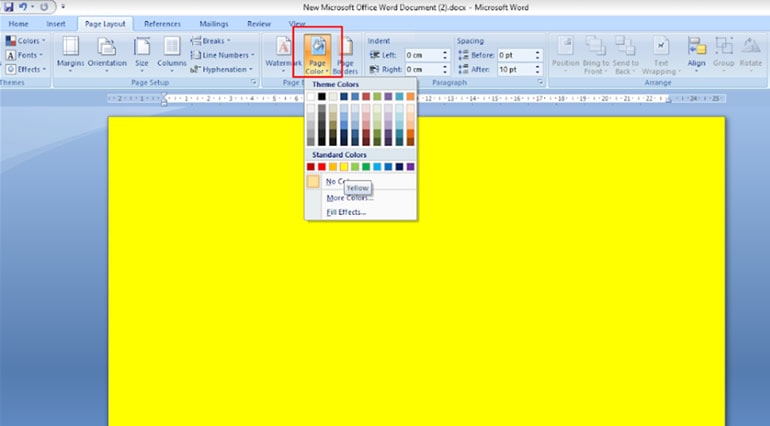
Step 4: If you want to change the color of your page, go to the Design tab, choose the Page Color, and select the color theme you would like.
Step 5: Now add the title at the top of the document page. Make sure to align it to the center and increase its size as per your requirement.
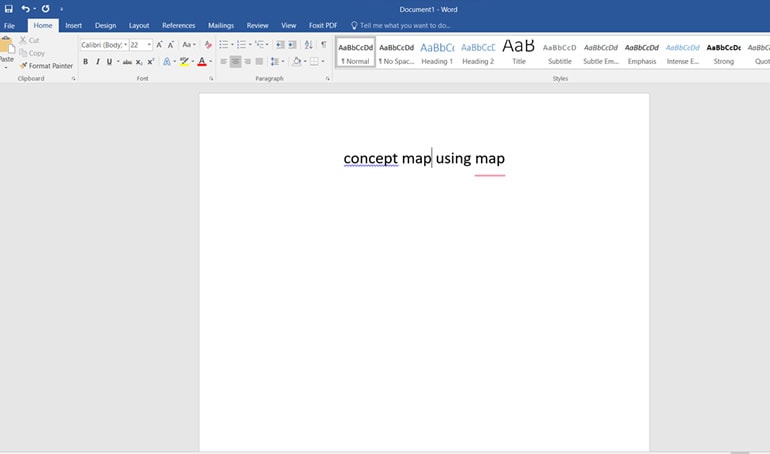
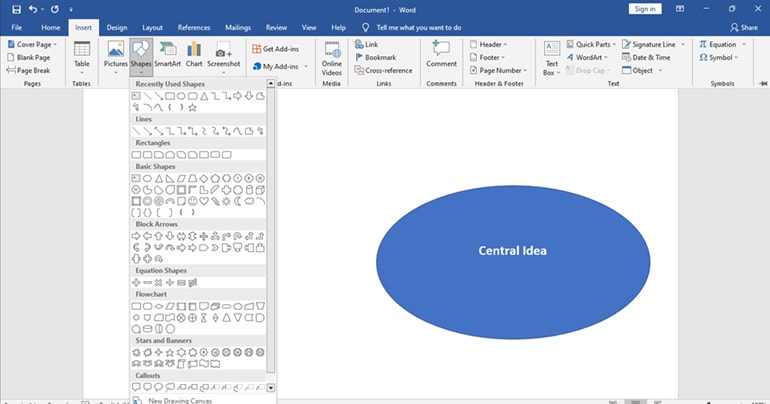
Step 6: Next go to the Shapes tab and choose your desired shape, and draw it in the center.
For example - we have chosen the oval shape.
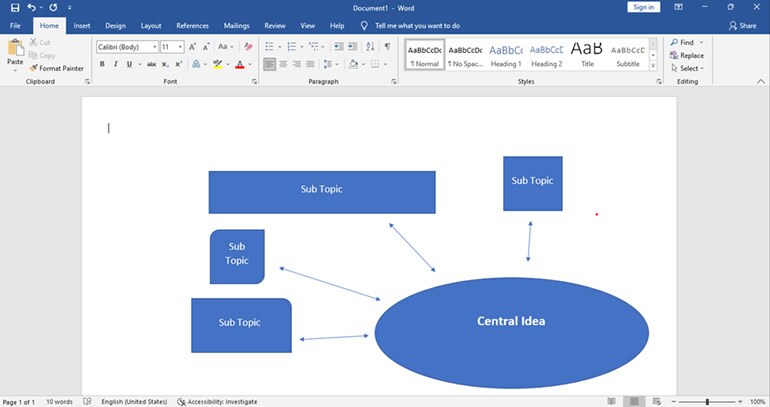
Step 7: You can select your desired shapes for the Subtopics. For that, select your desired shape and draw them around the Central Idea. You can take a look at the image for a better understanding.
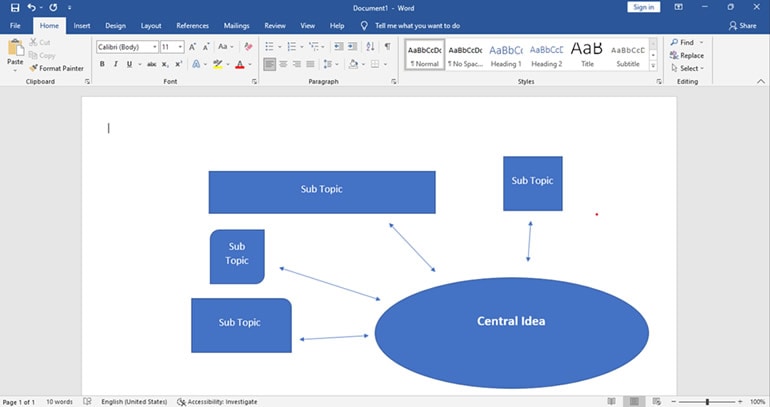
Step 8: Next, use straight lines to illustrate the relationship between the Central Topic, the Topics, and the Subtopics.
Part 4. How to create a concept map in a Word file with Mockitt?
Finally, you are well aware of how to create concept maps using shapes and SmartArt. But don't you think building concept maps this way is time-consuming? Yes!
So, we have an alternative called Wondershare Mockitt. It is an easy-to-use tool that scales your design thinking. Moreover, this tool helps in representing your ideas in a better form and enhances productivity. The best part of using Mockitt is you don't even need to install it. You can create concept maps online with a few clicks.
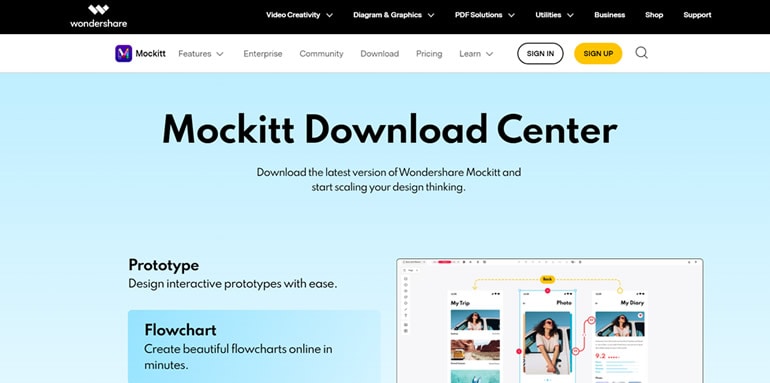
Here are some more advantages of using Mockitt-
- It has free concept map template word files to edit and create a new design for you.
- It allows real-time collaboration so you can share or discuss maps with a team in real-time.
- You can work together with prototypes to test your ideas and present them better.
Getting excited to use Mockitt? Let us see how to create a concept map with mockitt.
Step 1: Search Wondershare Mockitt in the search engine and sign up to get started.

Step 2: Choose the mindmap button available on the screen.
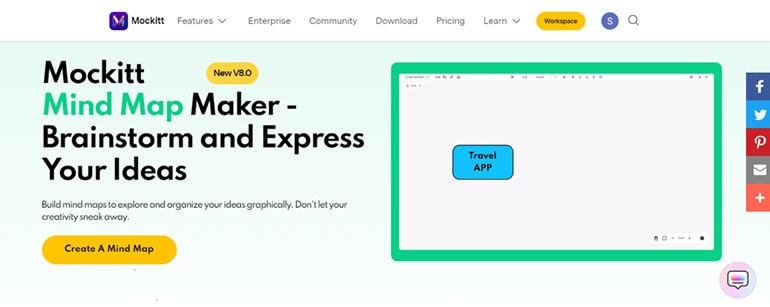
Step 3: Within seconds of your selection. Your concept map template word is ready for use. You can conveniently edit it and add the content of your choice.
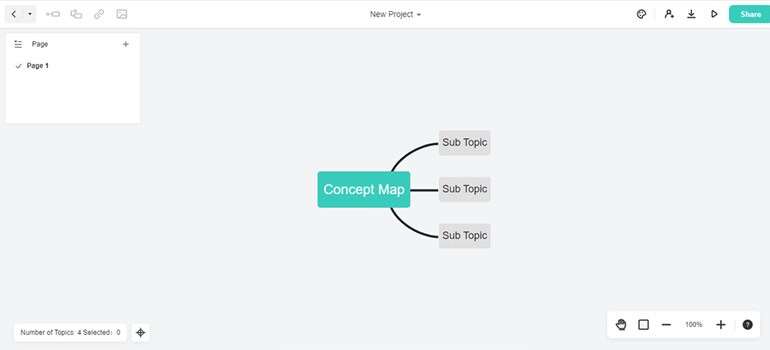
Step 4: As soon as you have created the basic layout of your concept map, you can enhance it with color, images, and symbols. Use the formatting tab on the right side of the screen to change the background color, adjust themes and styles, etc.
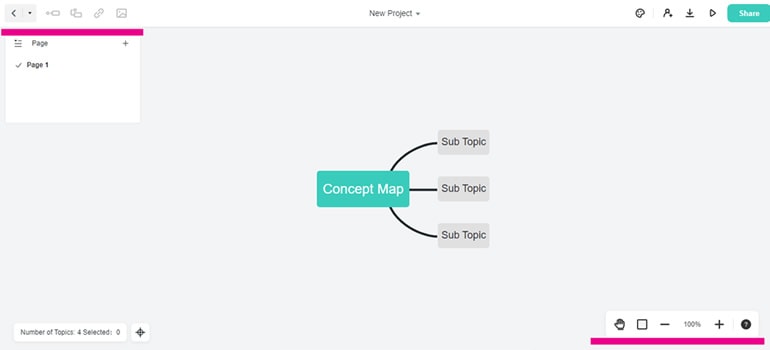
Step 5: Once your concept map is created you can easily export it as PDF, PNG, JPG, and HTML format.
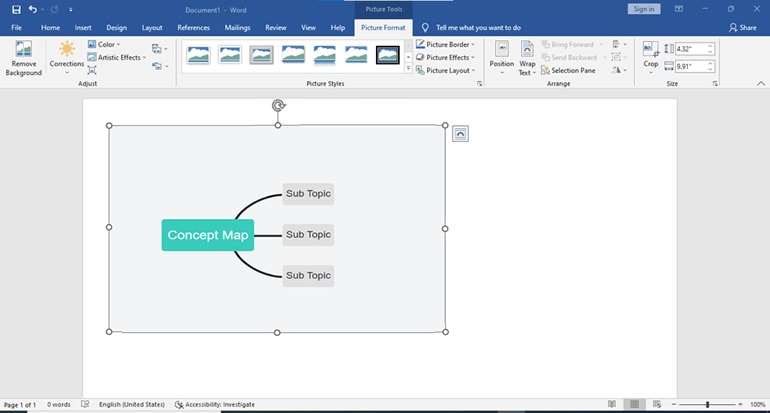
When your file is exported as PNG your next step is to insert into Word file. And Here's how you can do this.
Step 1: Launch Microsoft word and go to the insert tab.
Step 2: Select a picture and choose the media you would like to insert in word.
Part 5: Tips for improving productivity to creating a concept map in Word
Concept mapping can always boost your productivity with any task. It can, however, be made much more productive if you follow a few tips. So, here we go.
Organizing and managing ideas
Using these types of charts, users can organize ideas based on their free flow in a controlled presentation manner. You could become distracted by numerous ideas when brainstorming without a concept map.
It is simply a matter of connecting every single idea to your central concept at all times. To develop it, you must start with a main point and then take it in different directions.
The Visualization of Ideas
Presenting ideas visually is one of the best ways to improve them. Visualizing everything in the flow would be better than using basic text, shapes, and dots. While the text makes the information appear flat, the image brings it to life. The benefit of this is that visual learners are able to acquire information quickly and enhance their decision-making skills.
Simultaneous operation of right and left sides
When you create a concept map your right and left brains are working simultaneously. As a result, using them simultaneously plays a key role in improving your productivity. For a better understanding, the right brain side is responsible for emotions, intuition, and creativity. Alternatively, analytical, logical, and critical thinking skills are developed on the left side.
Conclusion
We hope this guide will answer all your questions about how to make a concept map in Word. However, if you need an easy-to-use and quick concept map maker, Wondershare Mockitt will be the best option. There you can quickly create a concept plan in real-time collaboration with your team.
