How to Create Web Design with Adobe XD

Creating a website design with the Adobe XD program isn't a walk in the park for beginners in the website designing industry. However, if you've got the step by step guidelines by your side, you should do this easily and quickly.
Although this guideline can be very long -as you can see on other sites, I will make it brief and informative. Follow the steps below to create a stunning web template or design with your Adobe XD software.
- Part 1: Step by Step Guide to Creating a Basic Web Design with Adobe XD
- Part 2: Other Web Designing Tools that Makes your Design Creative
- Part 3: Best Adobe Alternative
Step by Step Guide to Creating a Basic Web Design with Adobe XD
Before sharing the step by step guide with you, I will like you to know that the Adobe XD software is divided into two views which are the design view and the prototype view. The former lets you create layout, elements, add artboards, and import useful resources from other Adobe apps like Photoshop, and illustrator. In this guide, we are concerned with the design part of the view. Thus, let begin.
Create Prototype Project
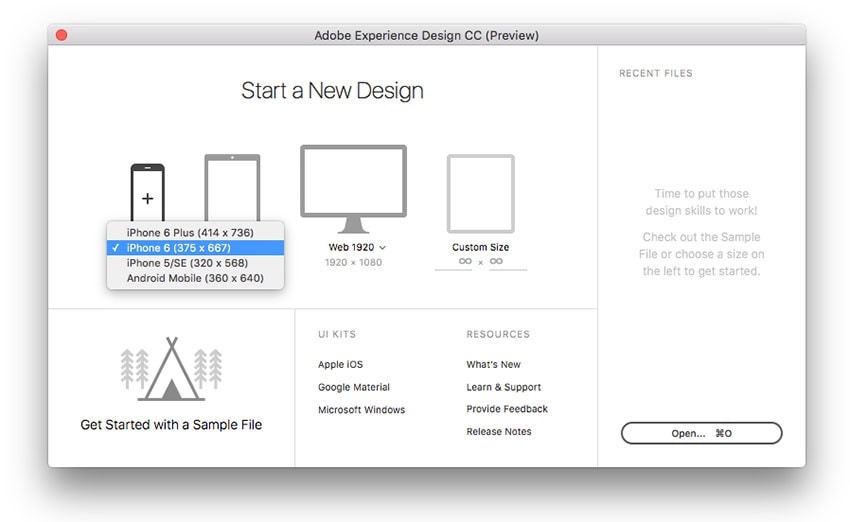
Once you've successfully downloaded, and installed the Adobe XD on your device, launch it to create a prototype project. On opening the program, you will be asked to select what device you intend to use in creating a web design, select one and you will get the UI elements of the gadget from the appropriate OS for use in your prototyping. After creating the artboard, change the artboard-name to Home.
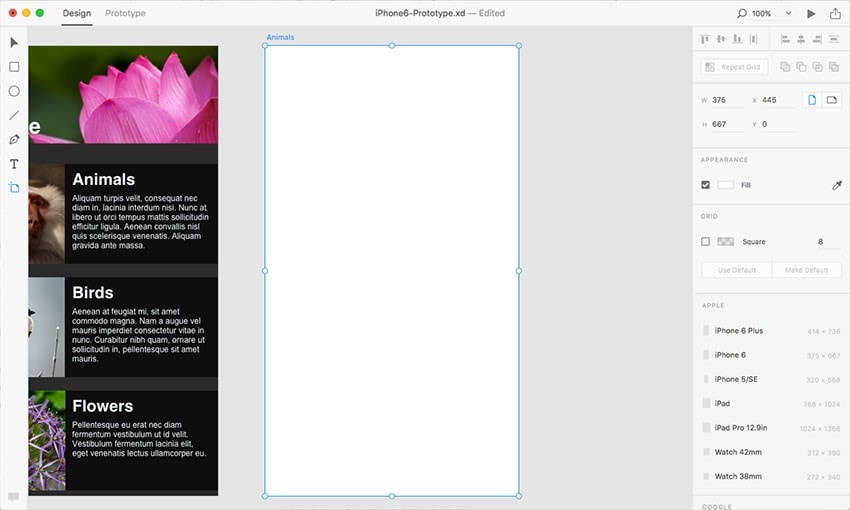
Create Prototype Background
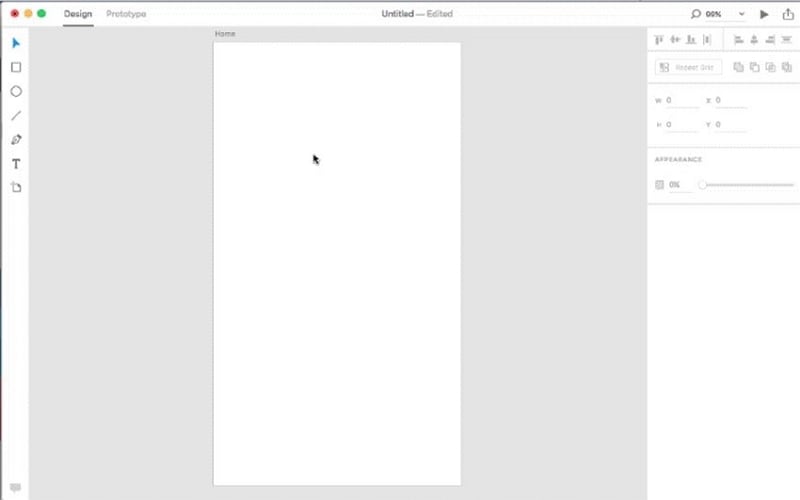
Click on the artboard and the properties will appear on the right-hand side of the program. After that, click on the fill color to get access to the color section dialog. Choose your preferred color, but it's advisable to set it as dark gray. When you do that, close the dialog box.
Set Header
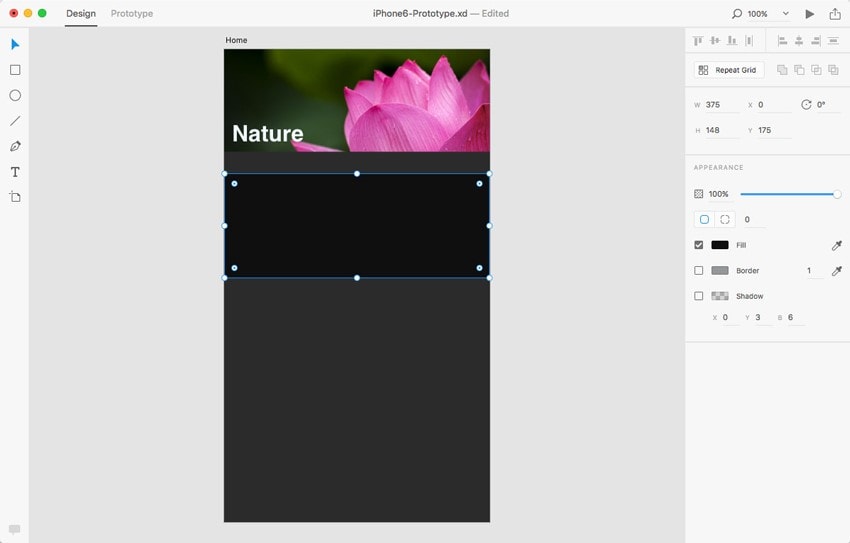
Click on open file and navigate to the header image of the file and tap on the Import icon. With the help of the controls around the image, crop it to fit the page header. Alternatively, you can trim the image by double-clicking on it.
Next, from the text panel, select the text tool and click on the header area to type "Nature".
Note: There is a default font which you can change by double-clicking the text and select your desired font and font size from the property panel at the right-hand side of the program. Furthermore, ensure the text background is dark gray by double-clicking on the fill option to set it.
Create a Background for Content
From the tool panel on the left-hand side of the Adobe XD the program, select the rectangle shape tool, and draw a rectangle below the header. And then, set the fill to dark gray from the properties panel on the right. After this, deselect the stroke options to remove the stroke from your design.
Add Content
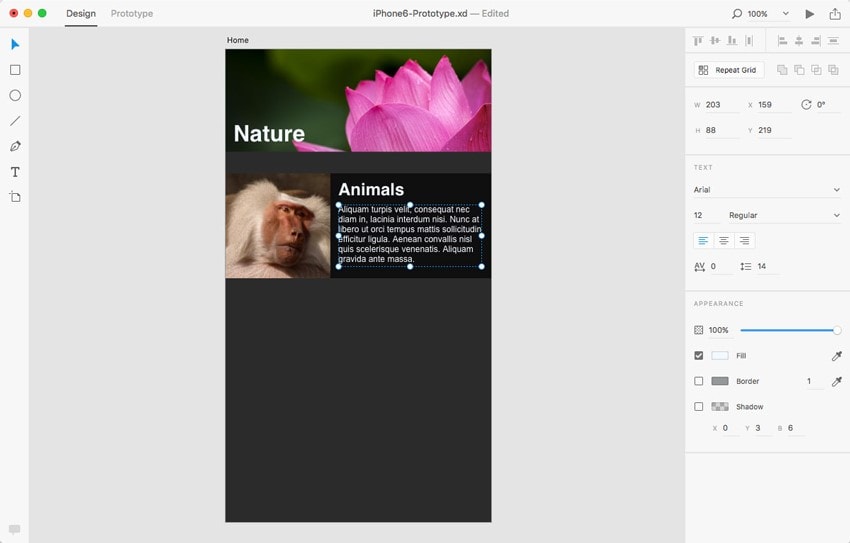
Select and import a small directory of catalog from the ready-made ones and add text just as you've done previously in step 3. Now ensure that the image fits the directory area, then add text to the right as shown below.
Create Content Grid
Once you've added content, you can create a grid from the existing content without copying and pasting the former. To do this, hold the Shift button, and select a small picture, content background, then add text (optional). Then click on the Repeat Grid icon in the properties panel to copy the selected content on the grid.
After that, create a vertical grid of the content by dragging the green icon at the bottom of the grid. Then double click on the duplicate to edit it. Lastly, highlight the content and select Cancel Grid to terminate the connection between the new and the previous
Create New Artboard
Using the same approach in step one, create as many artboards/pages as possible.
And boom! We are done with designing the template for your website. Do you intend to launch it online? Then we have to discuss the prototype view that will create a connection for the established pages on the internet.
Now you see that creating a web design is very simple with the Adobe XD program. And aside from Adobe XD, there are other tools you can use to create a professional-looking web design.
Other Web Designing Tools that Makes your Design Creative
Listed below are some other tools you can use to create a professional web design:
Canvas
Canvas is a web-based vector designing tool designed for amateurs and professionals to create their own professional-looking templates. It has an intuitive user interface with a drag and drops feature that makes it perfect for all individuals. It has similar features as the Adobe XD. Canvas supports the real-time collaboration of team members anywhere around the world.

Behance
This is a simple, but yet powerful web design tool created for individuals with an interest in graphics design, logo design, and all sorts of template designing. The software is simple to use with an intuitive interface. It supports more than 500 ready-made templates which you can choose from to create your website design. These templates are of high quality. The software has a built-in editor that lets you edit your project in a few seconds. It's compatible with all devices including PC and mobile phones.
Best Adobe Alternative
Well, after listing the other creative web designing tools, I'm certain you noticed something: they are of lower standard compared to the Adobe XD. Of course yes, but there is one web designing tool with incredible features better than the Adobe XD, - Wondershare Mockitt. The program combines all the aesthetic properties of Adobe XD, then worked on its flaws to bring you what you need. Mockitt has an intuitive user interface, drag and drops feature, built-in editor, and ready-made templates. The only challenge faced by the program is incompatibility with macOS devices.

