How to Create Mockup with Adobe XD
Creating a mockup is a process that helps a designer have a clue on how the final product will look like. Adobe XD mockup helps get suggestions on what the final design will look like. It helps the designer share with the intended users and others who are involved in the process between a wireframe and prototype. Wireframes are developed and shared to showcase the structure and functional requirements of the design. A mockup is a wireframe that has an extra surface layer that shows the visual design including typography, colors, and images. Adobe XD mockup is static and does not have interactions.
How to Create Mockup with Adobe XD
Adobe XD is an efficient prototyping tool developed to assist UI/UX designers to create high-fidelity mockups, wireframes, interactive prototypes, and artboards. To use it, you do not need to subscribe. All you need do is to sign up, download, and install it. Here are the steps to create a mockup with adobe.
Step 1: Go to Adobe XD homepage
- When you are on the homepage, click on Get XD for free button. A new page opens up and the download starts automatically. When the download is done, launch the installer file that will request your credentials. Then, it asks you for the project you want to create.
Step 2: Select the kind of project to launch
- Once you sign in, you find a blank square in the mid of the screen, showing you a new artboard. You can add several artboards by clicking the layer button on the left.
- Choose the initial artboard, select duplicate option and a new dashboard appear. You can duplicate and zoom your artboard.
Step 3: Start creating the mockup
- Set a color for the background
- Add the first element i.e. the secondary navigation bar at the top of your screen. You can use the rectangle tool. Add background color to the navigation bar and text using the text tool found in the Adobe XD menu.
- Add call to action using the rectangle tool.
- Add the element themes logo to your mockup by dragging the image file into the artboard.
- Add the main heading and a search bar by use of the text and rectangular tools.
- Add blog post excerpts to your adobe XD iPhone mockup. Start by adding two rectangles to the artboard. Create one and then duplicate it to make your work easier. With these empty rectangles, add titles by use of the text tool.
- Add each of the blog posts featured images. Like you did before, drag the image files into the iPhone X mockup in Adobe XD.
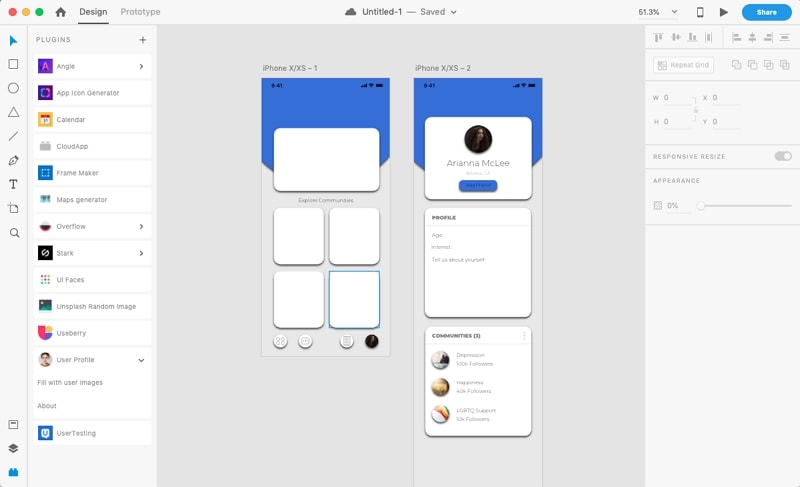
Step 4: Preview the Adobe XD mockup
- Have a look at your complete mockup. You can add all the elements you want to make it look better. Each of the above mockup Adobe XD actions are easy, so you do not have to be scared.
Mockup in Adobe XD is a perfect way to have all your ideas on the screen. It allows you to refine your ideas until you create an excellent design for your site or app. It is much easier to develop several mockups than try to replicate them on your app or site later, so it is a technique any designer should embrace.
How to Create Mockup with Adobe XD Alternative
The best Adobe XD mockup alternative is Wondershare Mockitt. This is a tool that can help you create mockups with easy-to-use but powerful features. It has abundant icons and widgets you can use directly to create your mockup. There is also a wide range of templates that make the tool easy even for beginners.

It allows for efficient presentation and preview of the mockup. The tool is clean and does not have a lot of clutter thus you can enjoy the smooth creation of the mockup. It also makes it easy for you to share the mockup with others to get feedback. If you are working on the mockup as a team, you can also do the designing simultaneously. It also allows you to test the prototype by sharing a link to others or generating a QR code that can be scanned with your device camera. This makes it easy to showcase your work and receive feedback from others. How to create mockup step-by-step:
Step 1: Create a new project
Create a blank mockup project by clicking "+ Create > Prototype". Choose a device for your canvas or choose a template to use.

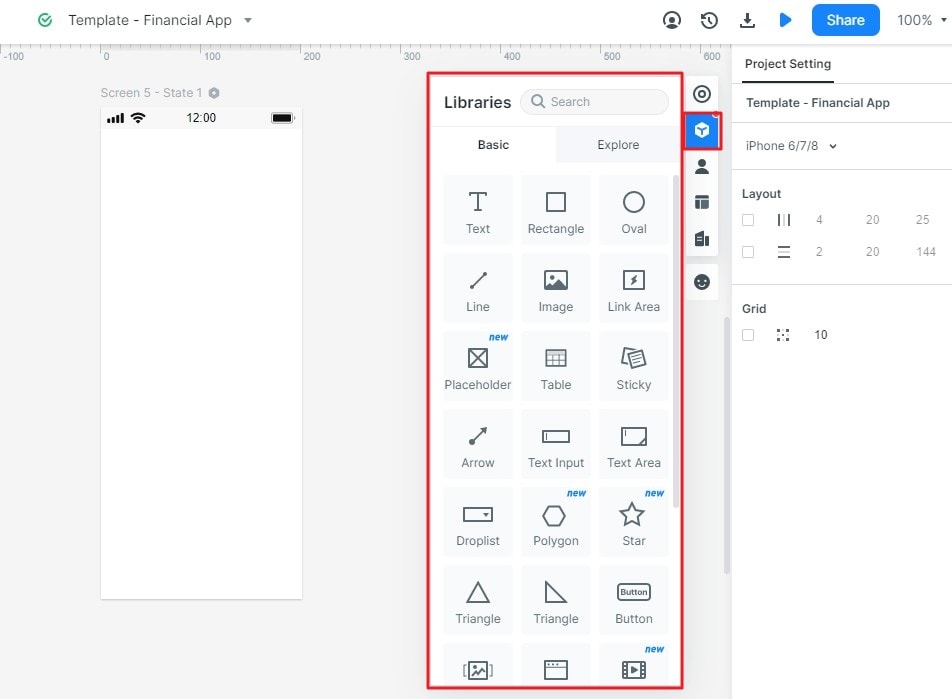
Step 2: Design the mockup
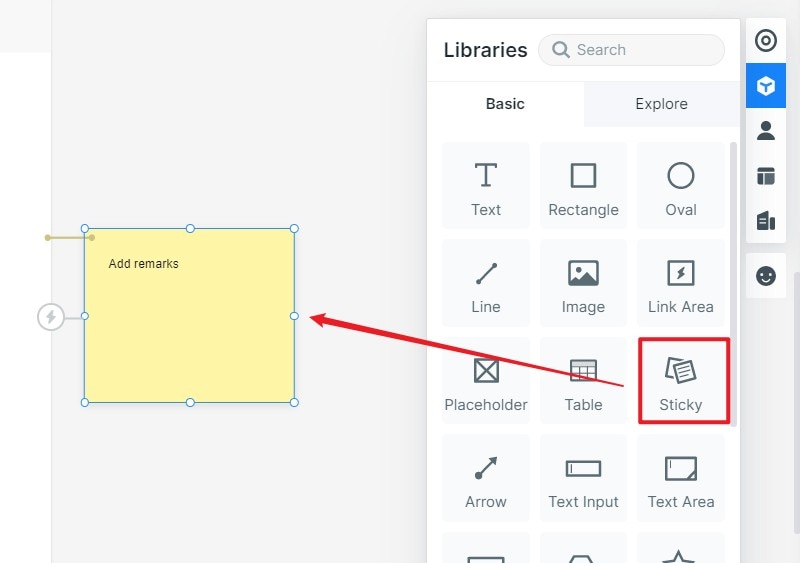
Add widgets and icons from the top-left corner of built-in libraries. Add them by dragging them on the canvas, double-clicking or pressing hotkeys, and draw.
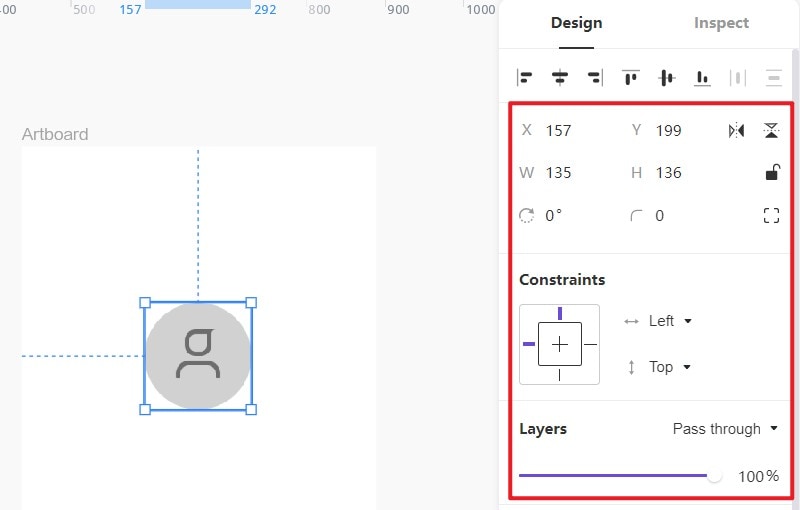
- Edit the widget - in case you need to make changes to the widgets, Mockitt allows you to do so in the right properties panel. The options will change according to the widget you selected.
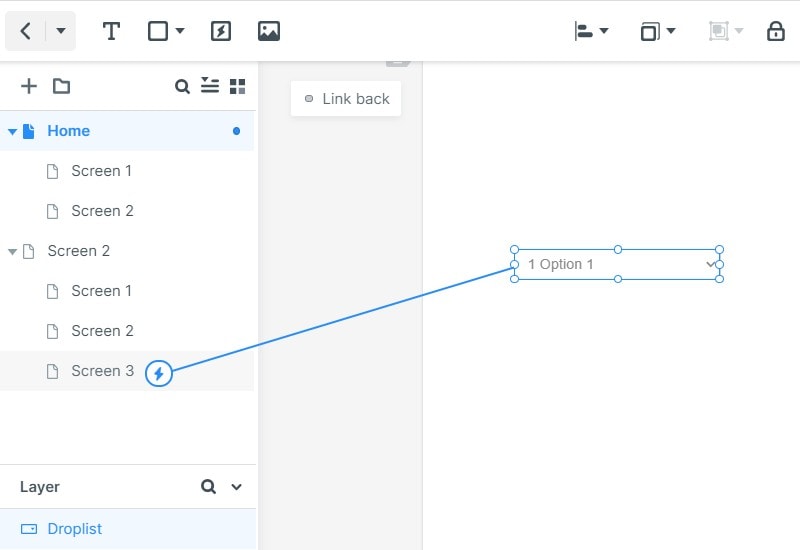
- If you want to make screen interactions, you can drag the lightning bulb to the target screen. And then set the gestures for your interactions.
- Add notes-to give further details regarding your mockup up add notes on the sticky feature found in the build-in widget library.
Step 3: Preview your mockup
- You can preview your mockup on your PC, offline, or on mobile. On your PC, do the preview by clicking "Preview" on the top toolbar where you will interact with your mockup. To preview on your mobile device, click the share button to receive the QR code and a sharing link of the mockup. Open the link on your mobile and do a scanning of the QR code to preview the mockup.

