How to Prototype in Adobe XD?

Creating prototype is an integral part of designing procedure that allows you and your team to preview concept as well as share the early stage of your projects. By developing an engaging mockup of mobile app or a website you can identify any problem that will restrict the flow and usability of the designing before investing your precious time and money. Everyone has a unique concept about the design that can be faired out on various online software and application such as adobe xd prototypes. If you are using it for the first time then the guide given below can help you.
- Part 1: How to Create Prototype in Adobe XD
- Part 2: The Best Adobe XD Prototyping Tool Alternative
- Part 3: How to Create Prototype with Adobe XD Alternative
How to Create Prototype in Adobe XD
Step 1: Signing in
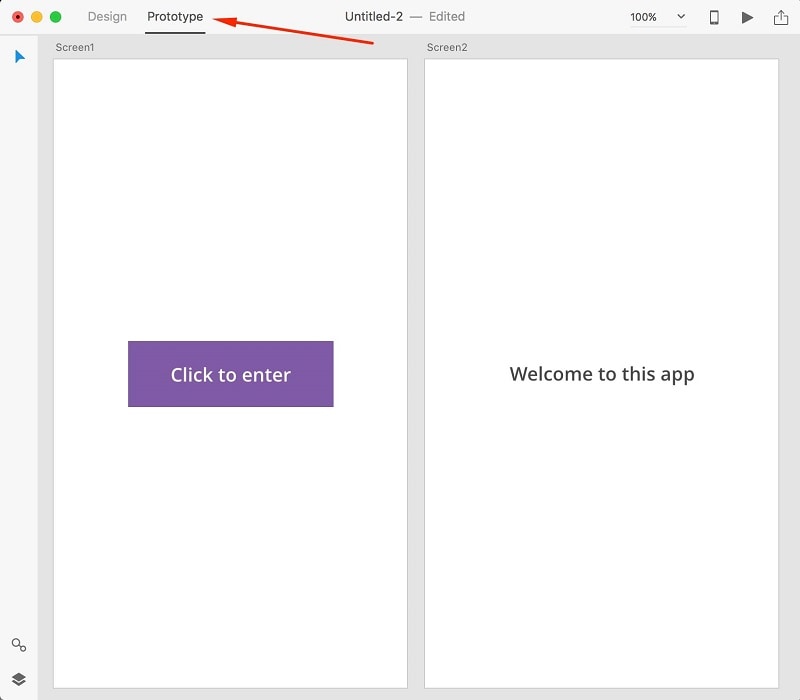
After signing in on the official website, you need to switch to Prototype Mode by brining your cursor on the top left of the screen. This prototype adobe allows you to use its maximum features without any problem to create your best design.
Step 2: Editing the Artboard for Your Adobe XD Prototype
Click on the artboard on which you want prototyping in adobe xd. After that you can see the little home icon on the top left of the artboard.
If you want this screen to be the first screen of your prototype hit the home icon. You can see that the screen turn blue and make it your home screen that will appear after launching and sharing the design.

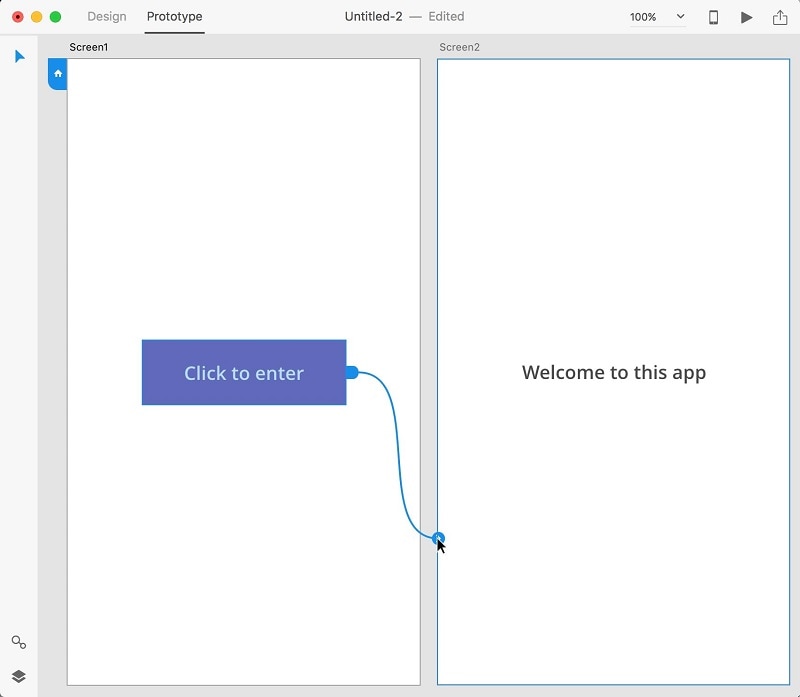
Step 3: Connecting Buttons
To connect the button to your first screen, select the button by clicking directly on your artboard or from the layers panel on the left side. As soon as you do the object will get highlighted in blue color and the arrow will be displayed. Drag the mouse to the screen on which you want to connect the button.
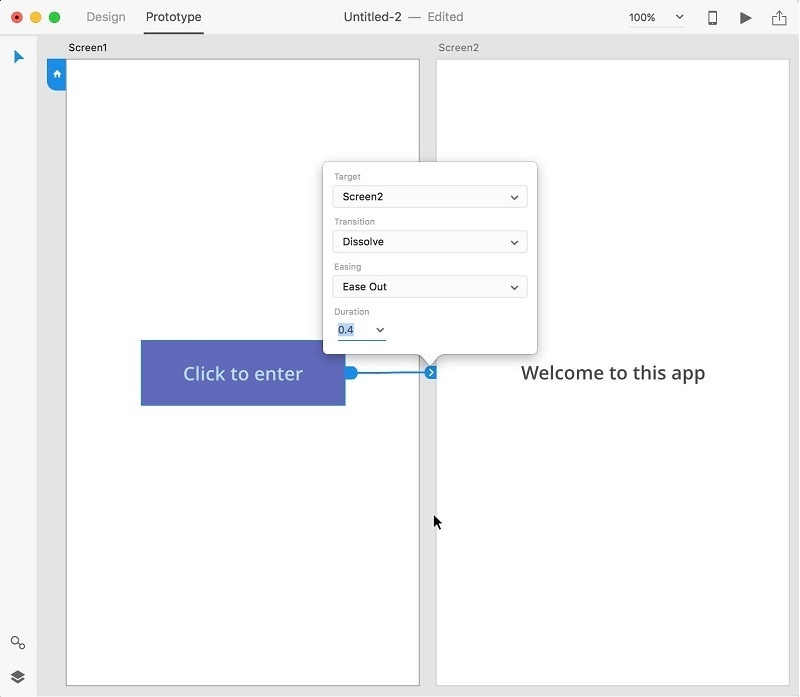
Step 4: Editing the Screen
Target: This is the screen that allows you to connect your object to. Basically, you don't need to change it as this can be automatically done when you connect 2 screens together.
Transition: You can select a bunch of different transitions which you have to change according to the actual flow of your prototype.
Duration: This shows how long the chosen transition between the connected will remain.
After doing such changes in the setting, you can save it for the future use else for setting it to the default just press ESC or click anywhere on the screen.
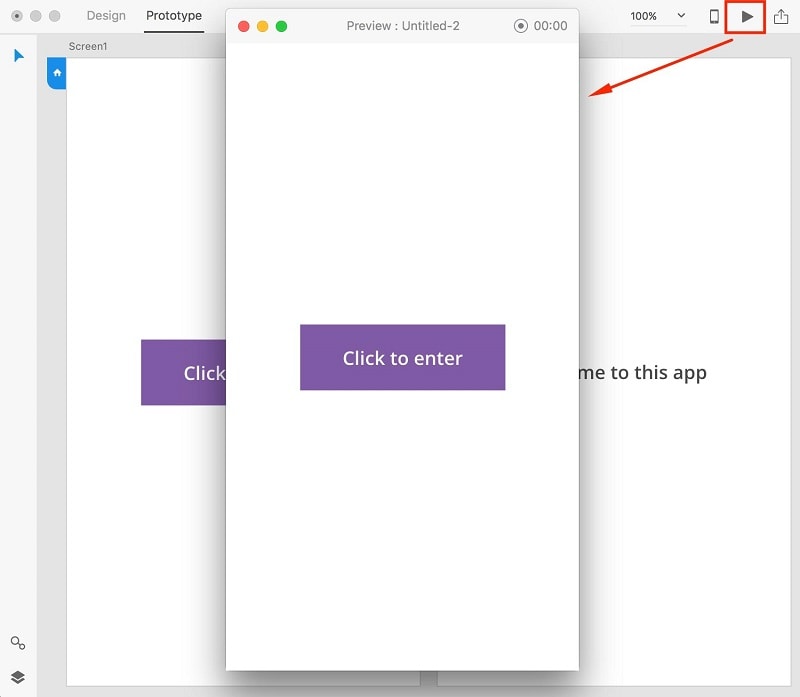
Step 5: Previewing the Prototype
To preview your design in adobe prototyping tool just press the "Play" option on the top right of the screen. As soon as you hit the play button, a preview window will get popup and the selected artboard will be on your screen. Now, you can select the objects you have connected and navigated through the prototype.
The Best Adobe XD Prototyping Tool Alternative
If you are looking for an alternative of Adobe XD then going for Wondershare Mockitt is the smartest decision that have some additional features such as:

- Asset Library: the icons and widgets of the software can be directly used in prototype to make your design without any problem. It also allows you to customize your widgets according to your need and preference. You can also share the assets with your teammates to offer consistency in your design.
- Designs: The software usually has numerous built-in designs that can be dragged and dropped to make the interface more attractive. You can also add your desired images just by dragging it to the screen. It also offers 9 gesture along with 17 screen transition effects.
- Presentation and review: its full screen presentation mode is very useful that allows you to black and white full-screen demonstration to highlight your proposal. You can also share it with other just be hitting a single key.
- Cloud editing: To use the software you don't need to install or update your version. It allows you to make your prototype directly from browser. You don't need to save the changes and editing anywhere. You can do it from any system just by logging in the same account.
- Multi-member collaboration: the best thing about the software is that all your teammates can edit it at the same time without any problem and inconvenience.
How to Create Prototype with Adobe XD Alternative
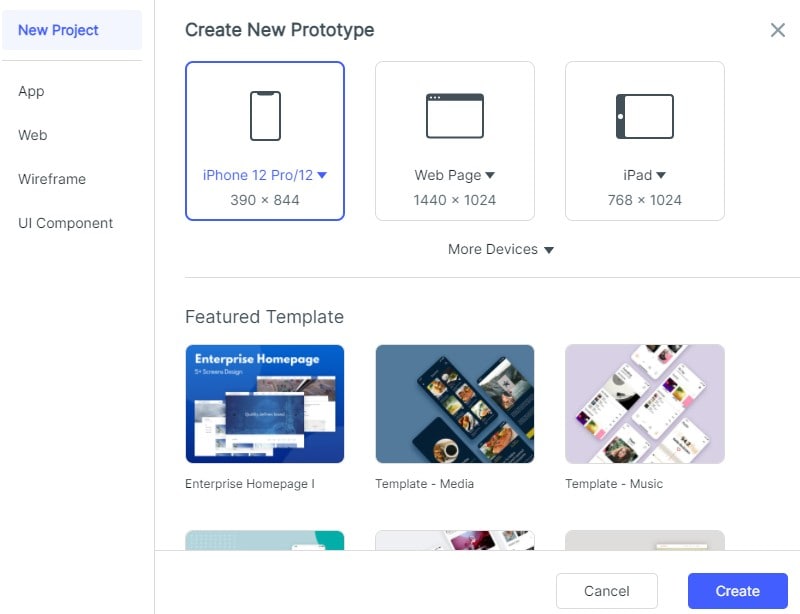
Step1: Login
After creating your account on official website of Wondershare Mockitt, select the type of project and device on which you want to work.
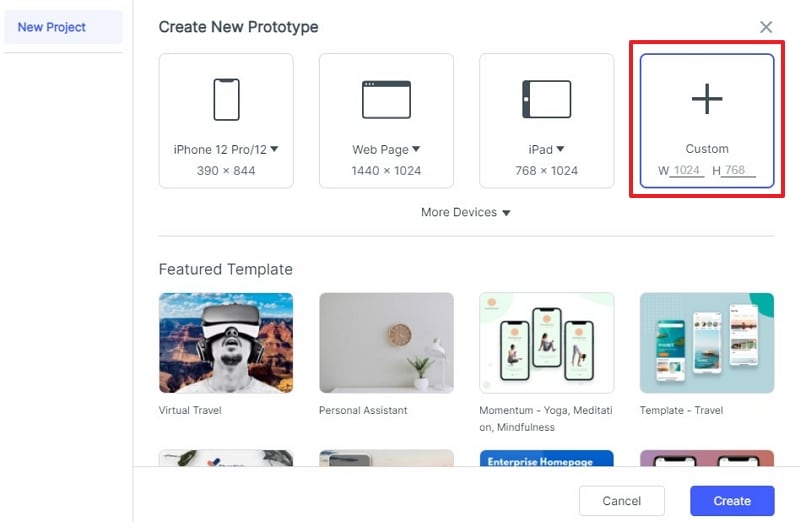
Step 2: Customizing the Project Size and Shape
For editing the shape and size of your project hit the three dots "..." given on the right side of your design and then visit its setting.
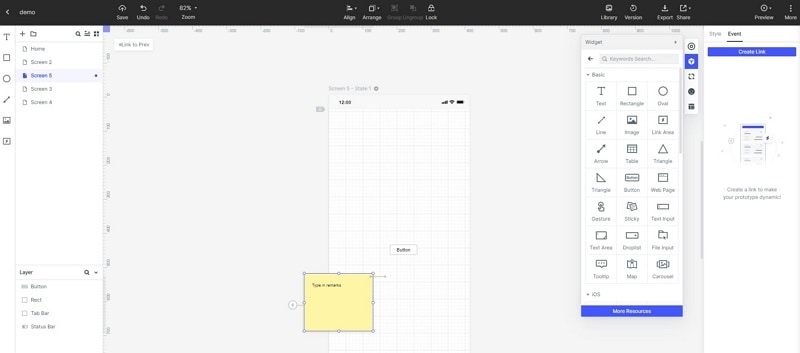
Step 3: Adding Widgets
For adding widgets in your design, you can directly click left side on the screen on the left corner to add desired one from the fast widgets. You can also directly drag and drop the widget or double click on the desired to add in the canvas.
You can also add some Build-in widgets, My widgets and Icon given on the right side.

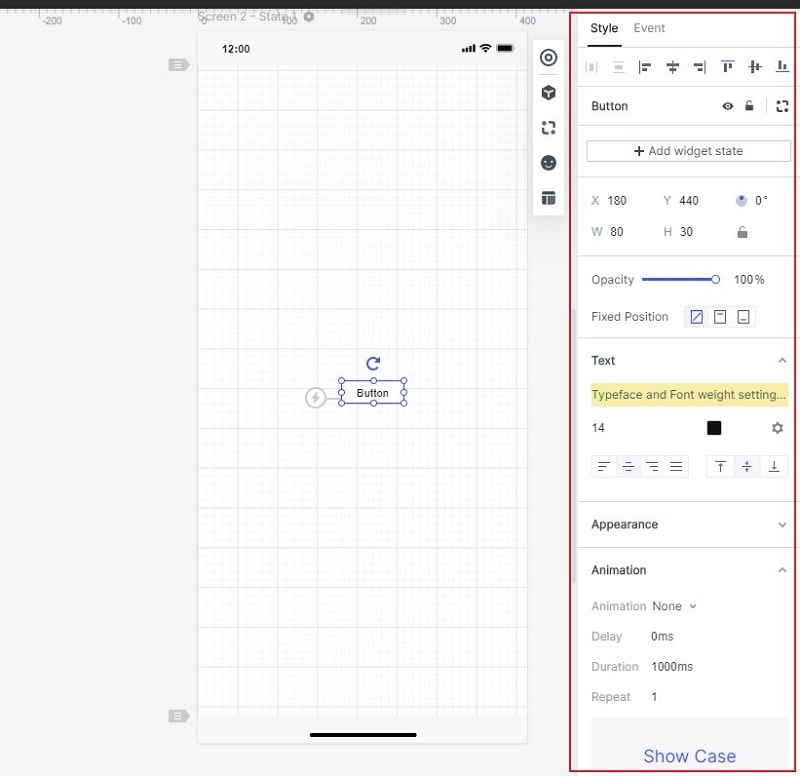
Step 4: Editing Widgets
It allows you to change the property directly after entering the widgets in the canvas.
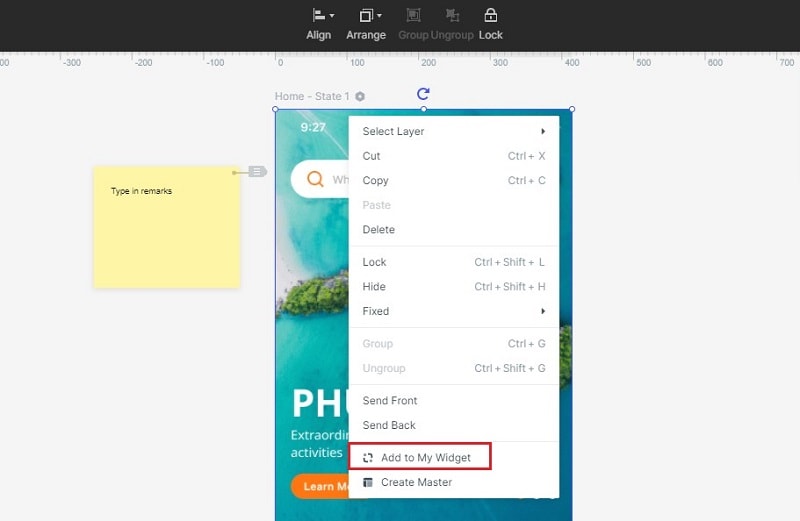
Step 5: Saving Widgets for Further Use
Widgets can be saved for further use by adding it to "My Widget" option in the library. You can also do that by dragging it to "My Widgets" option or by selecting "Add to Widgets"
Step 6: Adding Links Between 2 Screens
To add link between 2 screens select the widgets and click "New Link" option in the panel given on the right. After that set the action, target, gesture, state and screen also the animation for the desired widgets.

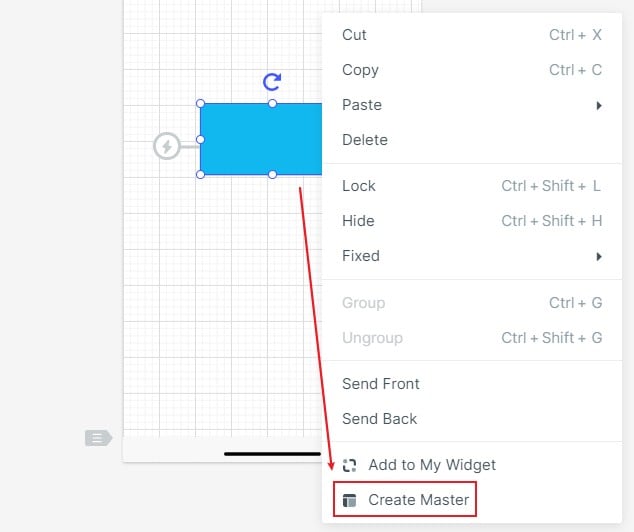
Step 7: Converting Widgets into Master for Bulk Editing
Select the widget by pressing the right click to "Create Master". As soon as you click on the option, it will be saved into the master library of the software.
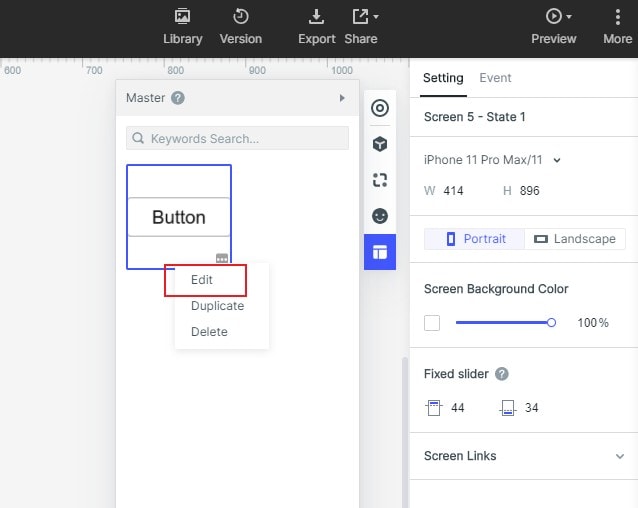
To change the master setting, hit the edit option.
Step 8: Adding Notes for Widgets and Design
You can also add the notes by selecting the "Sticky" option of the widget library.
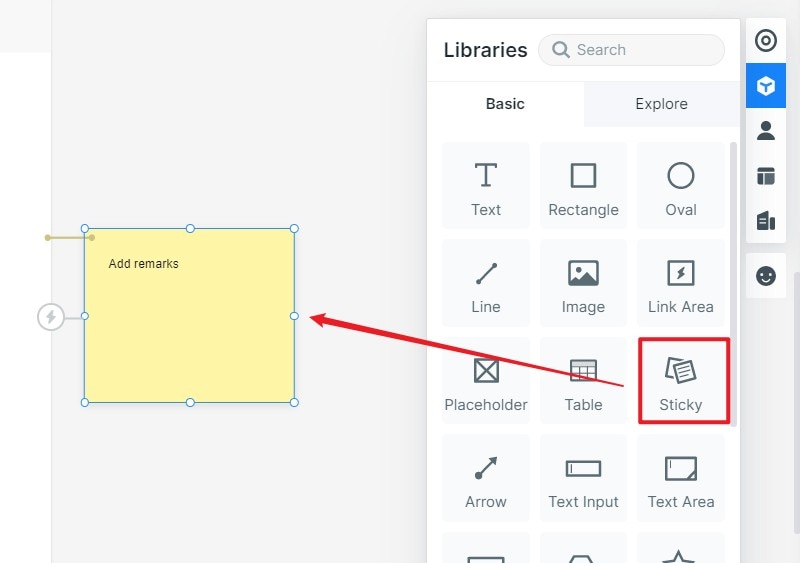
As soon as you hit the Sticky option it allows you to enter your desired text without any problem.
Step 9: Using Scree Widgets from Templets
To use in-build screen widgets select "UseDemo" to enter the project.
To select your desired screen for making prototype click on the option "Move to" to the targeted project.
To use desired widget in the template press the right-button on the widget and select "Add to Widgets" and it will get added in my widgets library.
Step 10: Managing the Assets Library
You can delete, add and create folder easily in the software without any problem. For adding images in the canvas, you can directly drag and drop or select the image by labelling in the blank area.
Batch management can be done by just pressing shift or ctrl key to select multiple widgets or images.
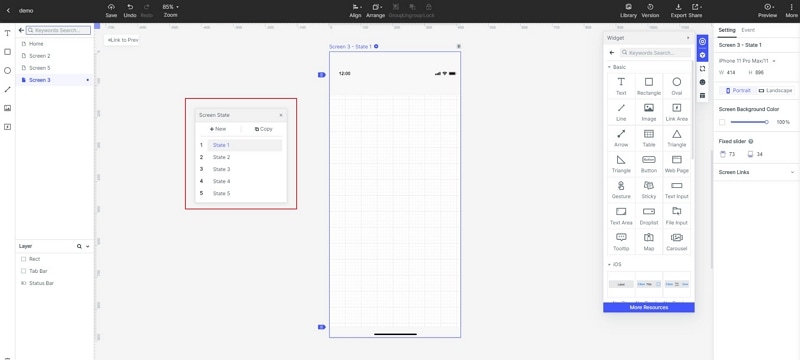
Step 11: Adding Interactive Animation to the Project
Screen state can be used to add engaging and interactive content in the project easily. It also allows you to change color, shape and size of the image.