How to Create An App for Android: Step By Step Guide
In this tutorial, I will teach you the fundamentals of how to create an App for Android. I assure you won't be required much code utilized in this tutorial. Thus, lacking previous programming knowledge, you will be able to create an android app for free. As you know, a fully functional android app can execute tasks swiftly than a website. The majority part of the users became affectionate of it since they can save time getting faster hands-on actions. If you are a newbie, this practical guide will help you either entertaining hobby or achieve a potential career in mobile development.
How to Create Android App Online
Above all, Android App acquires a substantial market that is uprising as a new revolution. Nowadays, it is turned into a super fast-growing field of people's choice. You can't deny their inevitability as they became indispensable utility for the surviving peoples in this competitive world. Learn how to create an app for Android free, not that a big deal if you have the right App creator software.
Step 1. Create the Android App Wireframe
You may have already heard about Wondershare Mockitt, one of the supreme prototyping software all over Asia. They offer bountiful resources to create an Android App online. Let's learn how to create an Android application with Wondershare Mockitt which has a global winning appreciation and lots of innovative features. Thus, to begin your journey with me, you need to go to the website. Then download it using the installer, which may standardize with your current device. In the meantime, select device type as Andriod to create a free Android App. E.g., to create an App for Samsung Galaxy Note 20, select the Samsung icon from the menu. Pick a proper name that has relevance with your project and apply it.

Step 2: Design the App
Before designing your App, you need to create a prototype background by adding Design Templates , Widgets, Icon, page transition, gestures, animation, and color schemes, etc. To add Fast Widgets to your canvas, select properties toolbar, and follow the instructions below:
- You have to Double click the widgets and drag them to the canvas.
- To start drawing, press the hotkeys.
- Double click the widgets again and drag the widgets on the right to the canvas to add three types of assets. They are Icons, My Widgets, and Build-in Widgets.
- To amend the Widget's attributes in the Inspector Panel, click it.
- Save their elegant style for reuse later.
- To add that Widget to the "My Widget" library over two ways.
- Drag that Widget to "My Widget" panel and right-click it to "Add to widgets."

Step 3: Manage Asset Library
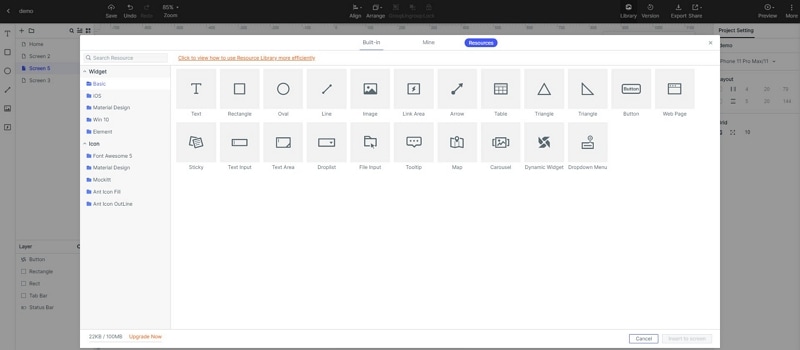
In Wondershare Mockitt, you can create Android Apps online. They will offer you a miscellaneous Asset Library that can rapidly and proficiently entrée the vital resources. You need to know how you can manage those and apply them for your proper uses. You can move, copy or remove your previous widgets, make folders, and put them there. Multi-selection is also applicable by using Shift or command/ctrl key down. You can upload images here directly.
- Firstly, I would like to suggest you create a folder, add images, and categorize them on their names.
- Secondly, upload all supported format or drag and drop the image directly into the blank area. Give the proper label of all entities, if required.
Step 4: Make the Team or Collaboration.
You can create Android Apps by making the team and in association with their collaboration. Invite the other group members, talk to them to build a startling and well designed Android App. Creating comments, you may also make conversations with them.
Step 5: Add Audio or Video
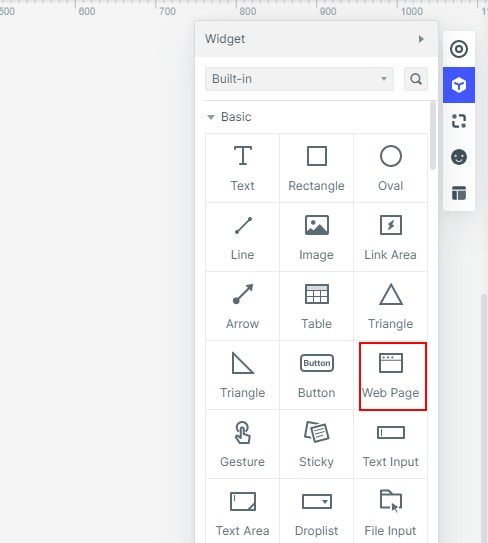
Find out your favorite audio or video clippings. Click "Generate an External Link Player" and pick that URL and save. Drag a "Web Page" widget in your scheme and set that URL to your project.
Step 6: Add Google Spreadsheet
To add a Google spreadsheet on your project, you have to follow some easy steps. You will get embed code when you go to the File menu and click Embed tab and connect Publish. Paste the URL in the embed code into the application software. Now click the 'Launch' tab, you might see an embedded spreadsheet into your screen.
Step 7: Create Interactive Animations
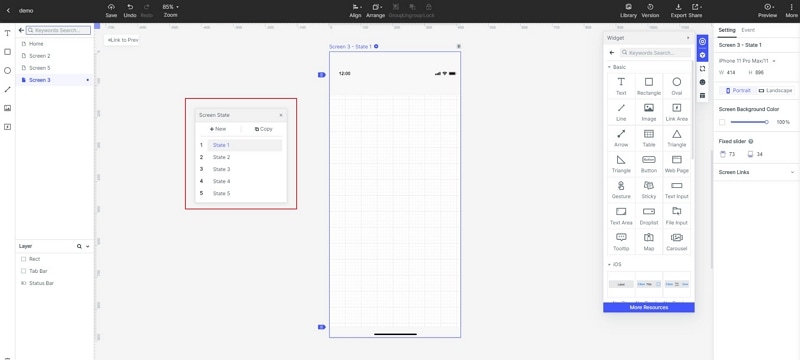
Animations are the portfolio of narrating stories and converse emotions attractively. They are as much as essential while they share human ideas exclusively and proactively. Applying State and dynamic methods, you can make fantastic animations for your Android App, in Wondershare Mockitt software. The details process is elaborately discussed in here. Follow the links straight away and learn to make multipurpose animations.
Step 8: Add Links between Screens
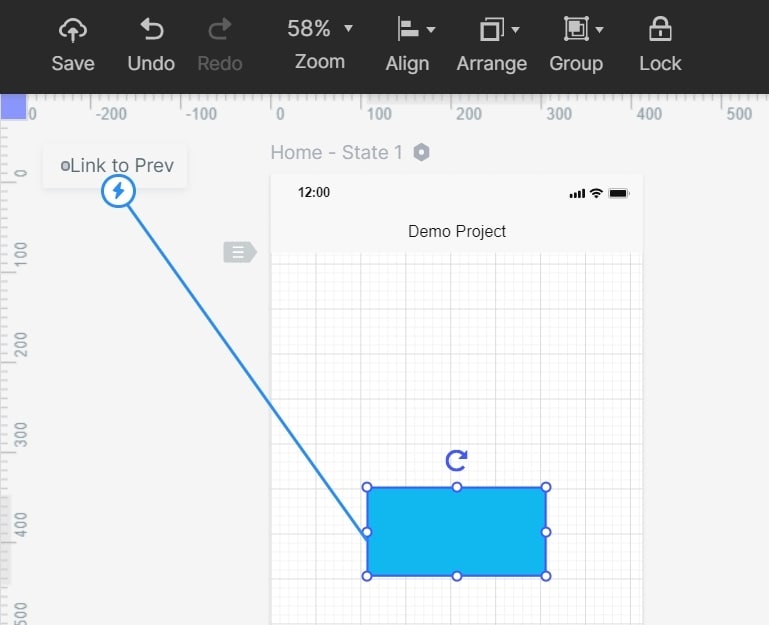
Wondershare Mockitt will allow you internal linking between screens to set animations, page transitions, gesture, action, target screen for the Widget. These facilities enhance the possibilities of making a perfect App for you. For creating an Android App and better learning, I am also sharing a YouTube video for you!
https://www.youtube.com/watch?v=TfsZDaQ7qPQ&t=2072s
Step 9: Add Additional Features as Per Requirements
It also allows some extra features which you may include on your project. They are:
- Make Interactive Static Design Files.
- They offer to preview your prototypes, either mobile, pc, or offline.
- Handoff design to developers.
- Import and prototyping Sketch files to Wondershare Mockitt.
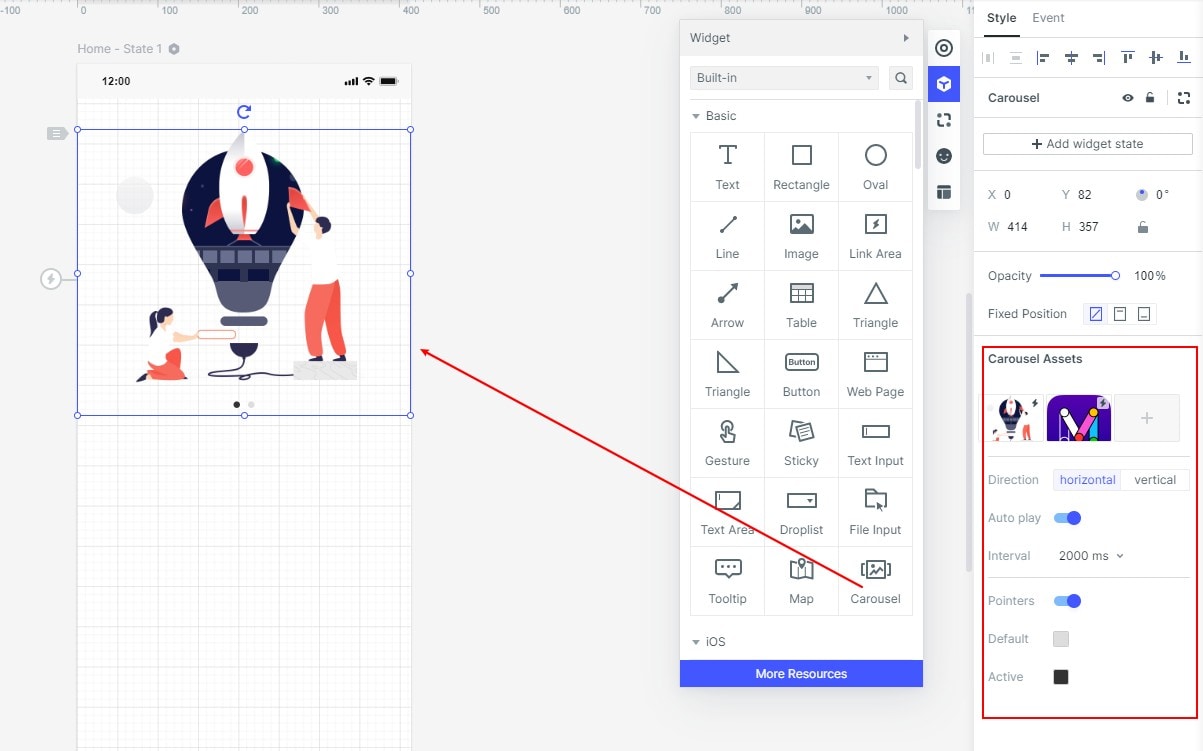
- Make a Carousel and many more opportunities.
Step 10: Download as HTML/APK :
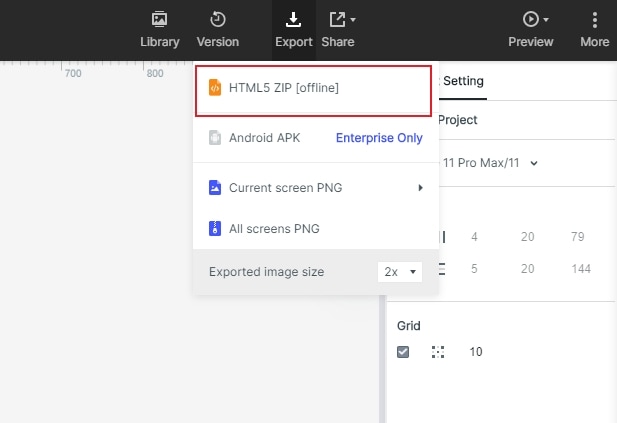
- To Download the HTML demonstration package, you have to download "HTML5 ZIP". Make use of Chrome to view the index.html file after opening the Zip.
- Install and Download "Android APK" to get direct code from Wondershare Mockitt.
Step 11: Test the App and Launch it to Google Play Store.
At this stage, I am pretty sure that you have already learned to create an Android App. Now you need to test it to find out the shortcoming and debug to overcoming it. Testing the App, you need to Play Console and pick the application option. Choose a language by default and give the name and title of your Android app. It would be better to create your App's store listing, set price, and Launch it to distribute the entire virtual world.
Summary
In conclusion, I must appreciate your effort and sincere enthusiasm that you have read the whole article passionately. As you intended to learn how to create an App for Android, I recommended the best solution! Try for once, I must say, using Wondershare Mockitt to furnish your dreams real, and you will never get disappointed.

