How to Create Your Own App in 5 Steps
Creating your own app is not complicated at all. There are tools and techniques that make the process easy, even for beginners. The most critical thing is to ensure you have a goal you want to attain with your app. The goals you have guide you on how to go through the process from the first step to the last. You need to take time to learn how to create your own app instead of rushing to start the task; then you fail in the end. As a beginner, this article offers you a comprehensive guideline on how to create your app successfully.
5 Steps to Create My Own App
1. Research and Define App Features
As you look forward to create your own app, the first thing is to carry out thorough research and define the app features you should include. You need to create an app with friendly features that do not distract the intuitiveness of the end-user experience. The app you create should fill a particular gap in the life of your targeted end-user. It must serve a critical purpose or solve a specific problem. Only include features that make it usable. Do not include a lot of features to avoid making users get confused about its core purpose. You can carry out research to find other similar apps and find all their features. Then, look for a way you can improve by adding another feature that will make your app unique from similar apps. The features you include in your app should offer the following:
- A rich experience
- Easy and intuitive user experience
- Seamless checkout
- Personalised experiences
- Simplicity
2. WireframeYour App and Create Your App Use Cases
After you have done the research and determined the most crucial features to include, wireframe and create the app. To get the best results, you need to use Wondershare Mockitt that allows you to wireframe simply and fast. The tool is helpful when creating apps because of its rich features. It offers multiple platform prototyping that helps it support app development for various devices including pad, iPhone, watch, Android and others. This feature allows you to change your device size the way you want.
This tool has a lot of design icons and widgets. Some of the widgets include video, text, image, material design library and other icons that enable you to design wireframes fast. The tool also offers several gestures, animations and page transitions you can implement as you create my own app. There is a sketch plugin you can use to sketch your file and link screens to take your app designing to higher levels. In case you want to involve a group as you create the app, Wondershare Mockitt allows you to collaborate with your team. The other critical feature that makes the tool outstanding is the opportunity it gives to get feedback regarding your app. This allows for improvement to make it more user friendly and functional.

Here are steps on how to create your own app with this tool.
Step 1: Login and Create Project/Wireframe
- Login and click create project as a blank project.
- Go to settings, change the size, name of the project and then save.

Step 2: Create the Wireframe
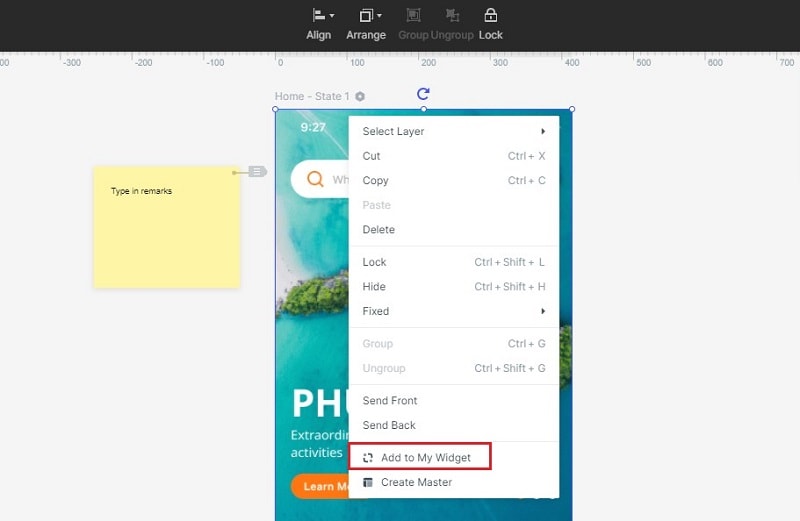
- Add icons and fast widgets by clicking, dragging them to the canvas or pressing hotkeys and draw. You also get my widgets, build in widgets and icons on the right side. Add them by double-clicking or dragging them to the canvas too.

- You can then edit and save the widgets to use in the future.

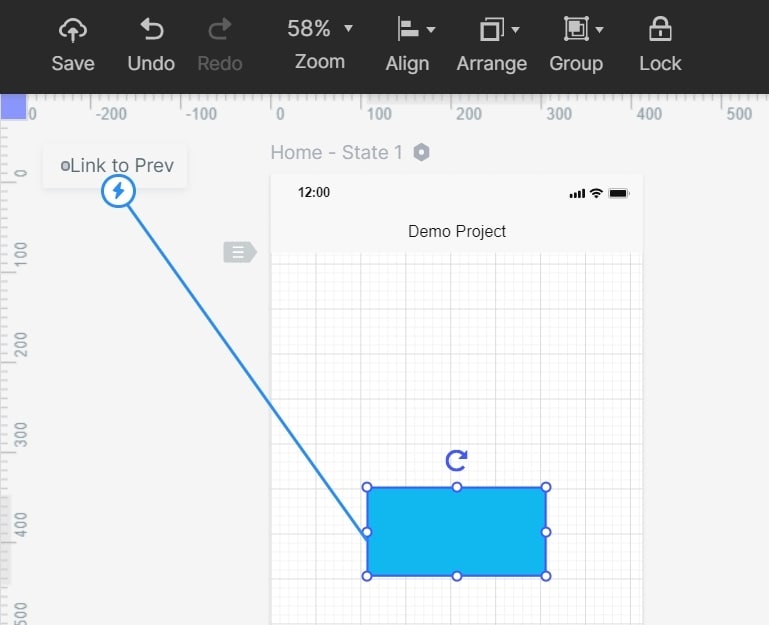
- Add links between screens by choosing a single widget and then clicking the new link found in the link panel on the right side. You can also do so by dragging the link icon to the targeted screen. After that, you can now set the action, gesture and animation for the widgets.

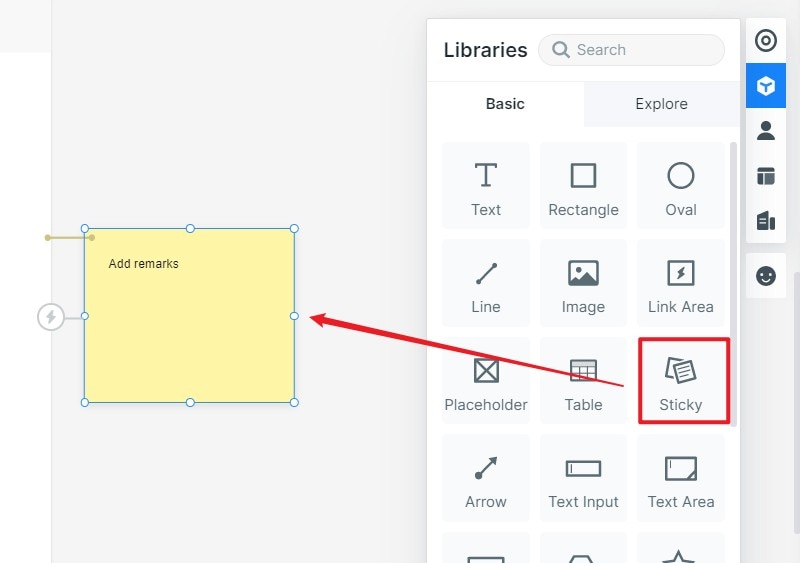
- You can then add notes for your app design by using of sticky a feature you find in the build-in widget library

Step 3: Preview the Wireframe
- Preview your wireframe to find out if it is perfect according to your ultimate goals.

3. Build your App
Once you are satisfied with the wireframe you have created, you can start to create your app. Use the wireframe created and use it to create technical specification. The specification offers you more insight into how the app will work. Check the wireframe and make an assessment of the technical challenges. The technical specification will help you find other options to achieve your ultimate objectives and do it right the first time.
Set time frame on when to complete specific tasks as you create your own app. This helps you track your progress and help finish the app within the right time. After setting the timeframe, then think about the essential features to include and how to do it. First, build the features your app requires to function, and then make other considerations later on.
4. Test your App
Once you are done incorporating the most essential features in your app, it is time to test before launching. Test it on real mobile devices and ensure it is checked for everything. Ensure it is working well offline, online and so forth. Never do the testing just on your phone and assume it is perfect. Testing the app helps you detect bugs and other issues that might hinder its effectiveness.
5. Launch your App
Once you are satisfied, the app is working correctly; it is time to launch it. Get it into the hands of your targeted end-users. Focus more on visibility, uptime and ensure it is fully functional to your users. Launch it on several app stores, including google play store, which is the most popular platform. Go through all the launch guidelines and adhere to all of them for quick launching.
Summary
Generally, the above are simple steps on how to create my own app. The most important thing to know is that the app you develop should be determined by your ultimate goals, industry and several other factors. To create your app fast and successfully, Wondershare Mockitt is the best tool to use. With all the features it offers, you can be sure to build an app without a lot of hassles and one that offers your end-users a great experience. You can build and do the mockup with this platform, so you are sure you are launching a valuable product to target users.

