Using 7 or Fewer Steps to Make Your Own App

In modern days of an App-oriented daily lifestyle, the next thing that comes to mind can be availed through an application installed on mobile phones. The diversity of the apps and their usage made them grow fast, and with every passing day, thousands of apps are being developed. With the curiosity to design an app, there is multiple prototyping software that helps design an app of one's idea. For developing apps, one must know how to design an app and understand its prosperity.
How to Make Your Own App?
Creating an app is more than just designing it. Before using any prototyping software, one must have a basic plan behind creating the application. Planning of how to create an application:
1)Sketch your Ideas and Define app features: - An idea is essential and present behind every successful story. An idea can be big or small, but what matters is its relevance. An app consists of many features, and all the features are not necessarily useful, but they help to make your own app complete. Writing down an idea of an app with its all features is the first step to design any application.
2)Research the market and your target users: - Starting market research from the initial phase helps to understand the business model after launching the app commercially by focusing on the competitors in the market and the demand of people regarding it. It's also essential to market your app correctly, so it reaches the right people.
3)Wireframe your App: - Wireframing is creating a layout for a website, webpage, or application. It's more of positioning interface (UI) elements and approachable aesthetics. It entirely depends upon how do you design an app.
Wondershare Mockitt is the best and easiest prototyping software to find your answer for how to make my own app. One can create several wireframes and prototypes freely on this online platform. It has multiple widgets and icons already in the tab of "Built-in" to create beautiful designs. The simple drag and drop method is easy to master for any user to create an excellent interface. Here is a detailed description of how to make your own app through - Wondershare Mockitt:

Step 1: Create a new project

- Start by choosing 'Create Project' after logging in.
- Choose a blank project and choose the correct device type.
Step 2: Start Designing
Widgets and icons

- There are assets on both sides of the canvas. On the left side, there are 'Fast Widgets', and on the right, there are 'Built-in', 'My Widgets', and 'Icon'.
- Simply Double click on the desired widget or drag it to the canvas from the panels.
- The edited widgets can be saved for future use by dragging to 'My Widget' or by right-clicking it to 'Add to My Widget' to create your library.
Links between screens

- Choose 'New link' from the right panel to set a gesture, action, or animation to it to the selected widget.
- Audio, video and spreadsheets can be added by putting its URL link for the desired file and publish it.
Asset library and Dynamic widgets
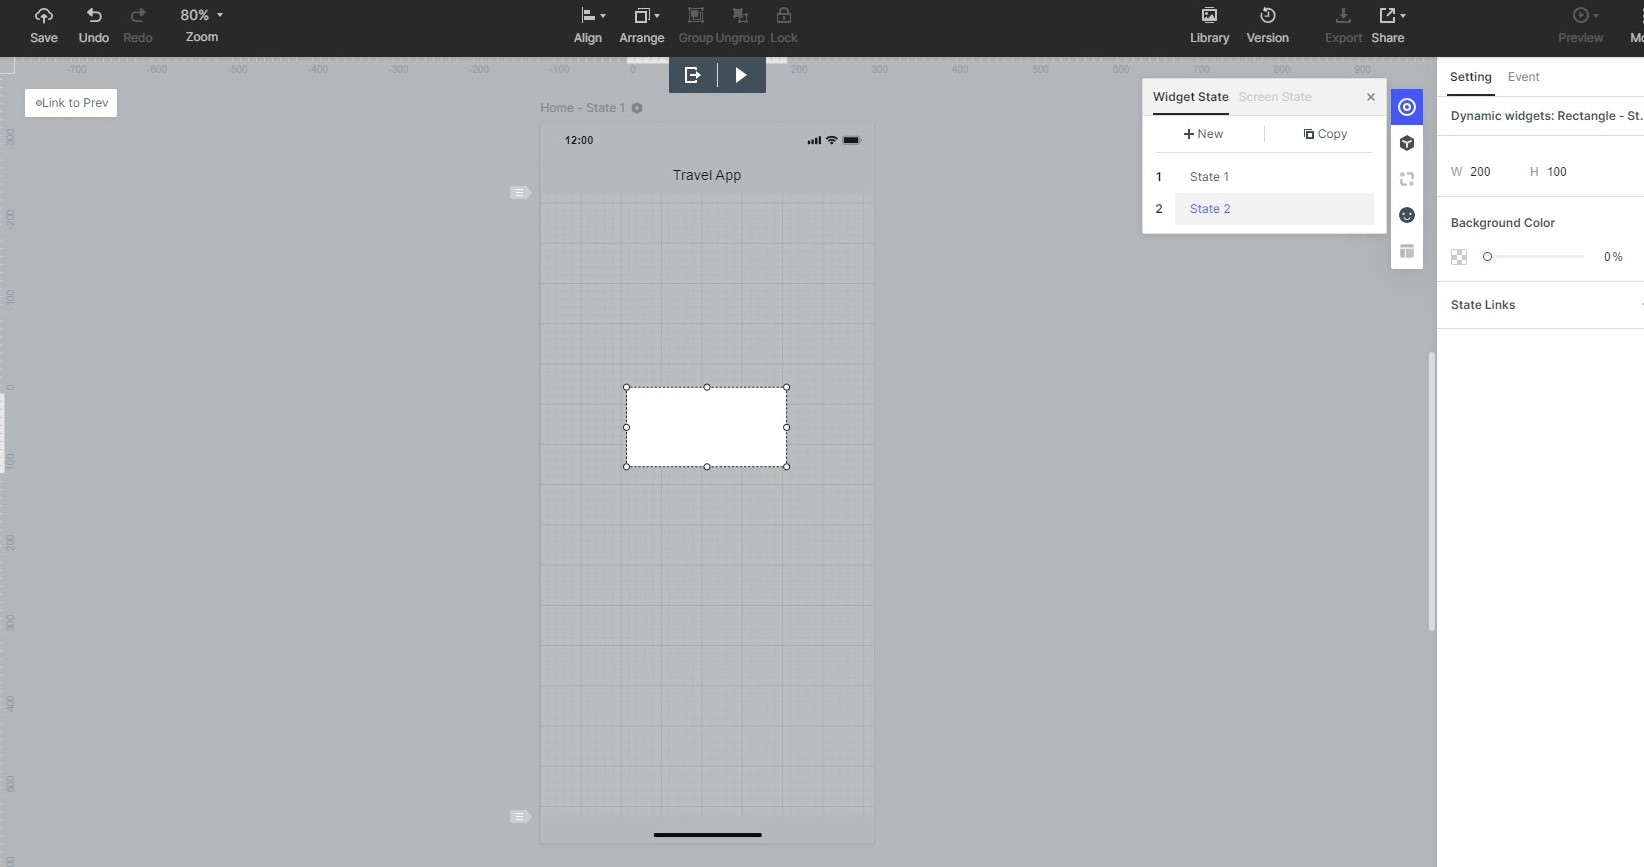
- Numerous widgets and icons in the asset "Library" and "Built-in" templates as a demo.
- Dynamic widgets help add interacting animation and manage screen states by changing the shape, size, and color of an image component present on the screen.
Step 3: Preview your design

- You can click "Preview" to test the prototype and interacting with animation.
Step 4: Share your design
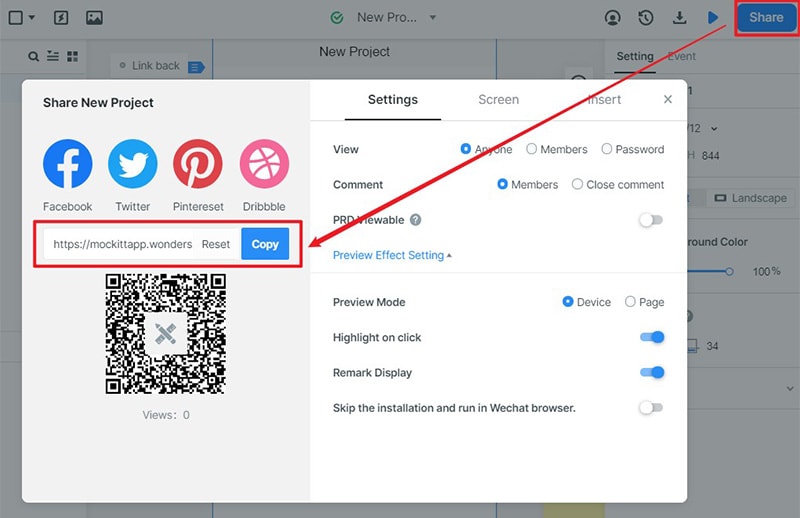
- After designing, move to "Preview" you will see the option of "Handoff", here you can send the code to the developers.
- You can simply share the design with your team through the "Share" link or QR code.
4) Build your App: - After getting done with wireframing, it's time to put on a layer of graphics that makes an app even more visually pleasing and attractive to its users. Beautiful designs tend to attract more users than just a blunt outline.
The crucial part of the app development process comes where one has made the codes for both ends, Front, and Back. The Front-end handles graphics, animation, Interface, and navigation. However, the Back-end deals with networking, databases, and storage and management.
5) Test your App: - When the app is fully developed, you need to test your app as much as possible. You can take the help of the many beta tester tools online to that. Make sure your app and the features are working correctly for the correct device. If you find some error, work on the development again and retest it until it's good to launch.
6) Launching the App: - After getting done with the testing, it's time to launch the app in the Play Store or App store to reach all kinds of users as much as possible. There are thousands of unique apps among which one particular application of yours has to make its move. So an app needs to reach its right kind of user base. It can be done by boosting it through different social media sites.
7) Collect feedback to optimize your app: - One might think this is the end of the process, but for the newly launched app, it is just the beginning. To keep an app running correctly and getting used by people, it is essential to keep track of the feedback and continually work on it. Providing updates as per user's complaints and requirements help build a more significant market and healthy relationship with the users.
Summary
App making is an intriguing process of turning an idea into a finished platform where one can interact with almost anything. Thousands of apps are being created every day, yet your app can create a difference depending on your apps' nature and relevance. No matter what kind of app you are building, - Wondershare Mockitt, as a prototyping tool, will always help you get the best version of your idea without any professional expertise.
