How to Make Interactive Prototypes with Figma
Figma Interactive Prototype has been a game changer in the design world. Every day, the world of design tools grows bigger, with new and innovative ideas springing to further reshape the way we see design. Moreover, it is an exciting new world where promising programs are frequently launched in rapid succession.
- Part 1: How to Make Interactive Prototypes with Figma
- Part 2: Step for Making Figma Interactions and Clickable Prototype
How to Make Interactive Prototypes with Figma
In particular, Figma Interactive Prototype has slowly become the preferred and most distributed choice for design teams for many reasons. It has the potential to support the entire design process, sketches, feedback collections, and even collaborations. Interactive prototypes are well within its capabilities. One of the main things that also set Figma apart is the fact that it is web-based.
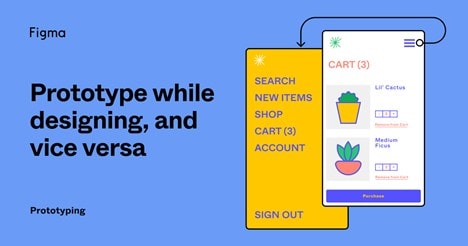
Figma interactive prototype has features that allow its users to create interactive flows that simulate how you may interact with your designs. It is a great way to preview interactions and user flows.
Step for Making Figma Interactions and Clickable Prototype
Prototyping in Figma allows you to build connections between frames, deliver triggers and actions, and also create transitional images. It enables you to bring your prototypes to a higher fidelity. So, how do you go about it? The following is a description of how to use Figma in creating interactive prototypes:
- Step 1. Click prototype bar - You can enter the prototype section by clicking “prototype’ at the top of the properties panel. That is where the construction of your design will take place.
- Step 2. Customise prototype interaction: Selecting a connection will open interaction detail windows from the right side of the panel. You can also view and select the trigger, actions, transitions and other properties of the animation.
- Step 3. Select an image: You can select an image from the web or your library. When the image is displayed, there is a button on the right side of the elements indicating where the prototype connection can begin. Figma will create a connection between the thumbnail element and the destination frame.
- Step 4. Choosing your prototype animation: This is relatively easy to use. You can choose a wide range of options such as transition type, dissolve, smart animate, etc.
- Step 5. Change starting frame: To change the starting frame, all you have to do is simply click on the blue arrow on the frame to show the starting frame.
- Step 6. Connecting multiple elements in the same frame: Figma will show you how hotspots can be used to create multiple elements in the same frame. It will also connnect you back to the starting frame.
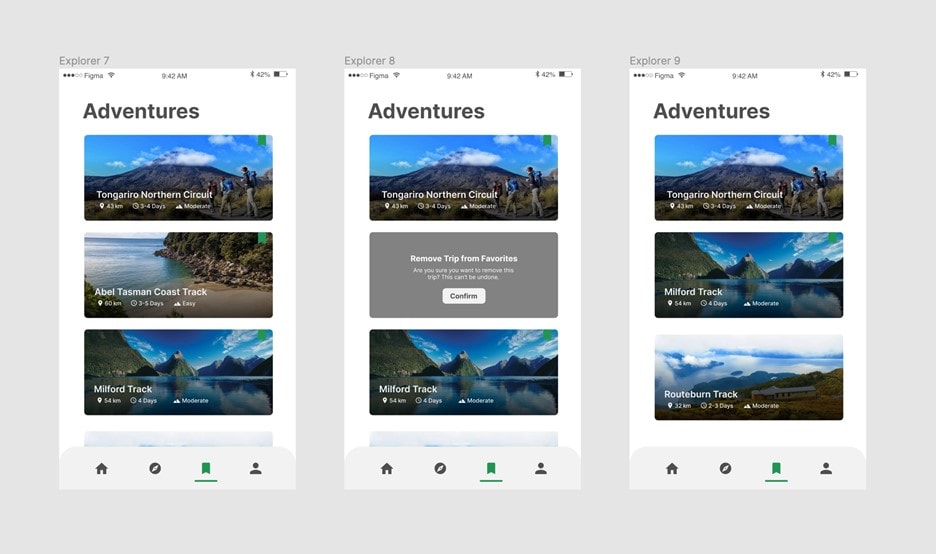
- Step 7. Preview your prototype: And finally, to preview your prototype, all you have to do is put it in presentation mode. How to Create Interactive Prototype with Figma Alternative
Wondershare Mockitt is great prototype tool with no coding required and optimum functionality. It is also a great alternative to the Figma Interactive Prototype. This design tool comes with vast gestures, rich animations, components, widgets, and transition effects that bring all your design projects to life.

Creating an interactive design prototype with Mockitt is simple. With its easy and clean simple interface, even a beginner can create a highly-interactive prototype. While using the it, you can register for the free package trial and then opt for the personal and enterprise packages later on.
Mockitt comes in different packages and bundle savings plans suitable for different budgets. Regardless of the Mockitt package that you choose, you can be sure to enjoy creating fully interactive prototype design. Here are the steps in creating an interactive prototype:
Step 1. Create a new project:
Click on the “Create” button and then “Prototype”. While creating a new project, you also have the option to choose the size of your project while coming up with its design.

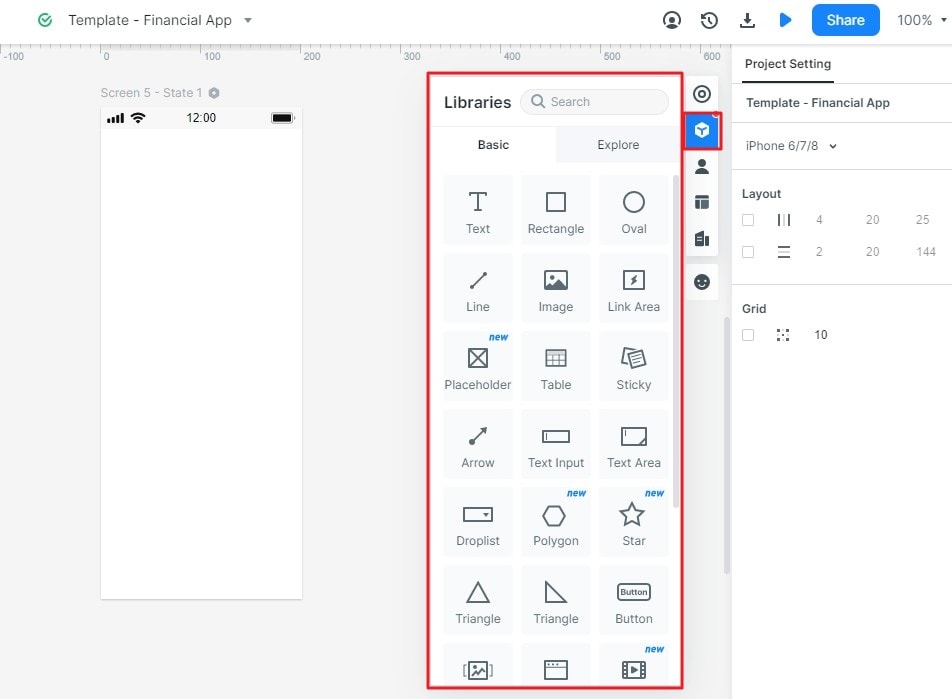
Step 2. Design with components:
The design process is simpler when using Mockitt. Double click a component from the library on the right side of the platform. You can also drag and drop your components on the screen.
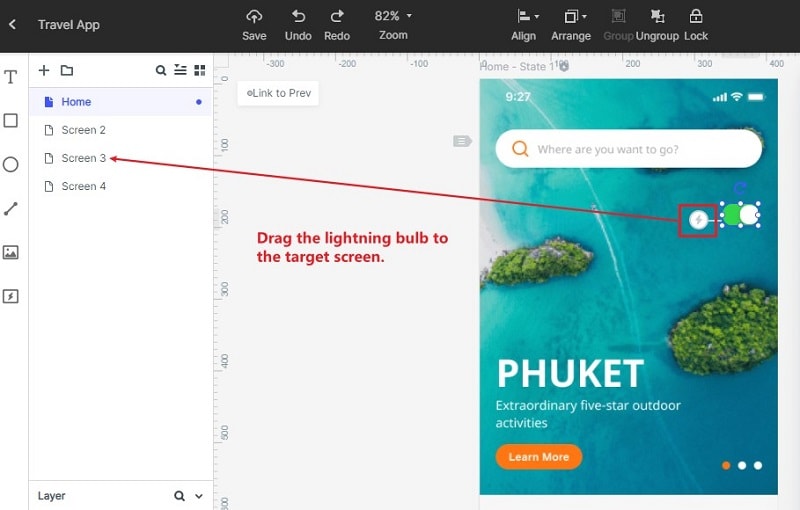
Step 3. Add interactions and animated gestures
To do this, you will have to link each element to its targeted page stage. Drag the link icon to the widget. Edit the link to establish a gesture and trigger transitions on the right side of the platform. You can also select an animation effect for your transition. This step can be repeated for interactive components.
Step 4. Preview your interactive prototype:
You can preview your prototype design by clicking on the preview button on the right upper side panel. Then, zoom to the right percentage so you can preview the designs properly.

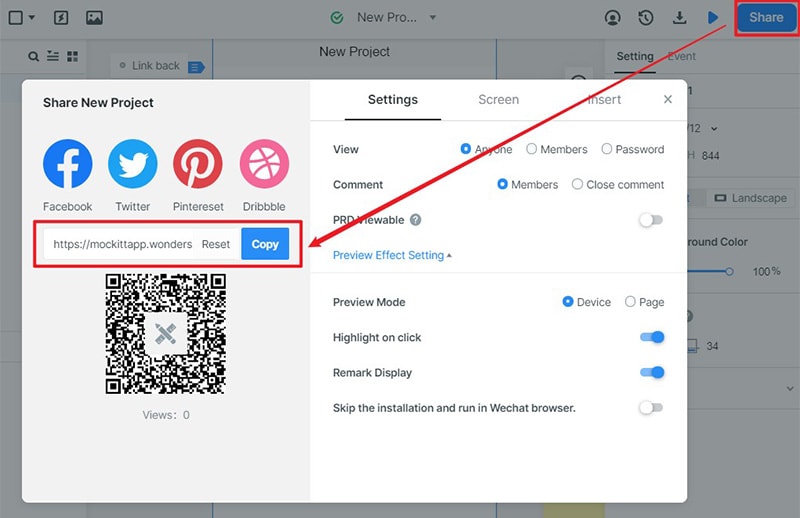
Step 5. Share your interactive prototype:
Another wonderful thing about using Mockitt is the ability to share your design with others. Click the “Share” button to get a QR code or URL to share it with others online. This is one of the exclusive features; it is only available when the tool is being used to create interactive prototypes.
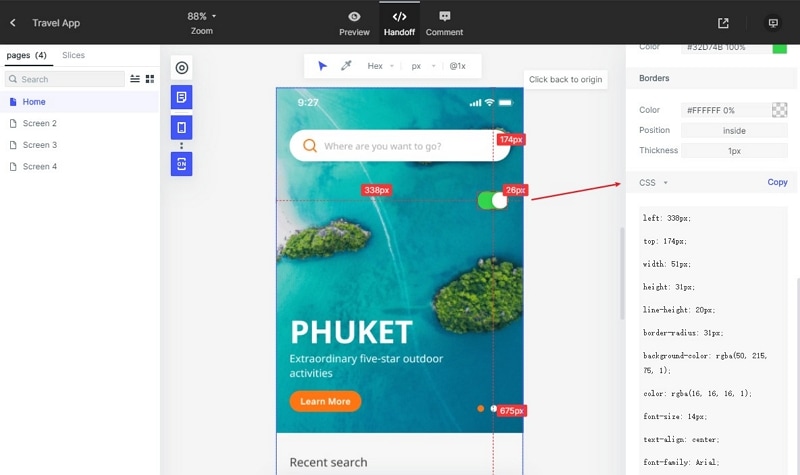
Step 6. Handoff
This is a top feature on Mockitt. It allows developers inspect the design before they can download and begin the development phase of the project.