Mastering the Figma Pen Tool: A Step-by-Step Guide for Designers
Designers understand the importance of creating prototypes with precision and accuracy to ensure a seamless user experience. One of these sketching tools is the Figma pen tool. It is indispensable and popular for designers allowing them to create and modify pathways and anchor points, making it an essential asset in digital prototyping.
- Part 1. How To Use Pen Tool in Figma for Digital Prototyping [Step-by-Step]
- Part 2. Upgrade Your Prototype Design: How Wondershare Mockitt Pen Tool Can Elevate Your Work
This guide will teach you how to use the pen tool in Figma and explore an alternative tool Mockitt, to enhance your prototyping workflow. By the end of this guide, you'll have expert knowledge and skills to create professional-grade prototypes that enhance the user experience.

Part 1. How to Use Pen Tool in Figma for Digital Prototyping
Mastering the Figma pen tool is essential for creating intricate digital designs and mockups. You can effortlessly create custom shapes, icons, and illustrations with precise control over size and shape. In this Figma pen tool tutorial, gain the skills necessary for your next digital project.
Draw Lines and Shapes Using the Pen Tool in Figma
If you're searching for the pen tool Figma, chances are you want to learn more about how lines and shapes are in Figma. Here is how to use the Figma pen tool to draw and connect the path lines in any way you choose.
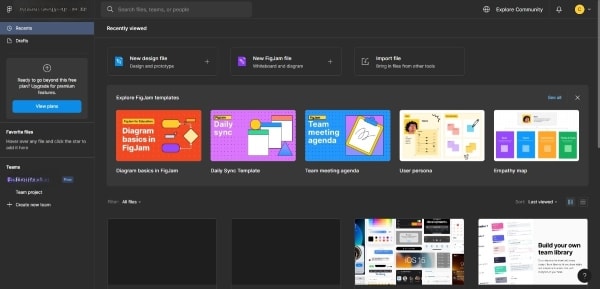
Step 1: Log into your Figma account and open the design file where you want to create your shapes.
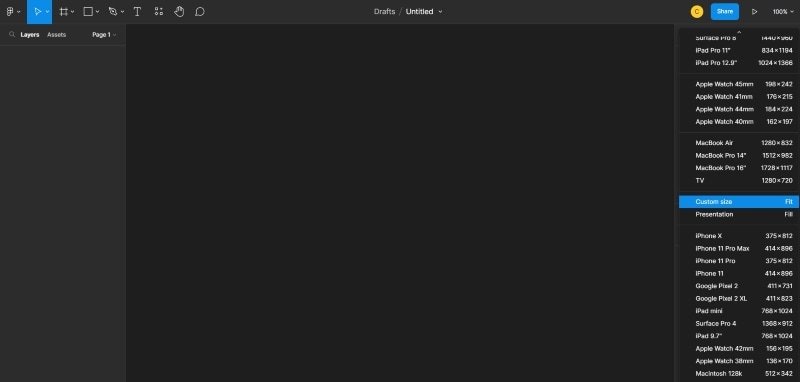
Step 2: Click Prototype on the right-side navigation pane. In the Device selection, choose the device type in the drop-down menu. Alternatively, select the Custom size or Presentation by scrolling down the same menu.
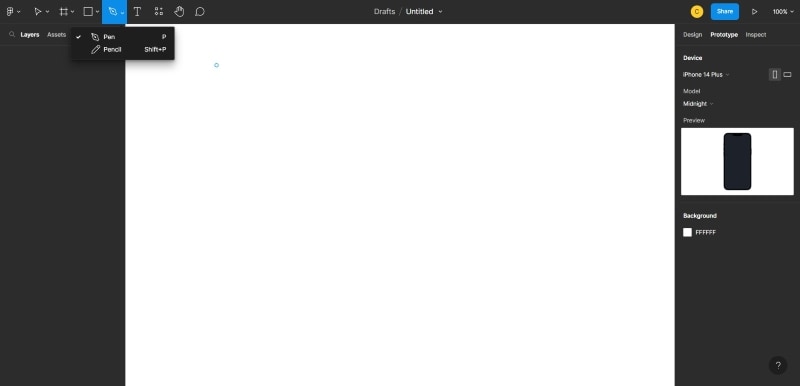
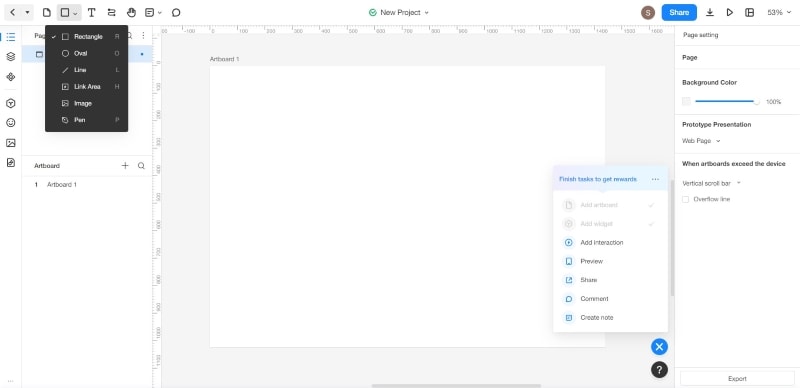
Step 3: Look for the Figma pen tool icon in the toolbar. Then, click the Drawing Tools drop-down menu and select Pen. Otherwise, press the P key on your keyboard.
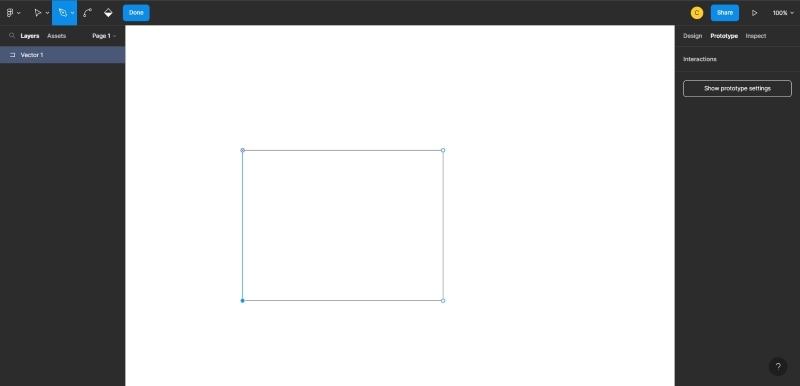
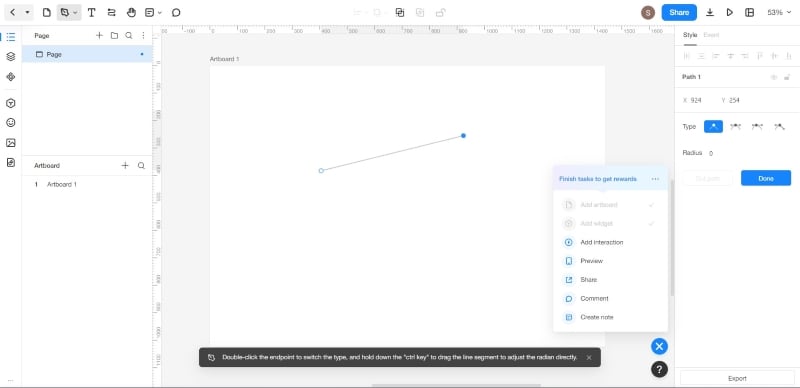
Step 4: Use an anchor point by clicking on the canvas to create point A. Then, hold down the mouse button and drag the cursor to create point B, creating a path between the two anchor points.
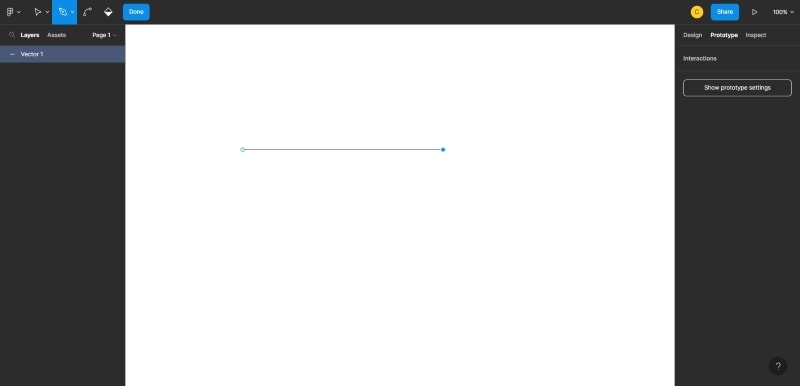
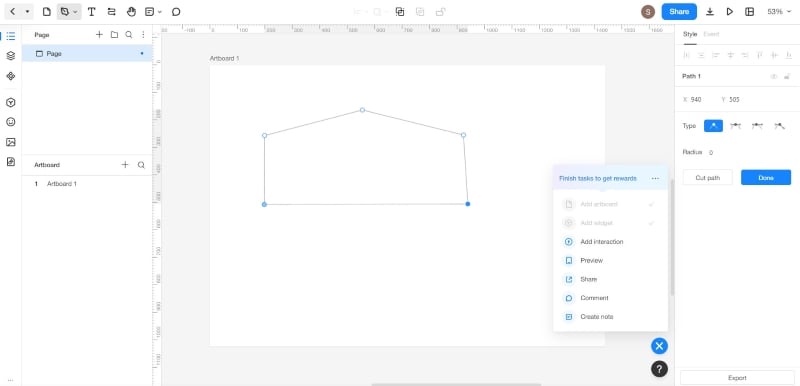
Step 5: Continue creating anchor points by clicking and dragging the cursor until your shape is complete. Connect it to your first anchor point and click Done in the upper navigation pane to close it.
Part 2. Upgrade Your Prototype Design: How Wondershare Mockitt Pen Tool Can Elevate Your Work
Designers often use Figma as their go-to tool, but alternatives are available for creating high-fidelity prototypes. One of these options is Mockitt, a cloud-based collaborative prototyping platform developed by Wondershare. While both Figma and Mockitt have a pen tool, Mockitt offers additional resources that enable product managers, UX designers, marketers or developers to create interactive prototypes, visual flowcharts, mind maps, and more.
Mockitt is a versatile tool used by various professionals, including product managers, UX designers, web developers, and marketing specialists, to create interactive prototypes and seamlessly collaborate with stakeholders in real-time. This section will delve into the prototype application of the Mockitt pen tool, highlighting its ease of use while offering instructions to help you discover its ins and outs.
How to Access Mockitt Pen Tool
Follow these steps to see how the Mockitt pen tool can help you bring your design ideas to life with its intuitive and user-friendly interface.
Step 1: Go to the official website of
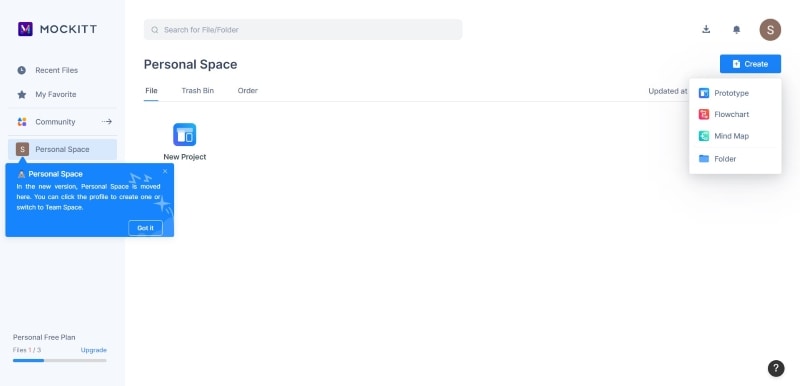
Step 2: In your Personal Space, open an existing prototype or click Create and select Prototype to start a new one.
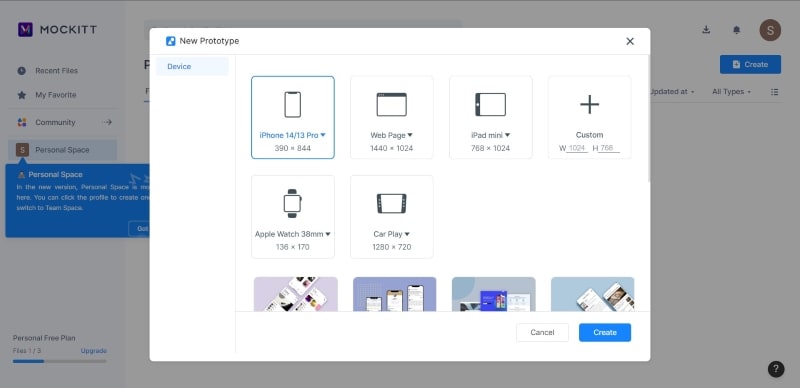
Step 3: On the New Prototype dialogue box, either choose a device frame, create a custom frame, or select a template, then click Create.
Step 4: Press P on your keyboard to show the pen tool symbol on the upper navigation menu. Alternatively, click the Rectangle symbol drop-down menu on the upper navigation bar and select Pen.
How To Draw Lines and Shapes Using Mockitt Pen Tool
Here are the steps to learn the basics of lines and shapes using the Mockitt pen tool.
Step 1: Click on the drawing page to set the first anchor point for your line.
Step 2: Drag your cursor to create a second point, and you will see a path line between them.
Step 3: To create a shape, repeat step 1 to create a path line, then drag your cursor to create more anchor points and path lines as needed.
Step 4: Connect the last anchor point to the initial one. A solid anchor point indicates that they are connected.
Step 5: Click Done on the right-side navigation menu under the Style tab to complete the drawing process.
Tips:
- Edit the shape. Click the Path edit icon on the Path selection under the Style
- Modify a path. Click Open Path to remove a path line and make any desired adjustments. Alternatively, you can select Cut Path to join two unconnected anchor points after you have opened the shape.
- Bend the path line. Add a new anchor point, then single-click inside the path line. Next, click on the newly created anchor point and drag it to bend the path line.
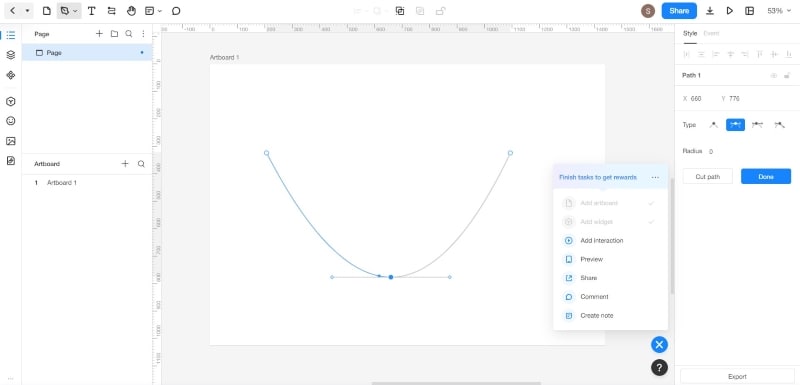
- Create a curve. To create a curved path line, double-click the anchor point inside the path line and drag your cursor to adjust the curved line based on your preference. Alternatively, click the Anchor point symbol on the Type selection under the Style tab for different styles.
Conclusion
The pen tool in Figma and Mockitt can be a game-changer for your prototypes. The versatility and precision of the pen tool can help you create unique and complex shapes that may not be possible with other prototyping tools.
When it comes to choosing between Figma and Mockitt, it depends on your needs and preferences. If you value a more user-friendly interface and robust set of tools, Mockitt may be the better choice. With its ease of use, powerful features, and dedicated support team, Mockitt is a good substitute for Figma that can take your designs and prototypes to the next level.
