Mockitt - Best Figma Alternative
Become a Figma Expert by Smart Tips
- Everything You Need to Know about Figma.
- Tutorial for Using Figma Layout, Animation, and Components
- Best and Cost-Effective Figma Alternative for Beginners

How to Create a Prototype in Figma
Prototyping in Figma is a seamless process if you have the technical know-how on Figma navigation. However, it can prove annoying and time-consuming if you are a novice. So how can you go about Figma prototyping if you are in the dark about it? If you have had problems creating a prototype with Figma, then you have just hit the right button. In this article, we shall walk you through a thorough guide on how to create a prototype in Figma.
- Part 1: How to Create Interactive and Clickable Prototype in Figma
- Part 2: The Best Figma Prototyping Tool Alternative
- Part 3: How to Create Prototype in Figma Alternative
How to Create Interactive and Clickable Prototype in Figma
Step 1: Log in Figma
Open and log in to Figma. Make sure your designs are available for prototyping before proceeding. Switch from the "Design" tab and click on the "Prototype" tab in the properties panel.
Step 2: Rename for Figma Prototype
Before proceeding to the prototype, it is good to rename your frames appropriately. Simply double-click on your frames and type a proper name on the layers panel located on the left. Press enter to effect the changes.
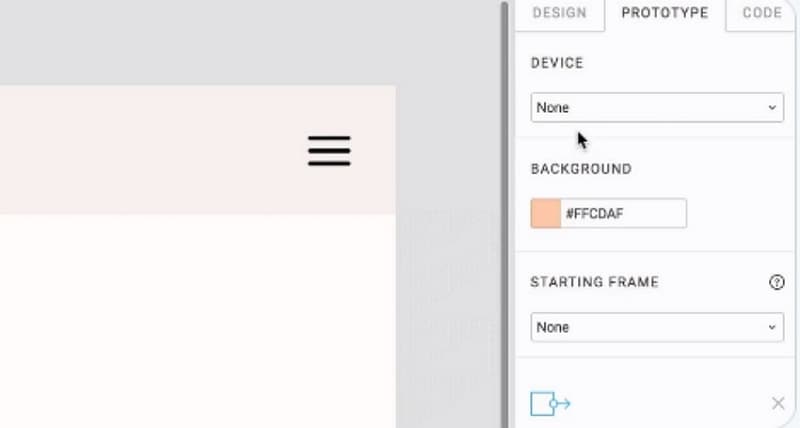
Step 3: Starting Frame Window
In Figma, prototyping works by linking different frames with elements. Users can then click the linked elements and navigate through the app. The first thing is to select the starting frame. Simply click on the drop-down icon below the "Starting Frame" instruction of the Inspector panel and choose which frame becomes your first frame. In case you don’t see the "Starting Frame" instruction on the Inspector Panel, ensure the "Prototype" tab is currently selected and that no frames or layers are already selected. If you aren’t sure, simply hit the Escape button on your keyboard to deselect everything.
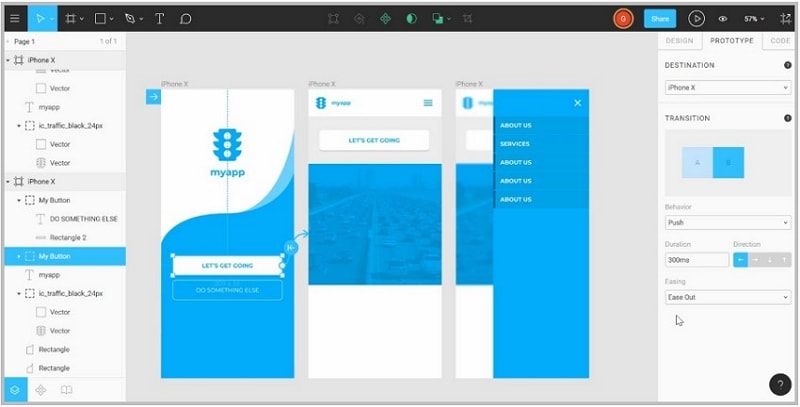
Step 4: Preview the Figma Prototype
BY selecting the layers or frames, a circular handle will appear on the edge of the object. This handle will allow us to create a connection between frames so that when the button is clicked, it leads you to another connected page. Select the clickable button and drag the circular handle to where the button should lead you upon clicking. Drag it to the other screens to create a connection with them. Create other connections using the same process until you are satisfied. Finally, click the "Preview" button at the top-right corner of the Window to preview your prototype.
The Best Figma Prototyping Tool Alternative
Figma is one of the outstanding prototyping tools, but there is never a match for Wondershare Mockitt. Yes, it is the best Figma alternative prototyping tool suitable for all types and sizes of organizations. Its incredible set of powerful features puts it ahead of several other prototyping tools. The program offers an elegant and user-friendly interface that makes every user navigation extremely easy. There are plenty of widgets, UI assets, and templates that you can use to create your prototypes quickly and effectively. These templates and assets are suitable for a wide range of industries, and you can also build your own asset library for reuse at any given time. With Mockitt, collaboration is on another level. Team members and clients can collaborate in real-time and co-edit their projects. Make your prototypes much interactive by setting link effects like Action, Target, and Transition.

- The Cloud feature supports real-time collaboration and co-editing, and every team member is synced.
- It has numerous templates and UI assets to help you design faster.
- It has several widgets and icons that enable the creation of beautiful interfaces within minutes.
- The inspection and discussion features make it easy to hand off and communicate.
- It works with a majority of operating systems and devices.
How to Create a Prototype with Figma Alternative
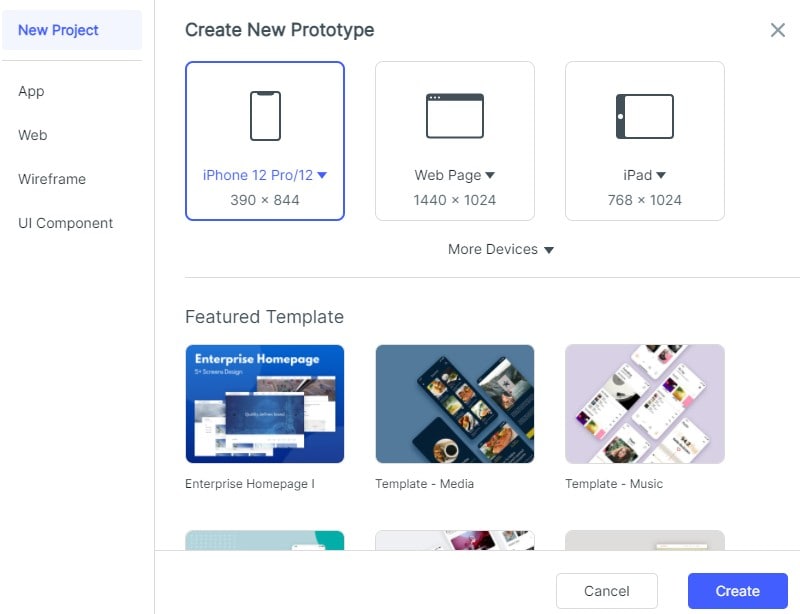
Step 1. Create a Project
Start by logging in to Wondershare Mockitt using your email. Once logged in, hit the "Create" button and create a new project. Then, name your project and choose the size of devices like Mobiles, webpages, and etc.
Step 2. Add Widgets and Icons
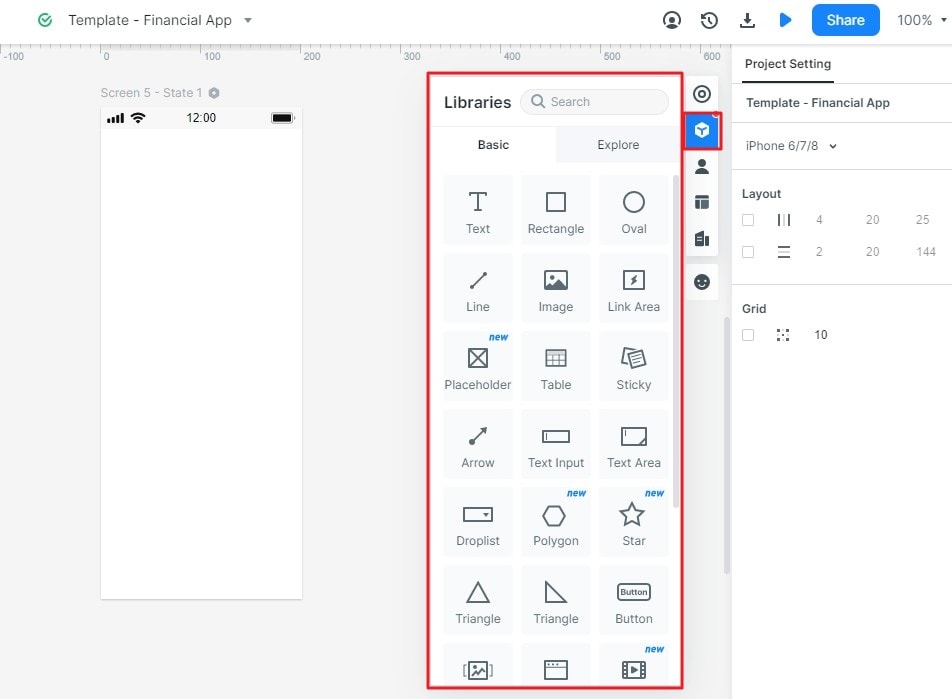
The program will open your new project with the device screen you chose. On the right side of the Window, click the "New Screen" button to create more screens.
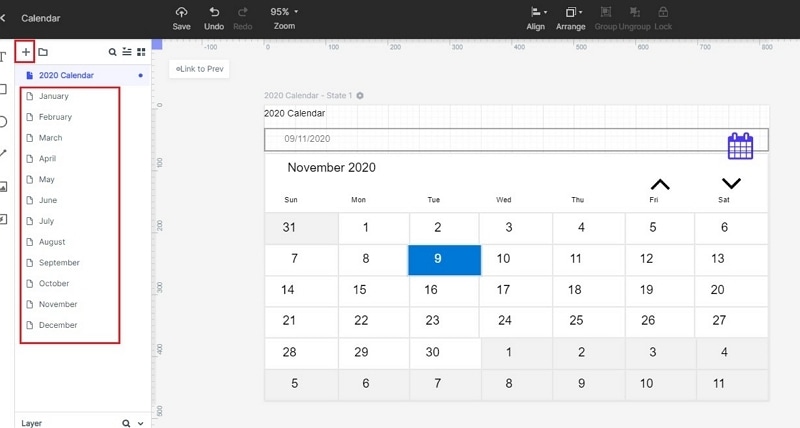
Now add widgets to design your screens as per your need. You can use the fast widgets on the left side of the project window or the built-in widgets, icons, and My Widgets on the right side. To add fast widgets to the project, just double-click the desired widget and drag them to the canvas. Press the hotkeys and begin your drawing. Add all relevant widgets for every screen until your screen designs meet your needs.
Step 3. Create Connections
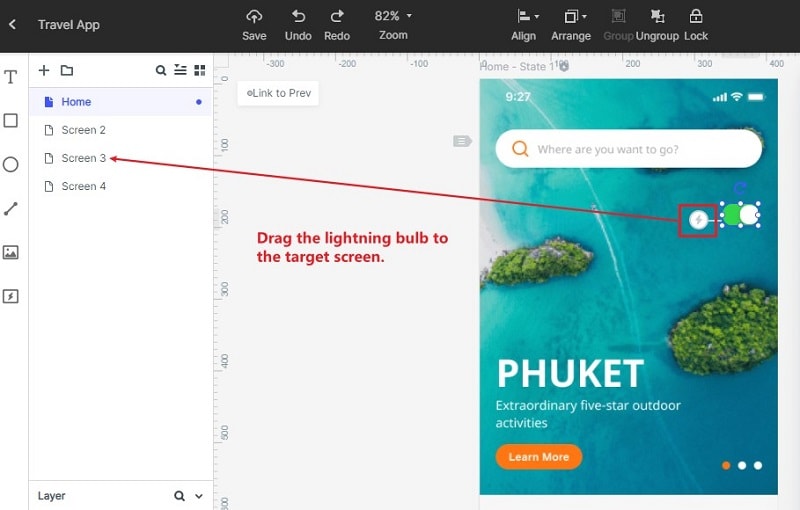
When you are through with the design of the screens you created, it is time now to link them. Click on the button you want to link it to a given page/screen. This will ensure that when a user clicks that button, it will open the linked page. When you click the button, there a circular shape will appear on the right side of its boundary. Drag this shape to the screen you want to link to this button. The transition options will appear on the Transition Panel. Adjust these transitions to fit your desire. Repeat this process for all the objects across the various screens that you want them linked to other pages.
Step 4. Preview and Share your Prototype
After creating your prototype, you can preview them on mobile, PC, or offline. To preview on mobile, click the “Share” button to obtain the QR code and the project link. You can open this link on your mobile device or scan the QR code. For PC preview, simply click on the "Preview" tab at the toolbar and interact with your prototype.

