How to Create Mockup Online Free
A mockup generator is an online tool that greatly helps in creating the mockups of your products without any problem or third party app. The result given by the mockup online generator is a high-quality image that can be downloaded in any format such as PNG or JPG. This helps in saving your great time and money as you don't need any desktop applications or PSD templates. You can find plenty of mockup online generator software on various platforms that include numerous categories that allow you to choose the best one according to your needs and preferences.
Prepare before Mockup Online
Before starting to create mockup online for your website you need to consider several things that can lower down your confusion and give you a proper insight. The first thing you need to consider is the market opportunities. Find out the opportunities in the market where you can attract your audience without making much effort. After finding the opportunities get down to the field and ask your potential costumers whether they need such changes, if not then what you should do to improve user experience.
After researching your customer you should head towards the graphic designing of your mockups. You need to pay more attention to navigational elements as well as calls to action while designing the mockups. Always try to make it bold, clear, and easy to understand for the audience but never make it overloaded. You should also select the appropriate color for the mockup because it plays an important in deciding the look of your original products.
Choose the color that offers good UX along with making your brand memorable. A wrong choice can greatly ruin your reputation in the market that's why it is highly recommended to choose the appropriate one.
Would you interested in the Mockup tools? Click and learn more about the Top 10 Best Free Mockup Tool.
How to Mockup Online?
Given below is a guide of Wondershare Mockittmockup generator software that can greatly help you to make mockups online.
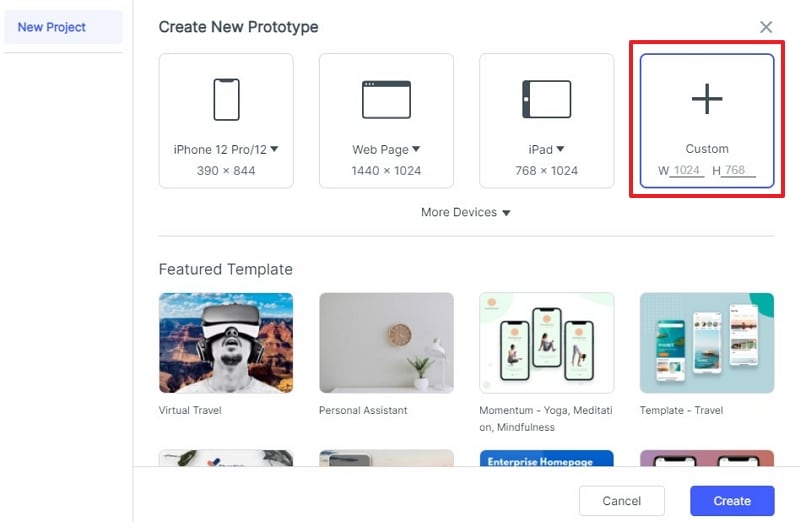
After visiting the official website of this making mockup online tool you can create the prototype for mobile, TV, Web, and watch. It also allows you to customize the size of your project screen.

Step 1: Create a Project and Set Size
After creating your account simply click the option "Create Project" given on the screen to create the prototype. After selecting the device choose either Create a Blank Project or Create Project from demos according to your need.

Then You can change the project size by taking your mouse on the project, and click "Settings". You can also edit the project name, device type, and size. After that save it as your customization gets over.
Step 2: Adding and Editing Widgets for Your Mockup Online Project
On the right corner of your screen, you can find Fast Widgets and there are ways to see it.
- Double click the widgets
- Drag it to the canvas
- Press the hotkey to draw your desired one
On the right side there three types of widgets Build-in Widgets, My Widgets, and Icon. You can enter these widgets in two ways
- Double click the desired one
- Drag it to the canvas
You can easily edit the widgets after using it in the Inspector Panel.

Step 3: Save Widget for Reuse
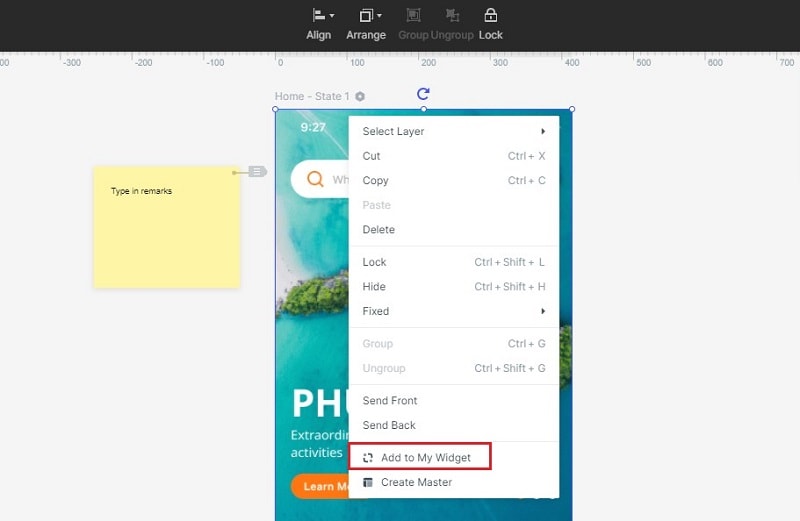
After you create mockup online free, you would like to save your properly designed widgets for future use. This software helps you to save your widgets to the "My Widget" library in two different ways.
- By dragging it to "My Widget" panel
- Right-click the widget to save it in "Add to widgets" option
Step 4: Adding Links Between Screens for the Mockup Online Project
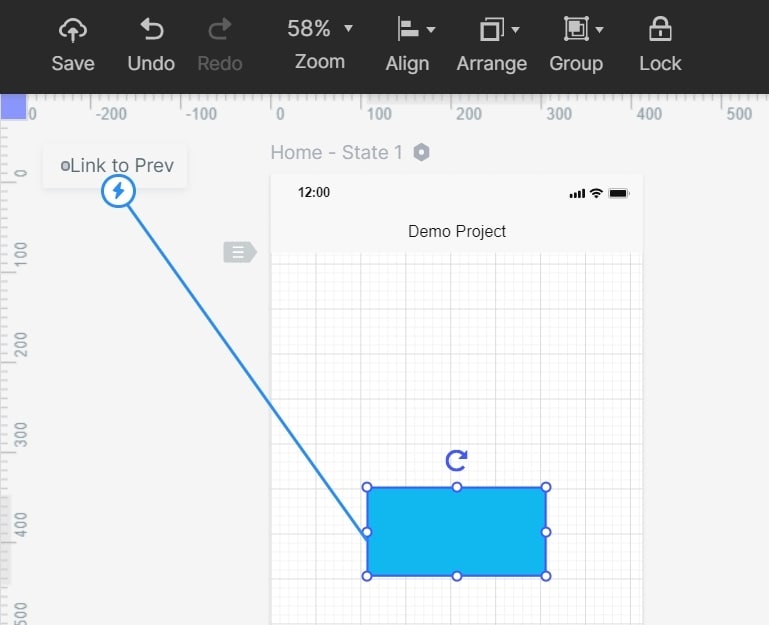
To add the link in your screen you need to click on one widget, after that getting options on your screen select "New Link" in the link panel given on the right side. After doing that set the gesture, target screen or state, animation, and action for the widget.
Step 5: Converting Widget to Master for Bulk Editing
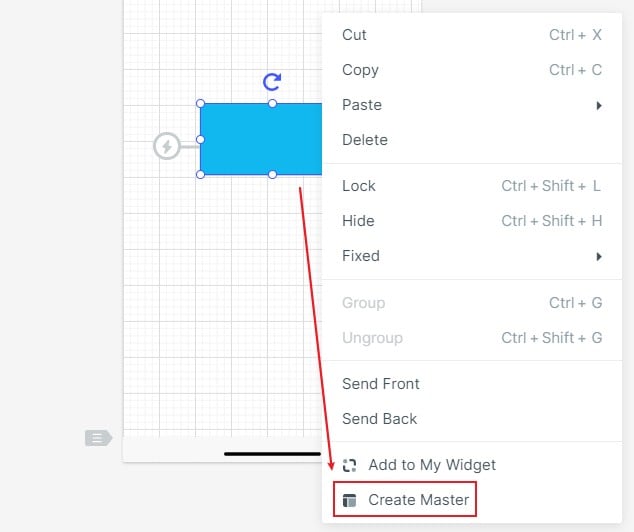
At the time of converting a widget to a Master and changing its properties, all the changes that have made previously will inherit the modifications.
Right-click the widget to "Create Master" it will save the changes in the Master library. Directly drag the master towards the canvas to create its instance. If you want to change the master you can simply do it by selecting the "edit" option.
Step 6: Adding Notes to Your Design
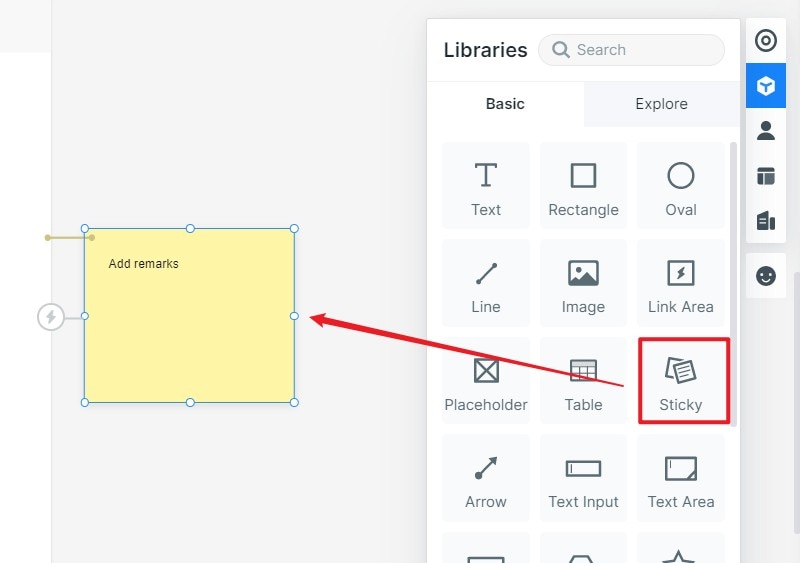
You can also add notes to your design to explain it properly by just clicking the "Sticky" option in Build-in Widget Library.
Step 7: How to Manage Asset Library
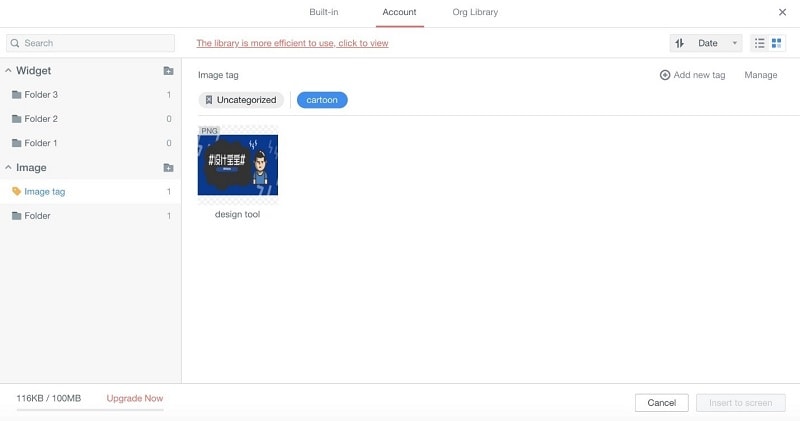
You can easily move, create, delete, create, and delete the widget folder or use it on canvas without any problem.
After creating folders you can easily drop the images by dragging into the blank area or by clicking "Ass Image" to upload it. Several image formats like PNG.JPG, GIF, and SVG are supported in the software. Select the image which you want to download and add to the label deleting, moving, and downloading to other folders is also easy along with using it in canvas.
With the help of "Image Label," you can quickly view the relevant images by selecting the "Label" or by clicking "Manage" to delete a label.
To manage the batch press shift or ctrl key to select multiple widgets or click to select all options to perform labeling, deleting, moving, and placing in canvas.
Step 8: Using Dynamic Widgets for Creating Interactive Animation
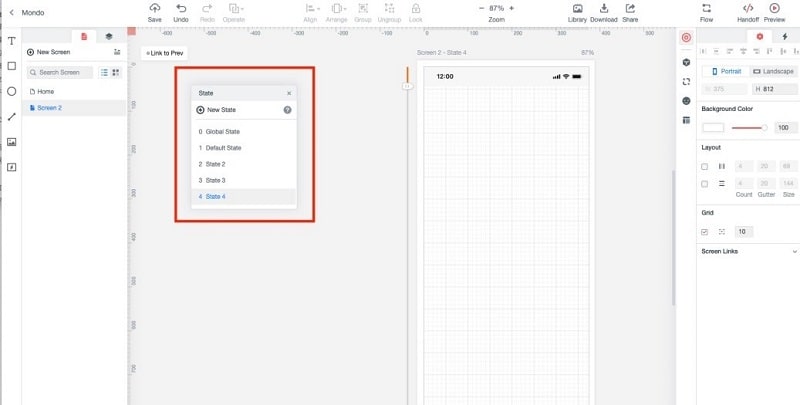
Screen state function can be used to implement interactive animation to overall screen such as using screen state switch you can change size position and color of the image that you want to use. This can greatly make your project interactive.
Step 9: Preview and Share Your Mockup Online
Finally, you can preview your mockup online prototype on either your PC, mobile, or offline. You can click on "Preview" to review on your PC. Or you can click the "Share" button to get both the project link and QR code. Using your mobile's browser to visit the link or scan the QR code to preview your mockup online prototype.


