What is UX Mockup and How Do You Make a UX Mockup Easily

UX mockup is more than just a step that occurs between wireframes and prototypes. This is more of a transitional process that ensures that the UX design is functional and offer the end users solutions to issues they might have. The mockup should be done using simple concepts including focusing on the users needs, focus on a centralized concept, checking competitors sites or app and doing the mockup presentation. There are different ways and tools you can use to do the mockup. This article looks deeper at what is UX mockup, the best tool to use and how to do it easily.
What is UX Mockup?
UX design mockup refers to a static high profile visual design draft or a device or design that is used in representing structure information, showcase the content and functionalities of the design. Mockup usually showcases visual details like topography and colors. It shows how the final design will look, but it is not clickable as it happens with a prototype. It is usually a mid or high level fidelity display of the UX design.
A UX design mockup assists you to make the final decisions about a product’s visual style, color schemes and typography. With the mockup, it is easy for you to do experimenting with the visual aspect of the product to find out what looks best. During the process, you can ask the potential end users to give feedbacks and do the right changes in the correct way. This helps you save a lot of time since you do not have to get back and make changes to the UX design after you have already launched it.
Compared to a wireframe, it is not possible to sketch the mockup. You need to use a UX mockup tool to perfect the task. There are several mockup tools you will find online. The best thing is to use the best free UX mockup tools to get the best from your UX designing project.
The Best UX Mockup Tool in 2020
Wondershare Mockitt is the best UX mockup tool that helps you do the work fast and efficiently. It has a lot of features that make it user-friendly and offer the desired mockup results. One of the greatest features that makes it the top ux mockup tool is that it gives you the ability to do the mockup on any device be it your mobile device or PC. Besides, it is also possible to do the mockup offline. In case you are working on the UX mockup process with other team members, the tool enables you do the work fast and efficiently. You can work on the project simultaneously. The tool has an icon library that has more than 100 icons that can help improve the efficiency of the mocking process.
The other great thing is that this tool makes it easy for you to view the entire mockup workflow, do the necessary changes and share URL of how the process is flowing. Since you are allowed to make changes during the UX mockup, the tool makes it easy to do it with a simple double click using the rich text editor provided. You can use it to change text colour and other elements as you find necessary. The tool also allows you to carry out he necessary tests to ensure that it is working in the right way. You can share the design with others to help you during the testing and get feedback.
How Do You Make a UX Mockup
It is a handy UX mockup tool that helps you create a project that brigs all your ideas to life. It makes the entire mockup process easy. Even if you have never done mockup or designing before, you find it easy to use the tool during the process. The tool makes it easy for you to create UX design with a good look and fully functional. Follow these steps as you do UX mockup.
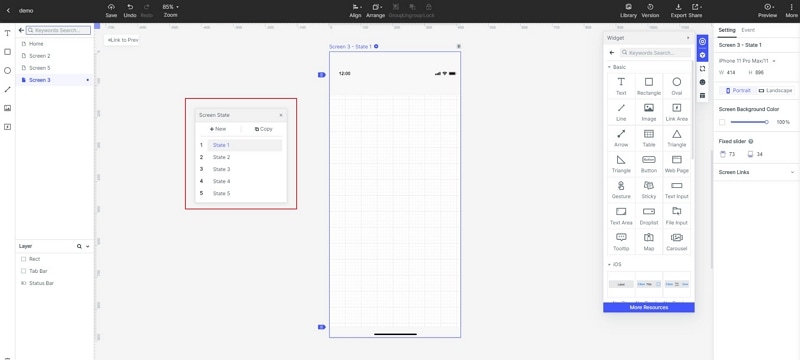
Step 1: Create a new project
- Log in and click new project to start the process. Create a blank project, the device it is intended, name it and then save. It is also possible for you to create a project for demos. This is a great option if you are a beginner.
- You can change the size of your UX design by hovering the mouse and click setting. Here you can change the name, size and save.

Step 2: Design the UX design
- Add widgets and icons. The left side of the platform are the fast widgets. Add them by double clicking, dragging or you can press hotkeys and draw. On the right side, there are build in widgets, my widgets and icons. Add them the same way. If you want to make changes, you can edit the widgets in the inspector panel and save.

- Add links. Add links between screens by selecting a widget and click new link in the panel. You can also add links by dragging the link icon on the left side of the widgets.

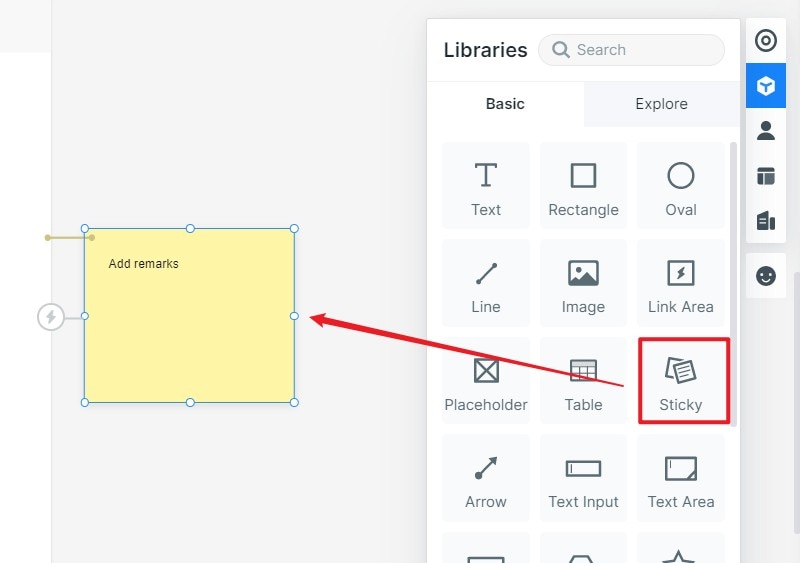
- Add notes. There is a sticky feature found in the library that helps you add notes. These notes help you explain your UX design further.
- Create interactive animations- use the dynamic widgets to create interactive animations.
Step 3: Perform UX mockup
- You can perform the UX mockup on different devices. Wondershare Mockitt makes it possible for you to do it on your mobile device, PC or you can do it offline. On your PC, click preview on the top toolbar. On your mobile device, share the QR code or sharing links. This allows you interact with your design, check how it is and do the necessary changes. To have a better view of your UX design, you can click the full screen found at the top right corner. You also find the white and black background switch you can also use. Also you can share it with others so that they can also help you in the mockup process, so that you come up with a perfect UX design for your target users.

