How to Design a Calendar in Adobe XD
Digital calendars have more increasingly become a trend in the app marketplace. Most applications and websites today have a date picker or calendar component be it for capturing user profile details or to book a service on a specific date. Further, users find it difficult to remember important dates, birthdays and appointments. With the help of digital calendars they can easily keep track of events and schedules. As calendars and date pickers are so imperative in modern applications, Adobe XD calendar comes to the designer's rescue when designing or prototyping. The various Adobe XD calendar templates are a great resource to start off with.
- Part 1: How to Design and Prototype a Calendar in Adobe XD
- Part 2: How to Design and Prototype a Calendar with Adobe XD Alternative
How to Design a Calendar in Adobe XD
Adobe XD is a great tool for creating wireframes, prototypes and designs for digital products. Adobe XD provides its users with various features and functionalities. It supports a variety of powerful plugins and UI Kits which enable you to accelerate prototyping.
Here is a quick guide on how you can create a quick calendar component. This guide uses the calendar UI kit XD which you can download from here. This kit is a great collection of UI elements like login screens, email, chat and calendar components.
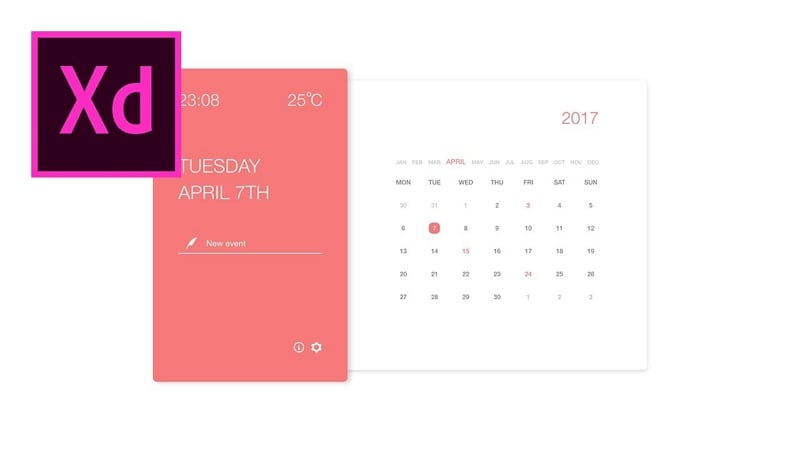
Source: youtube
- Launch the Adobe XD application installed on your Windows or Mac machine and select the form factor (Phone, tablet, website, etc.) you wish to design for. Adobe XD opens up an artboard based on the form factor chosen by you.
- The properties of the artboard like color and size can be modified from the options available on the right side of the tool. The left panel enables you to add text, images, shapes, and other components.
- You will now use the UI Kit to bring the calendar to your artboard. Navigate to 'File' and select 'Get UI Kits'. You can now select the UI Kit which you downloaded.
- Once you open the UI Kit, all the pre-built UI elements will appear. Look for the calendar element. You can choose from a variety of calendar designs. Copy and paste the calendar element of your choice into your artboard. You can also copy the complete artboard from the UI kit.
- Elements of the calendar component such as font size and color can be altered in Adobe XD.
- It is now time to visualize the user experience for your app or website. This can be done by wiring the artboards to create a prototype. You can also create interactions and socialize the prototype among stakeholders and within your team to gather feedback.
With the help of Adobe XD calendar, you can create a great calendar with just a few clicks.
If you are interested in Adobe XD alternative for Linux, click and learn more about Top 10 Adobe XD Alternative for Linux.
How to Design a Calendar in Adobe XD Alternative
It is no doubt that Adobe XD is a fast and high-quality tool. However, more and more designers now prefer zero installation, cloud-based tools. Designers prefer tools that can just be accessed via a web browser anytime and on any device.
Wondershare Mockitt is one such recommended tool that can be used completely online and freely to create wireframes and prototypes. This online tool eliminates the hassles of uploading and downloading design files by keeping every project online. As a designer, you are probably working with a design team. Wondershare Mockitt makes it seamless to collaborate with your team irrespective of where they are working from and which device they are using. It enables real-time co-editing which enables a team of designers to collaborate effectively. The tool comes with a large variety of easy-to-use templates that help you design effectively for mobile, tablet, web, TV, and smartwatches. You can demo your designs online/offline and get instant feedback.

Here is a quick guide on how you can create a quick calendar completely online using Mockitt -
Step 1. Configure a new Project
Once you log in, you can get started by creating a new project and choosing the device type. Simply click the "Create > Prototype" and select the size for the canvas.

Step 2. Design the calendar
You are now all set to start creating a calendar on your wireframing canvas.
- On the right side of the tool, you will find 'Build-in Widgets', 'My Widgets' and 'icons'. Select 'Build-in Widgets' and look for the calendar widget. Double click on the calendar widget to add it to you canvas. You can also save your widgets for reuse in the future.
- Or, you can drag two rectangles and change the backgroung colour of the rectangles to make it more attactive. And then you can drag texts, boxes, buttons into the canvas. Check the image below:
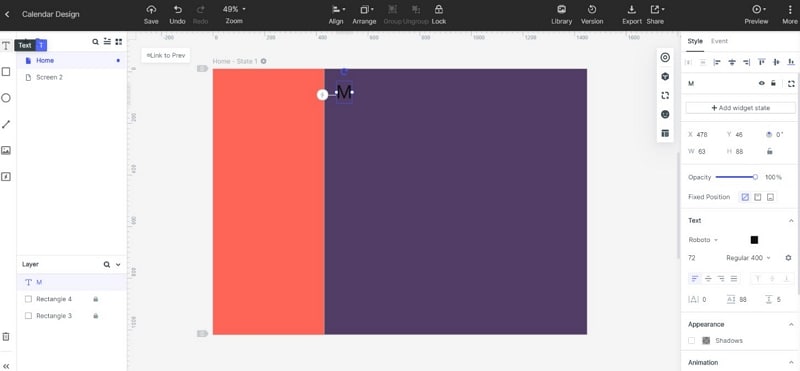
- Then you can adjust the calendar to make it beautiful.
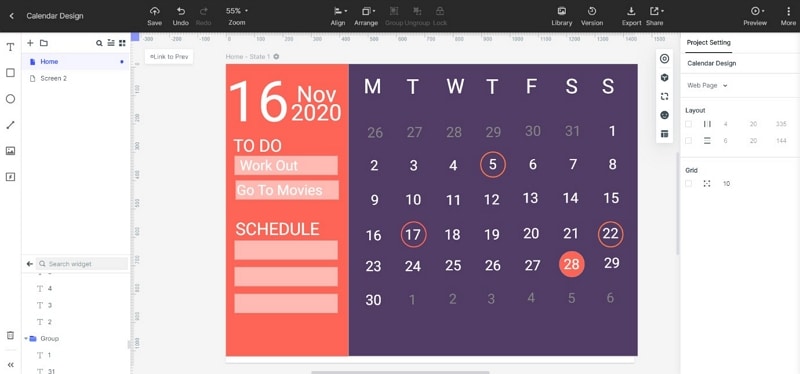
- If you want to do interactive prototype, then you can use the "State" feature. You can create many states in one screen. For example, if you click the number "28", the color is red and when you click it twice, the color will change accordingly.
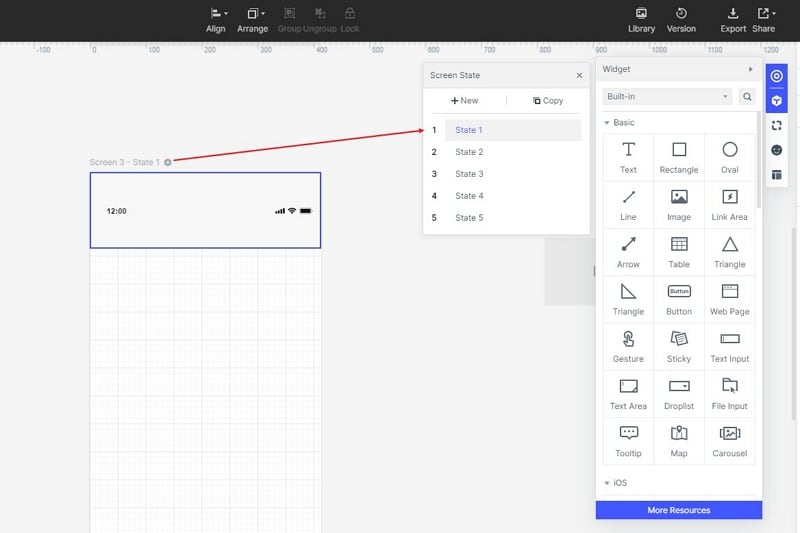
Here is a video tutorial to use the State feature:
Step 3. Preview and Share the calendar prototype
It's now time to see how all the hard work has taken shape! By clicking on the 'Preview' button in the tool, you can see your calendar in action. You can preview the prototype on your PC and mobile both online and offline.
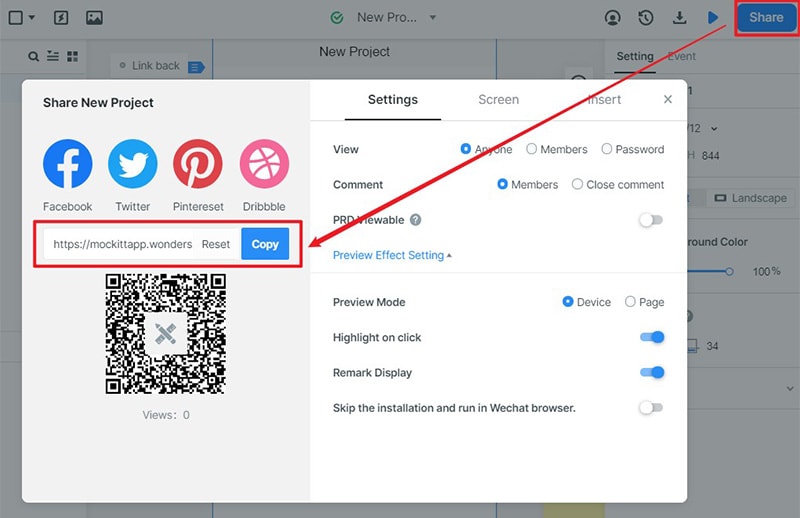
It is likely that you are working with a team and need to get inputs on your early prototypes. You might also want to test your prototypes with a few users for some early feedback. Click on the share button in the tool and you can generate a QR code or shareable link.
Indeed, it is very simple to create a calendar component in Wondershare Mockitt right from your browser. The online tool makes your design process extremely streamlined and efficient.
