How to Create High Fidelity Wireframes

The main aim of the wireframe is to transform the idea into a visual representation. It helps the designers to understand the concept easily and quickly. This can be done with the help of high-fidelity wireframes which are clickable prototypes. It offers a number of advantages over low fidelity wireframes that are very beneficial for the business. High fidelity wireframes act more easily and quickly in comparison to low ones.
- What is High Fidelity Wireframe
- When Should You Use High Fidelity Wireframe
- How to Create High Fidelity Wireframe
What is High Fidelity Wireframe
High fidelity wireframes or prototypes offer a complete representation of the last product. Some are clickable and basically respond to the user's activity. It is usually built in the advanced stages of designing a procedure that is more convenient in comparison to coding. Creating a hi-fi wireframe usually takes more time, but it can greatly show how your end product will exactly look like. It is generally created with the help of digital tools. The main difference between wireframe high fidelity and other type is that such wireframes are created with the help of built-in screen that shows how the product will look like. It also has several advantages like:
- Real aesthetic - Such type of wireframes looks much similar to final products that means at the time of testing you can guess the type of behavior it will show if you are looking forward to engaging it with real UI. This will help in offering more accurate feedback and a good user experience.
- Lower rate of human errors - Interactions are in-built with clickable wireframes. This greatly reduces the risk of human errors at the time of user testing. It is because just after an accurate designing there could be a risk of several errors. These errors can pose a negative impact on tests and create many problems in the functionality of interactive content.
When Should You Use High Fidelity Wireframe
High fidelity wireframes are used when you want to test any particular interaction or UI component between the multiple screens or within the screen. It is because hi-fi wireframe basically gives response faster and at the time of testing the reaction of the user will be accurate in comparison to low fidelity wireframe. This will allow you to share and explain your created design with your entire team and the user.
It can also be used if you are looking forward to building an attractive design at a short notice. It is because editing or altering the inbuilt templates is not a great task if you have ever used any such tool previously. This is the best and the smartest way to save your great amount of time and energy. Also offers an idea that how you can make your design interactive and attractive.
How to Create High Fidelity Wireframe
To create an attractive design you can use various online and offline tools such as Wondershare Mockitt that is loaded with various useful features. It allows you to create your attractive design and layout within a few hours with the help of several features like
- Templates: these are inbuilt and offer great advantages to the new user to make some alterations and come up with an attractive prototype.
- Cloud-based software: This helps you to sync your project from anywhere anytime and access it on any device.
- Interactive prototyping: you can add various gestures to your prototype and make interactions and animations.

Given below is a guide of one of the best wireframe tool that can allow you to create your interactive design and high fidelity wireframes in the best possible way at short notice.
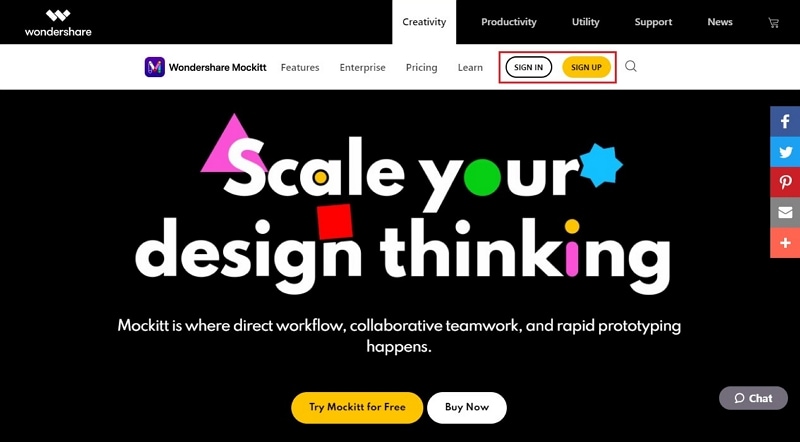
Step 1: Sign in to Your Mockitt Account
Visit the official web hosts of Wondershare Mockitt and create your account. After that select the type of device and project you want to create.
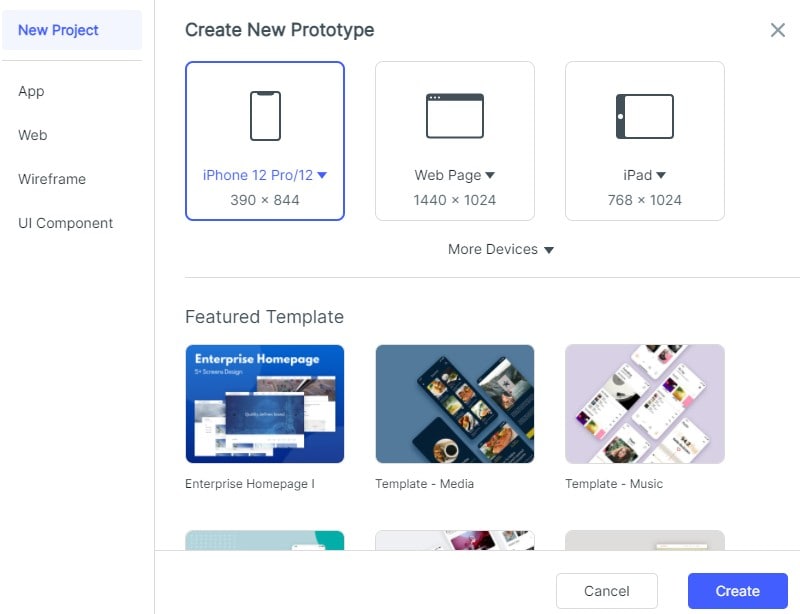
Step 2: Create a project for high fidelity wireframe
First, click the "Create" button on the left panel and select "Project". In the pop-up, you can choose the size of the canvas.
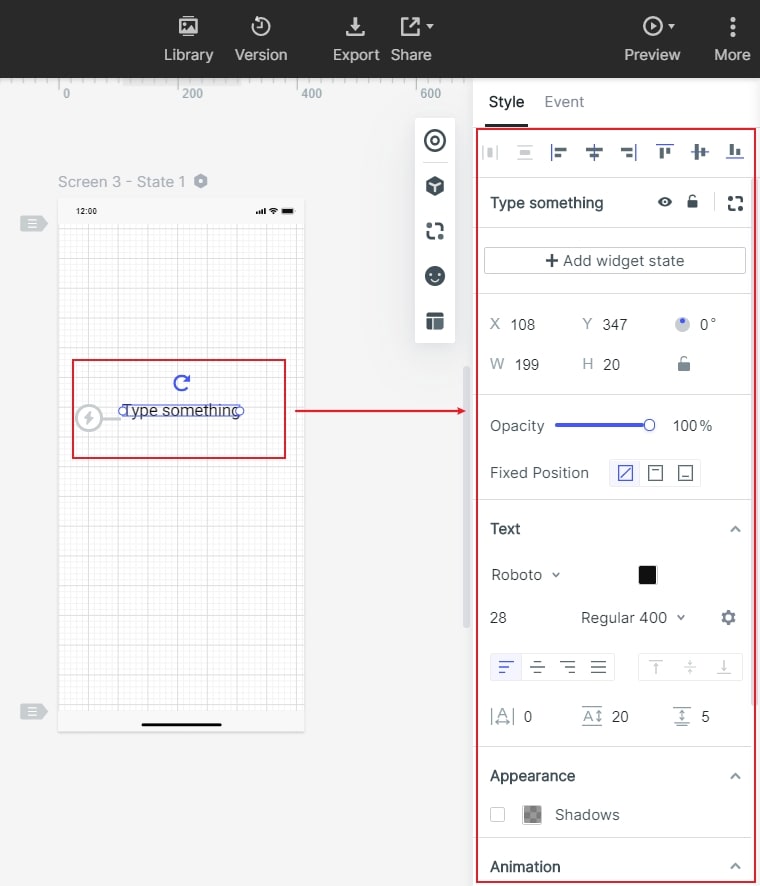
Step 3: Entering widgets for your Hi-fi wireframe
To use widgets in your desired screen, click the left side of the screen to see the options select the one from the fast widgets. You can also enter it by just dragging and dropping it on any particular canvas.
It also allows you to enter your desired widgets in the "Built-in" option, Icon, and My widget from the right side of the screen.

You can edit the properties of the widgets directly by using the mouse in the canvas.
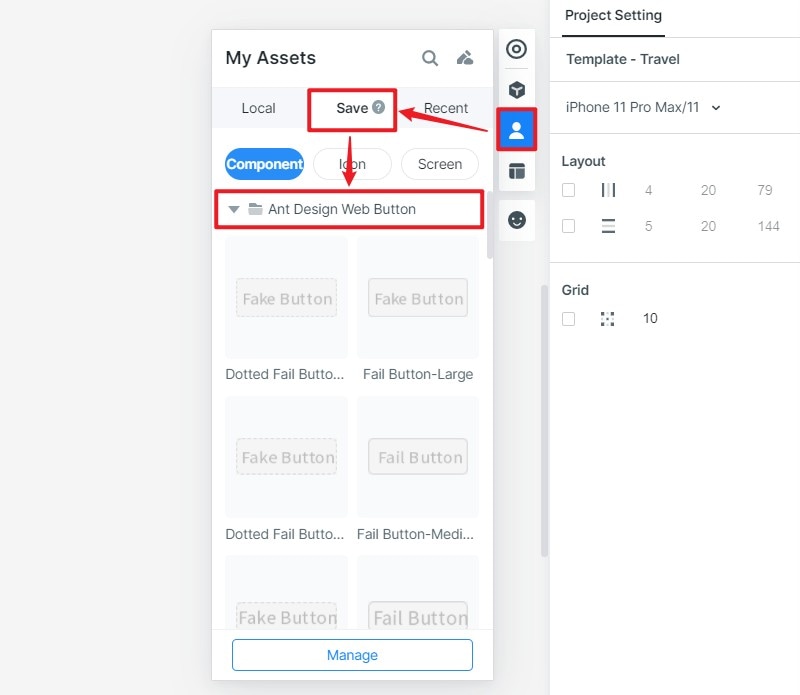
Step 4: Saving widgets for future use
To save the widgets for further use just add them to the "My Widget" option in the library. It can also be done simply by dragging it to the "My Widget" or by clicking "Add to Widget"
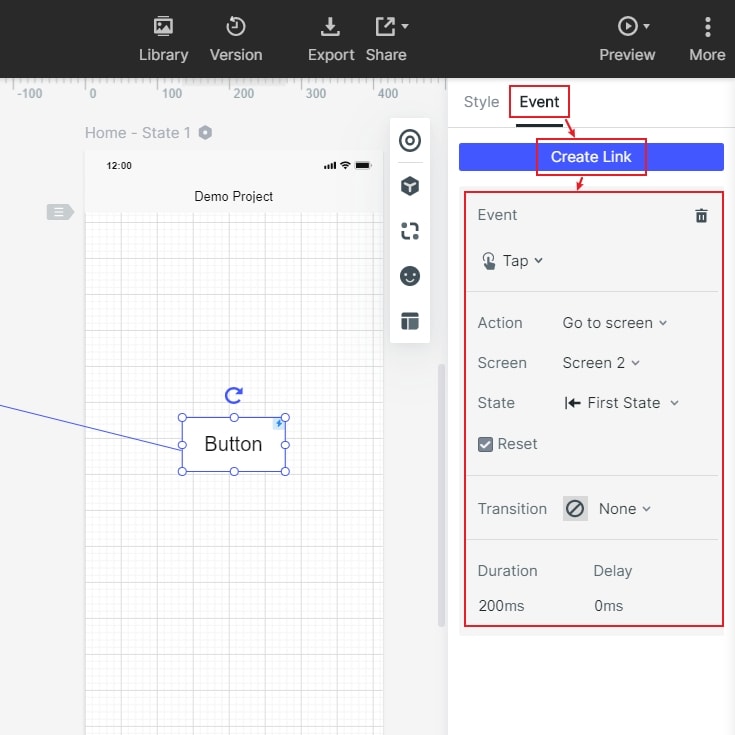
Step 5: Adding links between 2 screens
For adding links to the screen select the widgets and hit the option "New Link" on the screen panel given on the right side. After that set the action, target, gesture, state, and screen also the animation for the desired widgets.
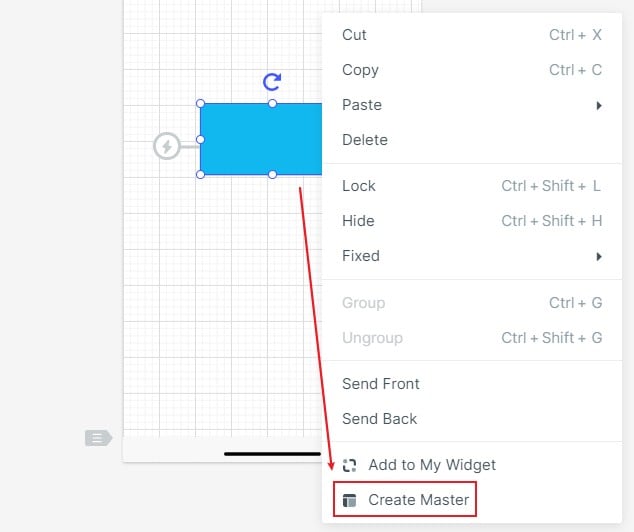
Step 6: Converting widgets into master for bulk editing
Select the desired widget by hitting the right-click to the "Create Master" option. It will get saved into the master library as soon as you press the option. For changing the master setting bring your mouse to the edit option and set it according to your needs.
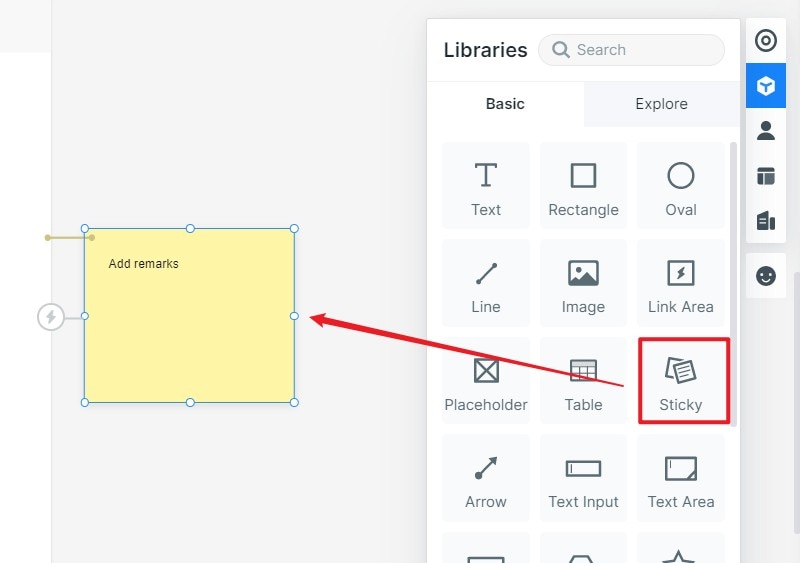
Step 7: To add the notes for design and widgets
You can also add the notes to the widgets with the help of the "Sticky" option in the widget library. After selecting the Sticky option you will be able to add the desired note to your widgets.