What is Wireframe Diagram and How to Create Wireframe Diagram
Creating an official website without wireframing is somewhat like building home without proper blueprint or design. Wireframe diagram acts as a layout for how your official website is going to function and the user will navigate the site. It works as a skeleton where you are the one to decide its position in the page, what element should be included etc. Skipping wireframe diagram can result in offering poor user experience and ruin your reputation in the market. That is the main reason why you should plan about designing before getting started.
- Part 1: What is Wireframe Diagram
- Part 2: The Ultimate Tool to Create Wireframe Diagram
- Part 3: How to Create Wireframe Diagram Step-by-Step
What is Wireframe Diagram
Diagram wireframe is a white and black layout that denotes the appropriate size and placement of various elements in a particle page. It also helps in placing site features, navigation for your website along with conversion areas. It is also devoid of font choices, color, elements of real design or logos. That plays an important role in building site structure. In short, the main aim of the wireframe diagrams is to make your official website attractive and engaging according to your needs. By designing diagrams you can save your great amount of time that you were going to invest in setting various elements in the website.
The Best Tool to Create Wireframe Diagram
There are various online tools that can be used to create attractive wireframe diagram example. The best ones that you can consider is Wondershare Mockitt. It is loaded with plenty of features such as built-in widgets, cloud editing etc. You don’t need to keep updating your apps and software you can simply log in through browser version and build create your desired design easily. The best thing about the cloud editing features is that you don’t need to save the changes every time you login with different devices. The changes will automatically get saved on cloud in case you forget to do it.
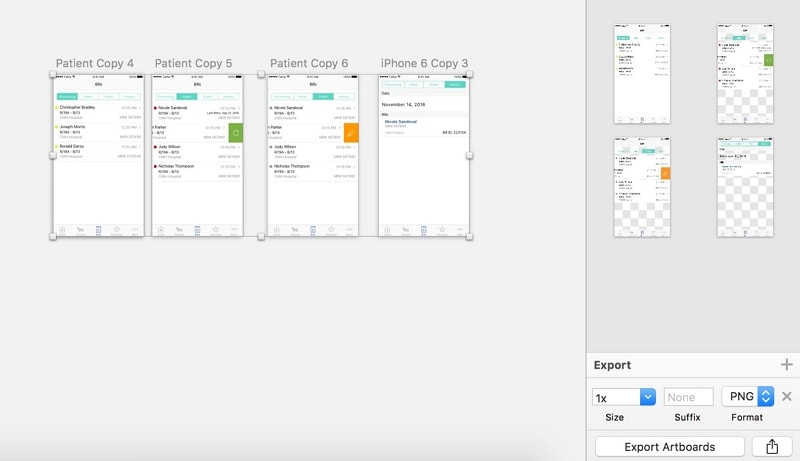
The multi-member collaboration feature will greatly help you share your designs with your team members and clients. You can also discuss the project online via talking or sharing feedback on the completed design. This will allow all the team members to work collectively and efficiently on a single project without any problem.
Steps to Create Wireframe Diagram
Given below is the guide of Wondershare Mockitt that can help you to create your wireframe diagram design:
Step 1: Create a Project
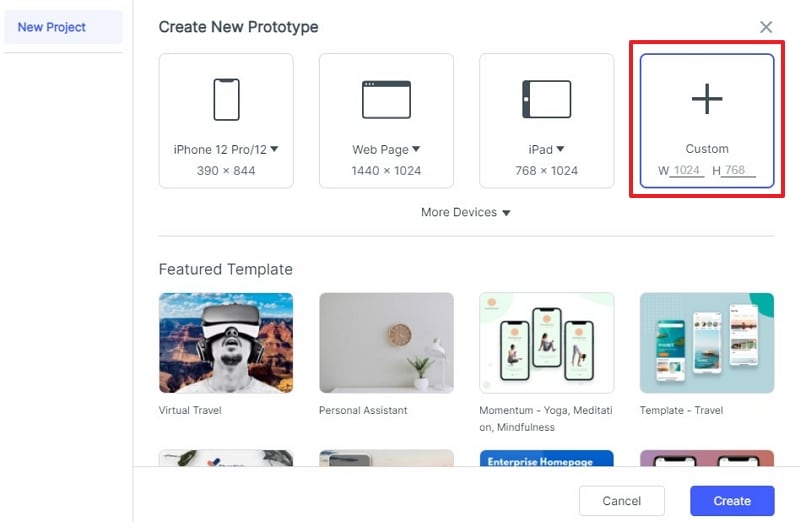
To start with wireframe, you firstly need to visit the official website and log-in there. After that select the type of device and project you want to work. You can also select project from demos according to your needs.

Step 2: Custom Project for the Wireframe Diagram
To change the project size bring your mouse on the project, and click "Settings". By visiting the setting option you can also edit the device type, project name and the size. After that save it as you finish your customization.
Step 3: Add Widgets to Wireframe Diagram
On the right side of your screen you can find some fast widgets that can be entered in two ways.
- By double clicking the desired one.
- Dragging the desired to the canvas.
You can also use three other types of widgets from the right side of the screen Build-in Widgets, Icons and My widgets just by double clicking or dragging it to the canvas.
You can also easily edit the widgets after using in the Inspector Panel.

Step 4: Add Links to the Wireframe Diagram
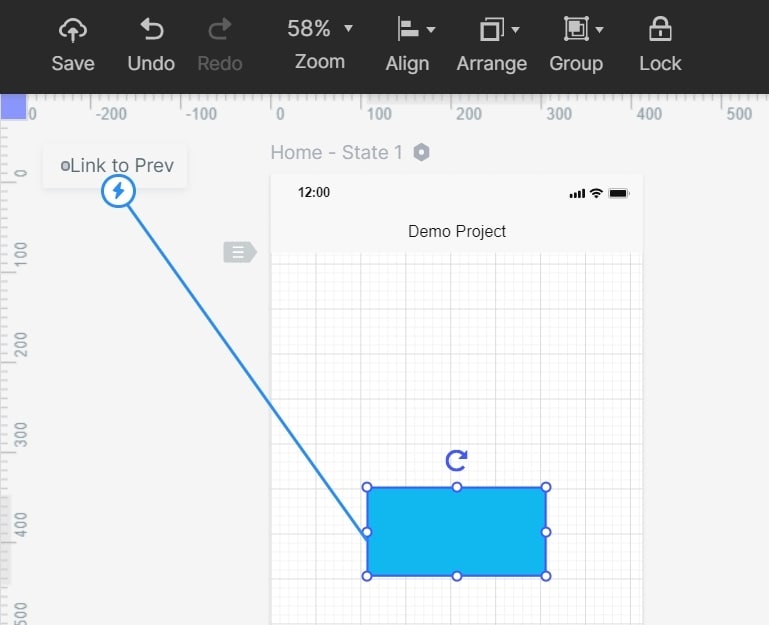
To add the link in your screen you need click on one widget, after that getting options on your screen select "New Link" in the link panel given on the right side. After doing that set the gesture, target screen or state, animation and action for the widget.
Step 5: Add Notes to the Wireframe Diagram
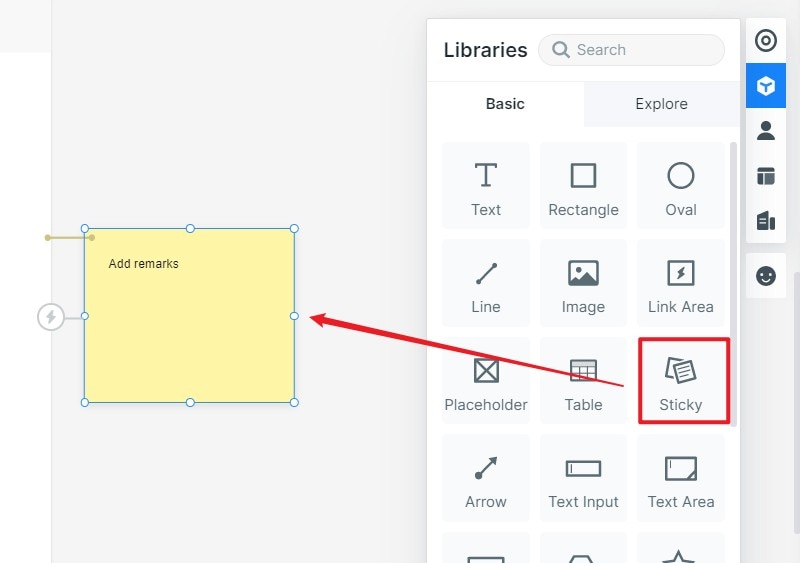
To add the notes to your desired widgets just find the "Sticky" option in the widget library.
Hit the "Sticky" to enter your needed text to explain your teammates about your design and purpose of using the widgets in the canvas. No matter what you want to enter just by using this option you can easily enter your text without any problem.
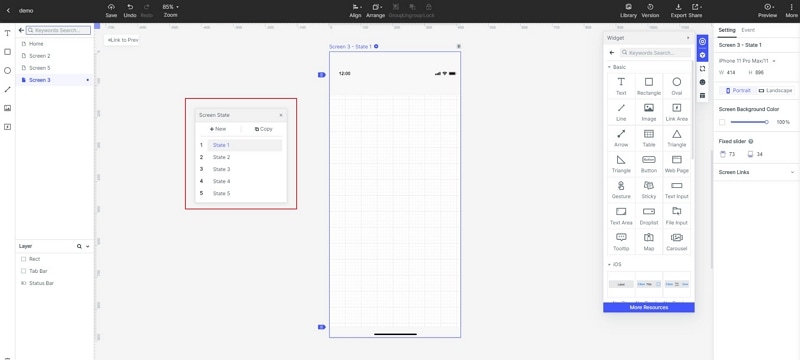
Step 6: Add Animation to the Wireframe Diagram
If you want to add some engaging and interactive content in your created design then you can use it with the help of screen state. This also help you change the shape, size, and color of the image that you want to enter in the canvas.
Tips to Create Wireframe Diagram with Mockitt
Save Widgets to Use in Future
Sometime after you create mockup online free mockup you would like to save your properly designed widgets for future use. This software greatly helps you to save your widgets to "My Widget" library in two different ways
- By dragging it to "My Widget" panel.
- Right click the widget to save it in "Add to widgets" option.
Convert Widgets to Master Bulk
Select the widget by pressing the right click to "Create Master". As soon as you click on the option it will be saved into the master library of the software. To change the master setting bring your hit the edit option by placing your mouse on it.
Screen templates to use
You can also use pre-installed projects demos to make your new design just be clicking "Use Demo" to enter the project. To move the screen on the target project click on "move to" .
You can select any of the templet to create your website easily just be hitting the "Move to" option.
To use any of the widgets in your selected template press the right-button available on the widget and select "Add to widget" option and it will automatically get saved into the widgets library.
Manage library of the assets
The software also allows you to create, delete and move folder easily. You can also use it for your created canvas without any problem. To add the images on your screen, you can directly drag and drop from its source location to its desired location. You can also select the image label in the blank areas quickly.
To manage your library in the batch you can do just by clicking the ctrl or shift key to pick more than one images or widgets. No matter you want to delete or move the procedure is same for everything you need to do bunch.

