How to Create Wireframe with Figma: A Stepwise Approach
When it comes to designing wireframes, there are plenty of options out there. One of them is Figma, which is a popular browser-based designing tool that can help us create prototypes and wireframes of all kinds. Though, if you have never explored it before, then you can find wireframing in Figma a bit complicated. Don't worry - in this post, I have provided a detailed Figma wireframe solution that anyone can implement with basic designing skills.
How to Create Wireframe with Figma: A Stepwise Approach
Since Figma is a web-based tool, you can access it on any browser or computer of your choice. Also, you can find a wide range of designing tools in Figma to create wireframes of low and high fidelity. Besides that, there are several other designing and interactive options that you can explore in Figma. To use Figma for wireframing, I would recommend following these steps:
Step 1: Get the Figma Wireframe Kit
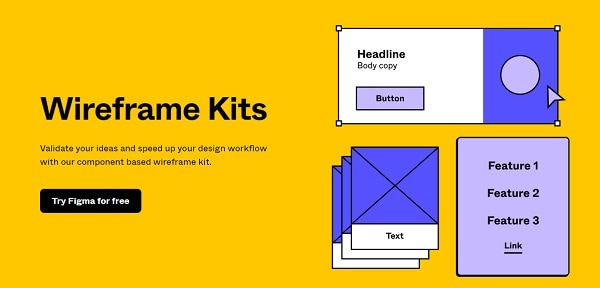
Firstly, you can just go to the official website of Figma and access its online tool. Though, if you want to save your time, then you can get a readily available Figma wireframe kit from its website and include it in your account. There are all kinds of templates and designs in the kit to help you do wireframing in Figma easily.
Step 2: Include the basic design elements
On the web interface of Figma, you can see all kinds of design elements on the side. All you need to do is just drag and drop the element and include it on your canvas. You can further adjust its CSS by changing its color, size, alignment, and so on.
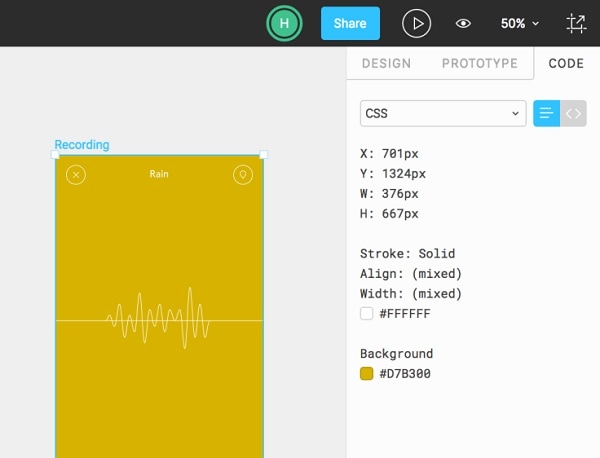
By following the same approach, you can work on multiple frames. For instance, if you want to create a wireframe of an app on Figma, then you can have different screens for it. You can just copy a design element and reuse it multiple times to provide a uniform appeal to your wireframe.
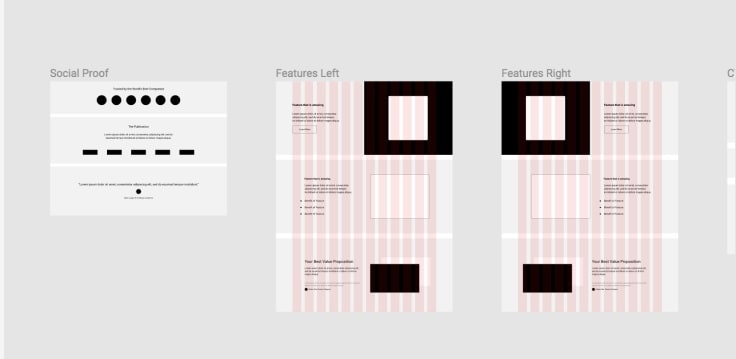
Step 3: Finalize your Figma wireframe design
Using the same design elements, you can also create different versions of the Figma wireframe as well. In the end, you can use its inbuilt tool to link various screens and components of your wireframe with each other. This will provide high fidelity in the wireframe for Figma project of yours.
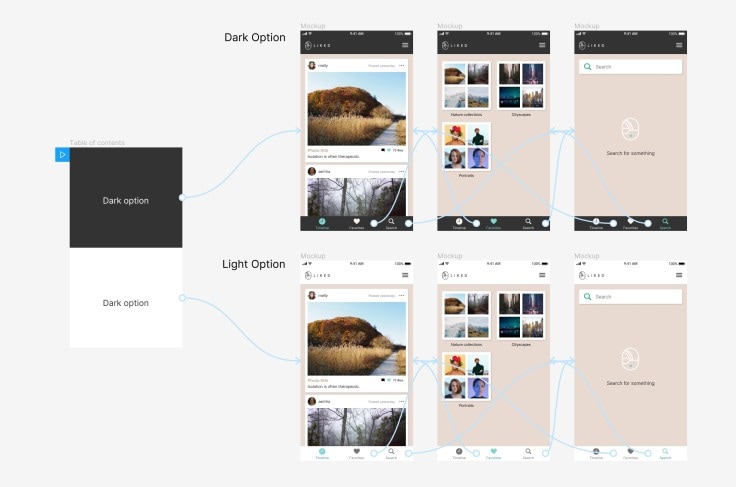
When you are done, you can go to the Observation Mode of Figma to get a real-time preview of how your wireframe design would look like. Later, you can also share this design with others and save it to the cloud.
How to Create Wireframes with a Figma Alternative
If you are a beginner, then you can find Figma a bit complicated to use. Therefore, I would recommend using Wondershare Mockitt instead, which is a perfect alternative to Figma. You can go to its online tool or access it on your computer and come up with all kinds of wireframes. It features a wide range of templates and other design elements that you can pick and reuse.

If you want, you can also import Sketch projects or export your designs into different formats as well. The application would also let you get a real-time preview of your wireframe designs. To learn how to create wireframes using this Figma alternative, you can follow these steps:
Step 1: Select a preferred perspective
To start with, just head to the online tool of Wondershare Mockitt and choose to import an existing template or work on a new design. You can now select a perspective (like mobile or tablet) to create your wireframe.
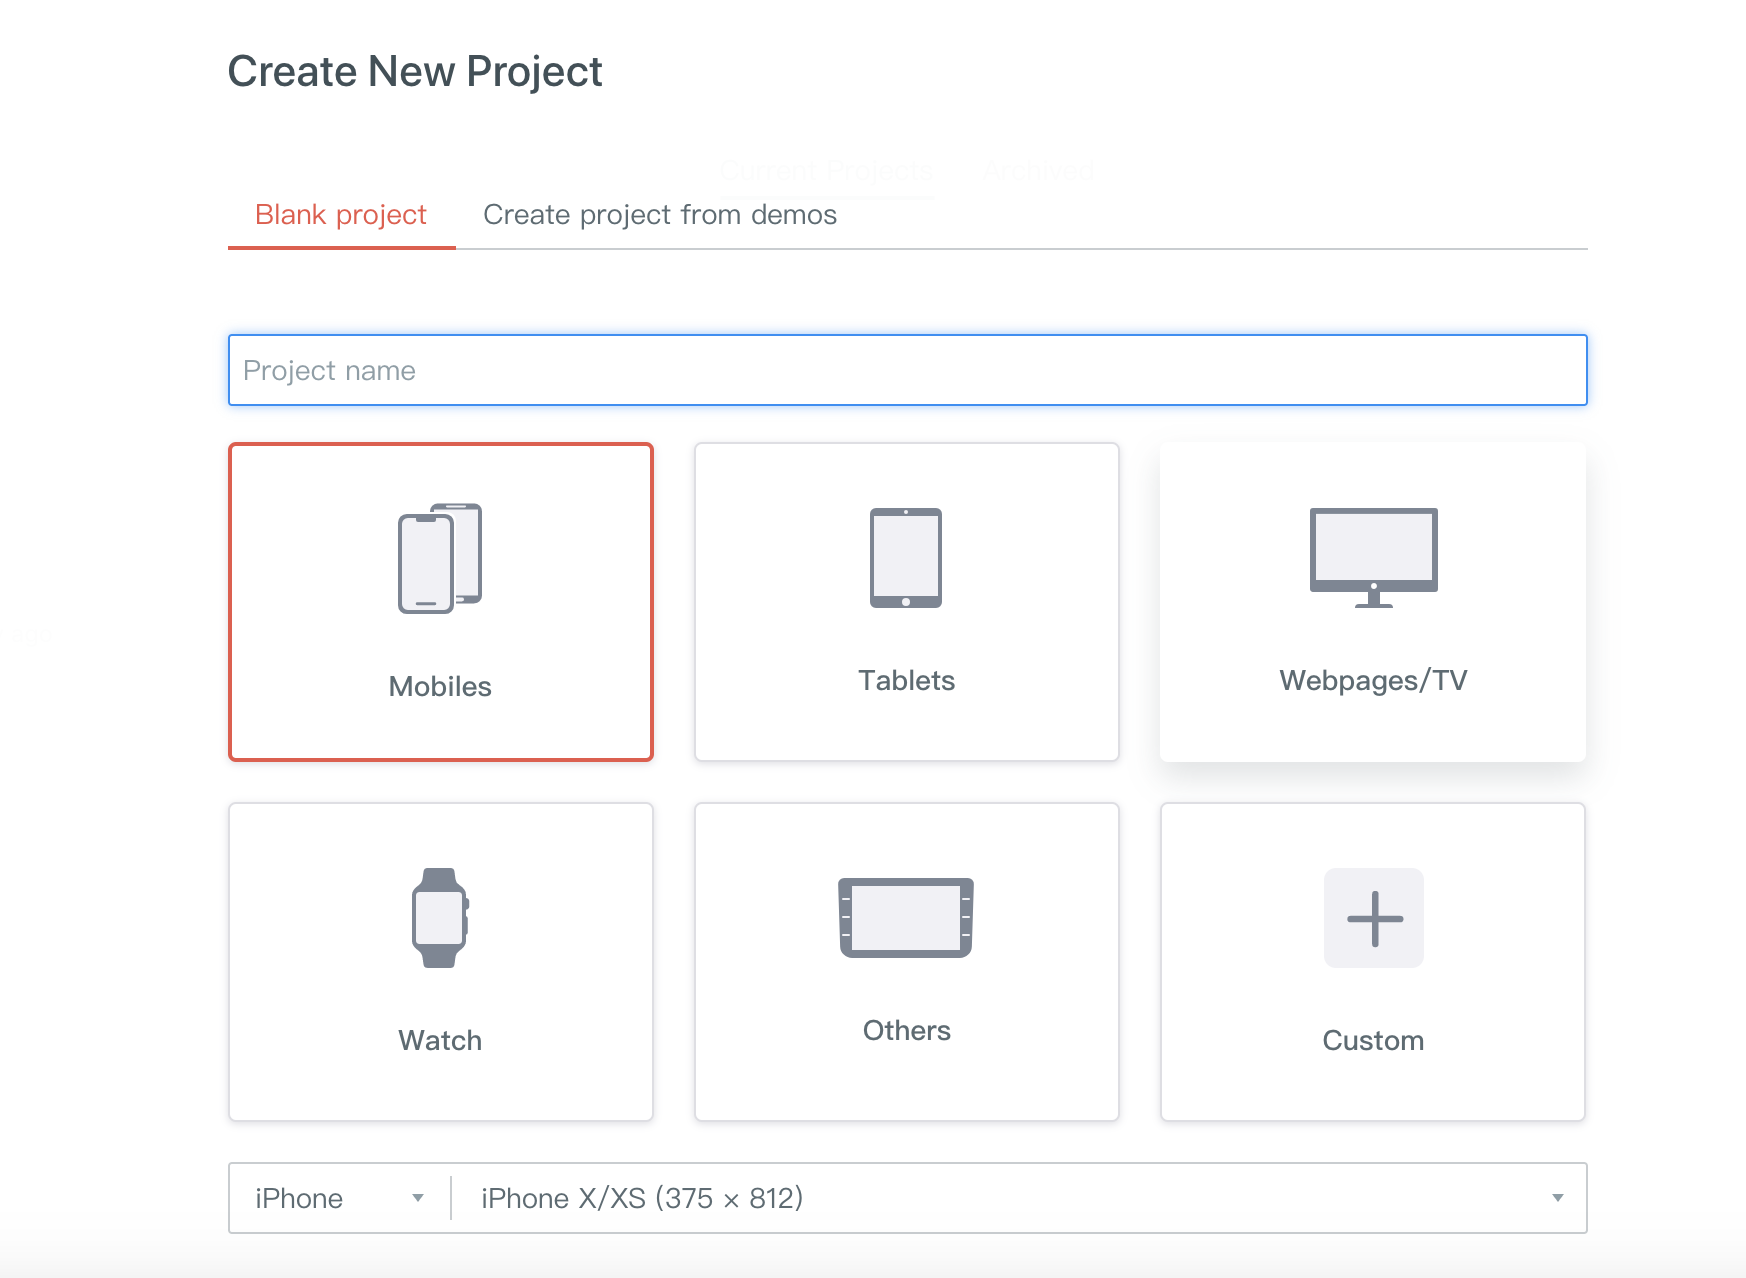
If you want to get better results, then you can even select the size of the screen to create your design.
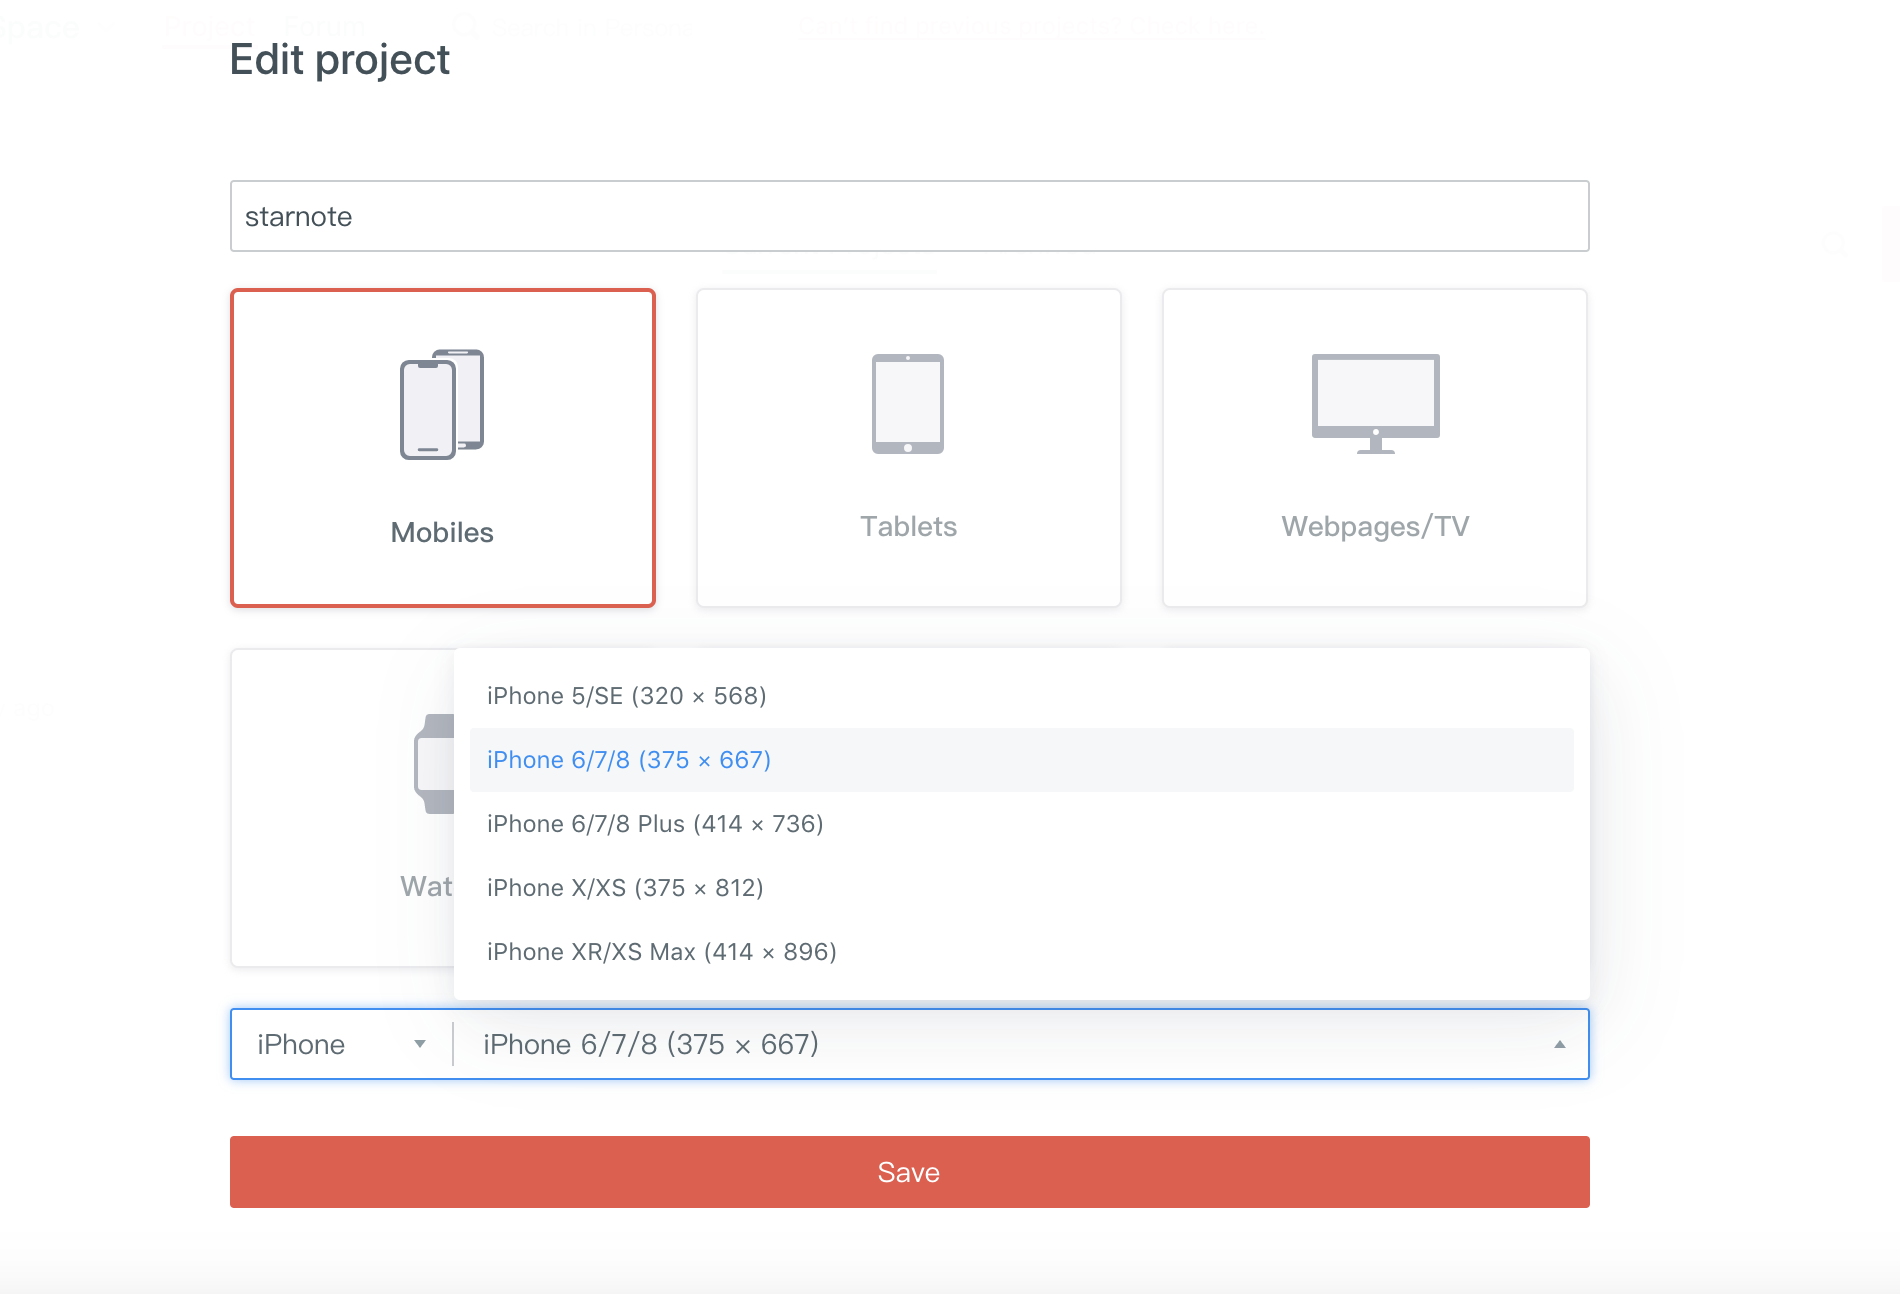
Step 2: Add and Edit Widgets to Design your Wireframe
Once you have got the canvas, you can simply drag and drop any design element from the sidebar and make the needed changes in it.
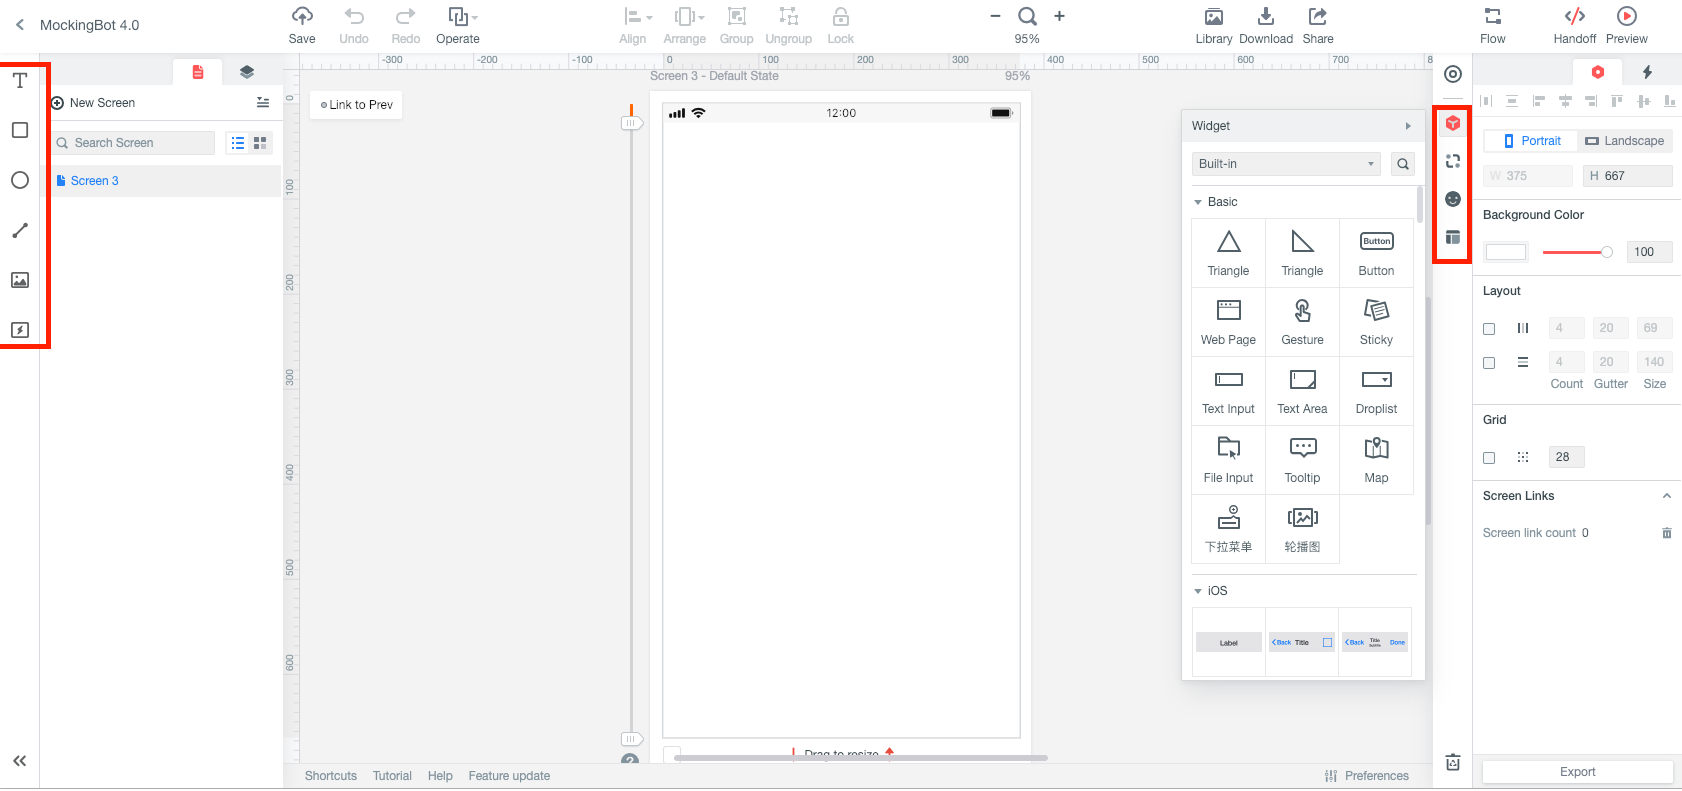
To edit any widget, you can just select it, and get all kinds of options on the sidebar. This will let you change its size, appearance, and so on. You can even mark any widget as reusable to save your time in the designing process.
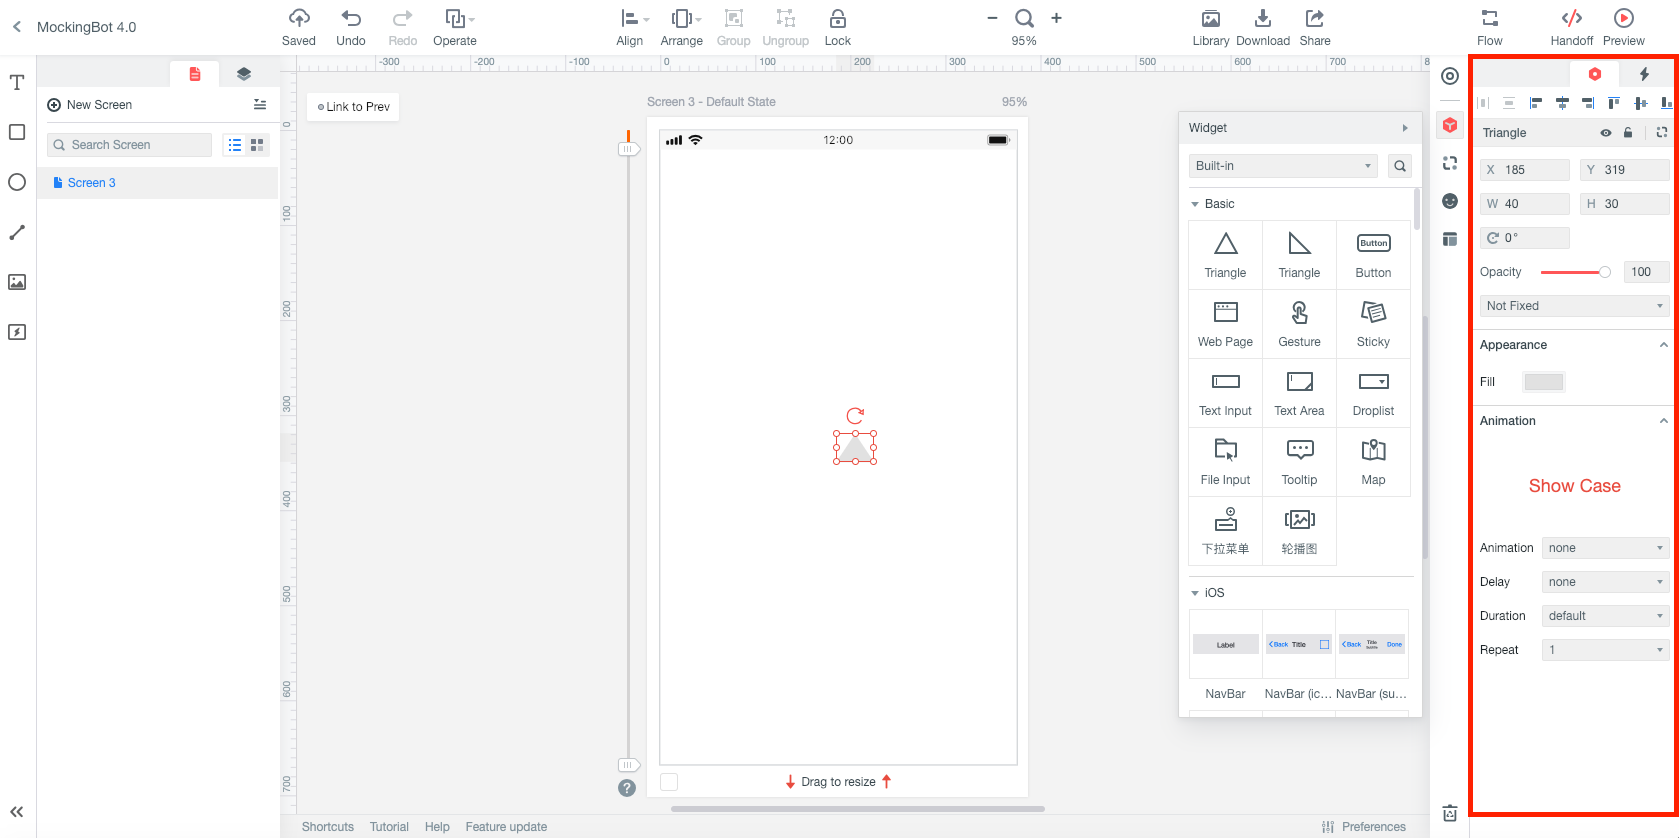
Following the same approach, you can work on your wireframe. If you want, you can create master widgets and mark them to work on bulk editing as well.
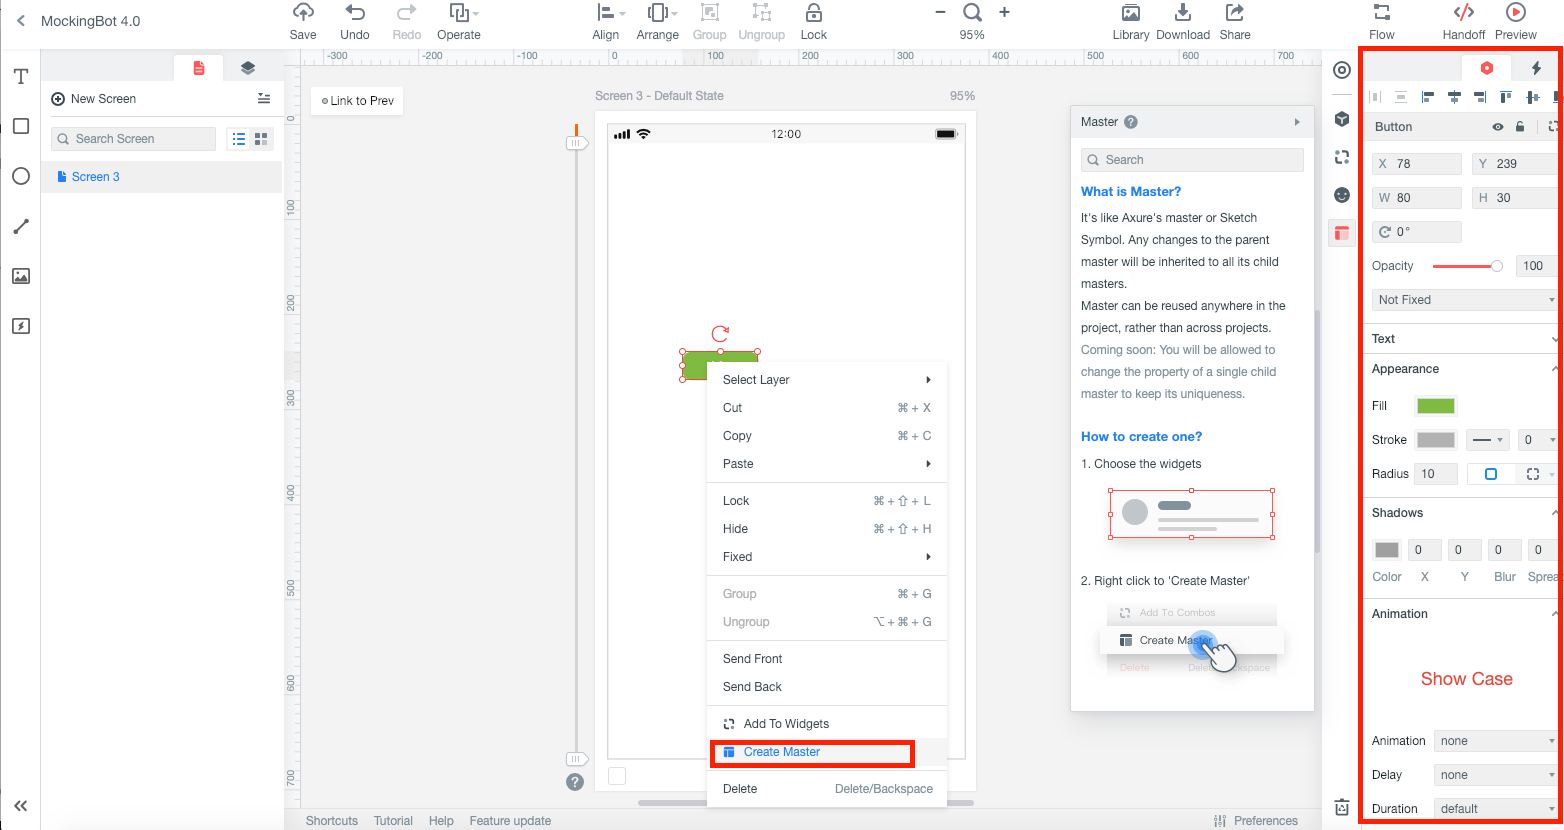
The Asset Library of Wondershare Mockitt is pretty extensive and would further let you link your widgets and frames with each other. You can also include Google Sheets, photos, videos, transitions, animations, etc. in your projects to improve its fidelity.
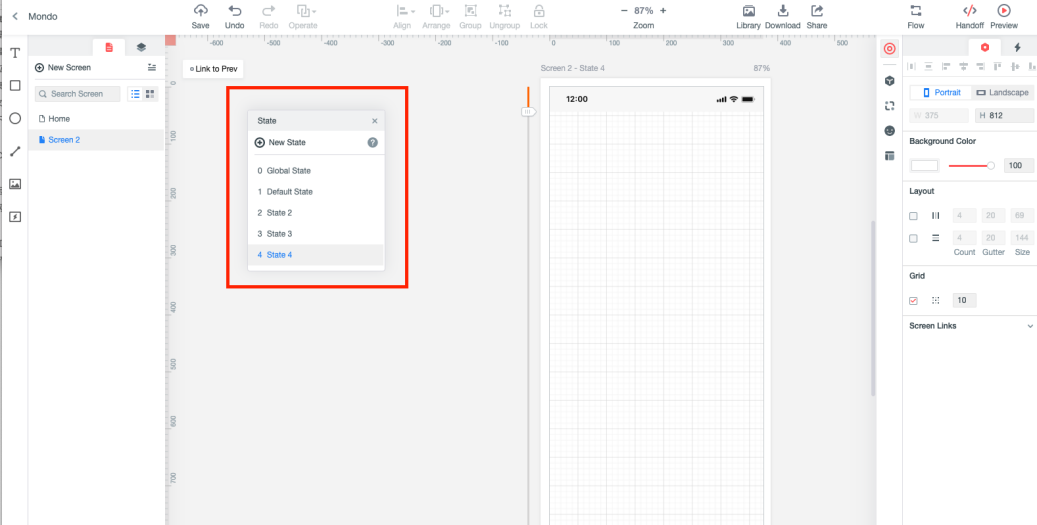
Step 3: Preview and share your wireframe designs
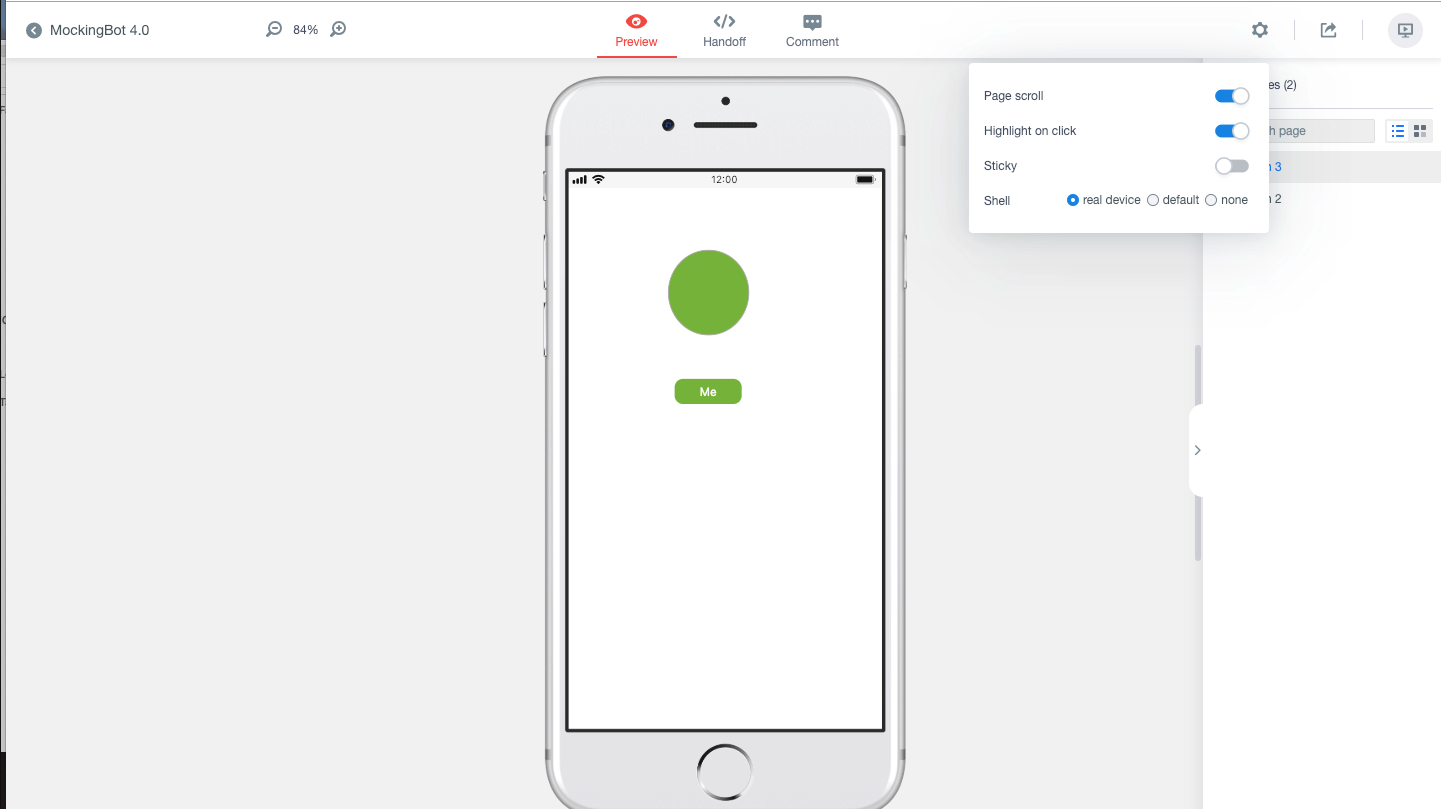
When you are done with the designing process, you can also get a real-time preview of it on the defined perspective. This would let you view how your wireframe would look like later on. You can also share it with others via its link or a QR code that can be generated by clicking on the "Share" option on the top.
I'm sure that after reading this smart guide, you would be able to use Figma for wireframing. For this, I would recommend using the Figma wireframe kit that is readily available on its website. Besides that, if you are looking for a better designing tool, then Wondershare Mockitt would meet your requirements. It features a wide range of templates and editable widgets that you can use to come up with wireframes of high fidelity in less time.

