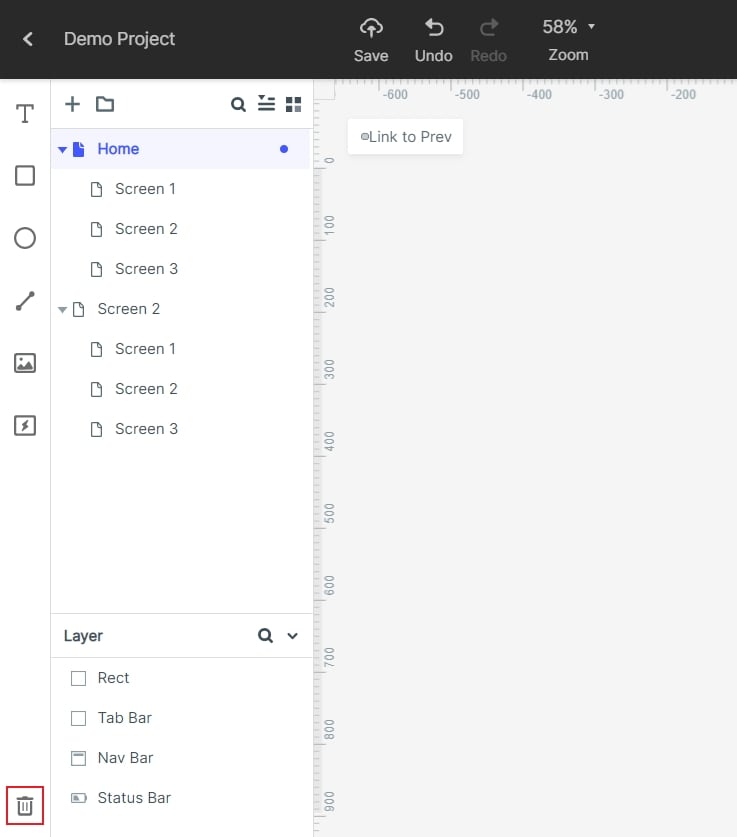
Guide:Add and Manage Screen
Add Screen
First, you need select the folder of your projct and then click the "+" icon. The screen will be added to the target folder.
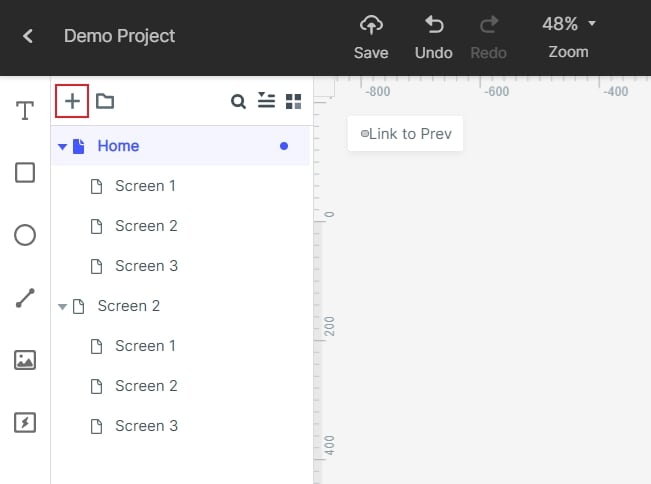
If you need to upload pictures in batches to create screens, firstly you can multi-select these images and drag them to the screen list area. (images will be automatically uploaded as well as screens created). After completing the upload, you can directly add the interactions for the presentation.
Copy Screen
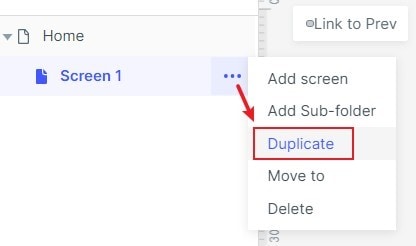
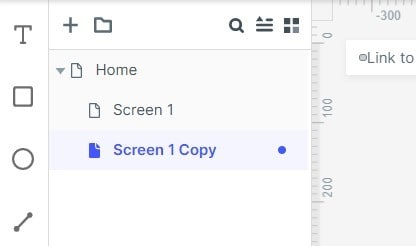
In the left taskbar, click the expansion button on the right side of the "Screen" and click duplicate.
Add Screen Folder
The screen folder can help you effectively sort out the logic of screens.
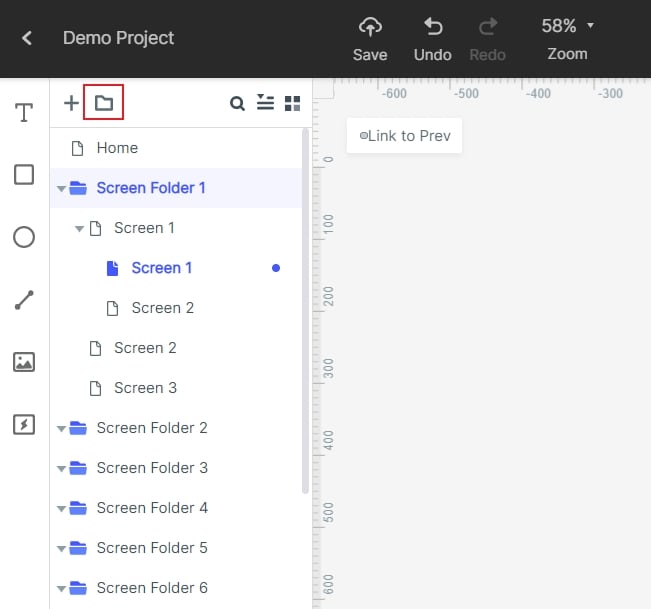
Click the folder icon to add a new folder.
At the same time, you can click and hold the screen with the mouse, drag and drop it into a folder.
Folder rename is the same as screen rename- double click the name to modify.
Note: IE browser does not support screen dragging, Google browser and Wondershare Mockitt client app are recommended.
Reorder Screen
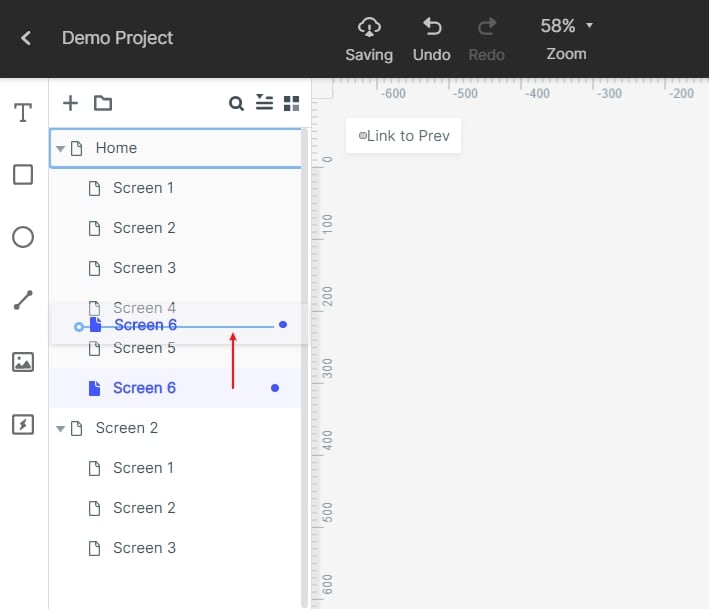
Click the selected Screen, drag and drop it to reorder your screen list.
Delete Screen
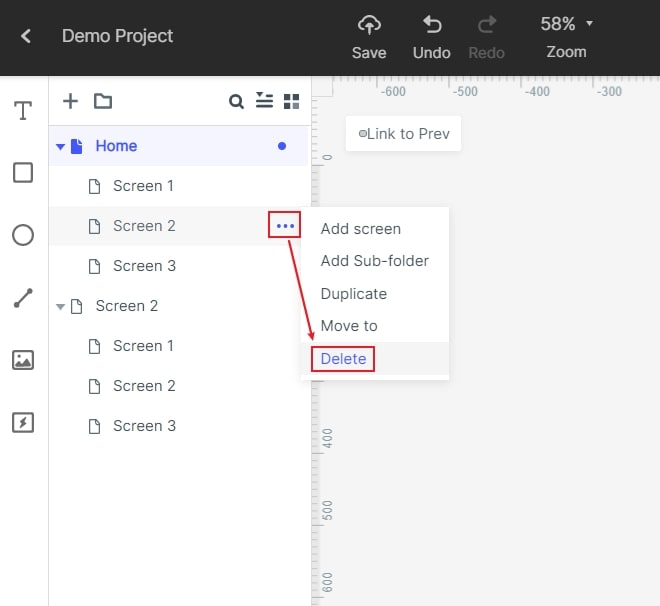
In the left taskbar, click the expansion button on the right side of the "Screen" and click delete.
Retrieve Screen
Click the selected Screen, drag and drop it to reorder your screen list.
