Guide:Create a Flowchart with Mockitt
Creating a flowchart is a great way to sort steps in an order graphically. However, on paper, it can be tricky and time-consuming. To help you save time and effort, Wondershare Mockitt has a built-in tool that works on dragging and connecting. This allows you to create interactions and keep every action sequentially.
Check out this simple, step-by-step guide on how to create a flowchart with Mockitt.
Create a Flowchart from Scratch in 3 Simple Steps
- 1. Create a New Flowchart
- 2. Customize the Flowcharts: Change Themes and Styles
- 3. Export and Share the Flowchart
1. Create a New Flowchart
Step 1: First, log into the software on either the desktop application or browser.
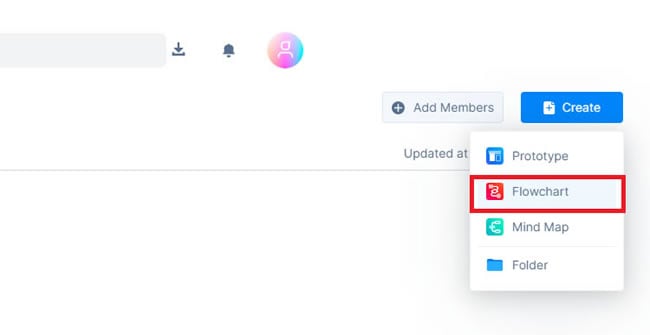
Step 2: Once logged in, click Create > Flowchart from the top-right corner.
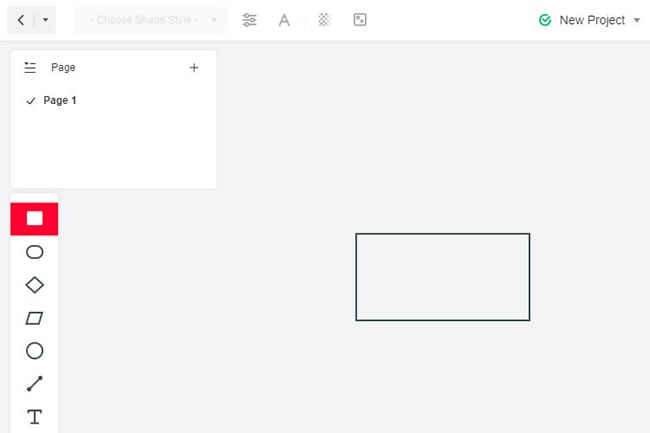
Step 3: Now, drag any Symbol from the left corner and paste it on the screen.
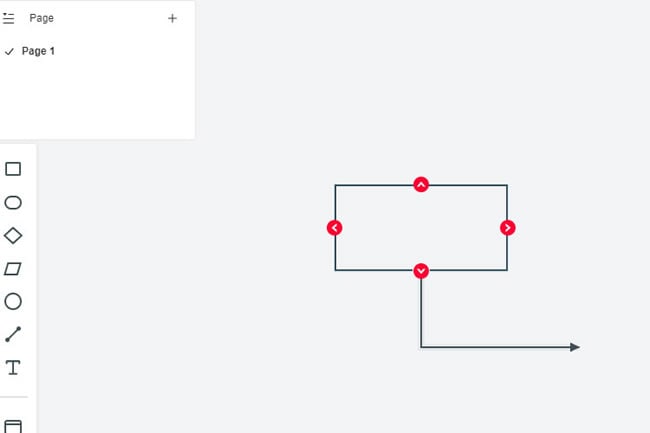
Step 4: Use the Red Arrows and connect shapes through a straight or polyline to build interactions.
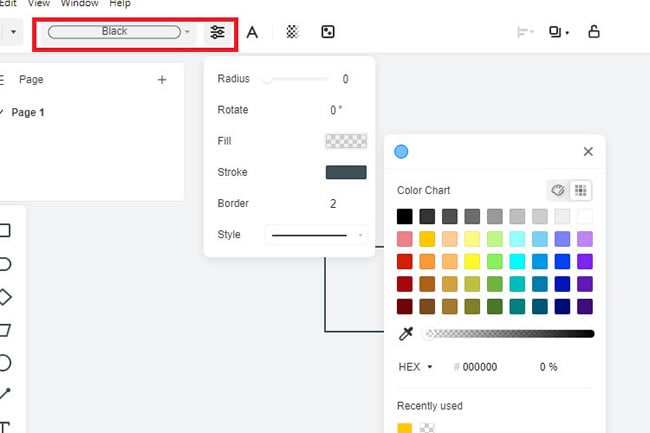
Step 5: From the top menu, you can make changes to the shape of the symbol. Add Colors, Strokes, and Adjust the Style as per the requirements.
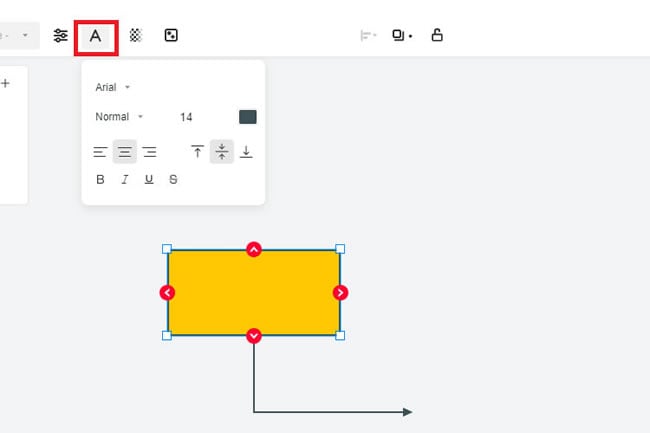
Step 6: Click Inside the shape to enter text in each shape and start typing. Click the A icon from the top menu to change the font or layout.
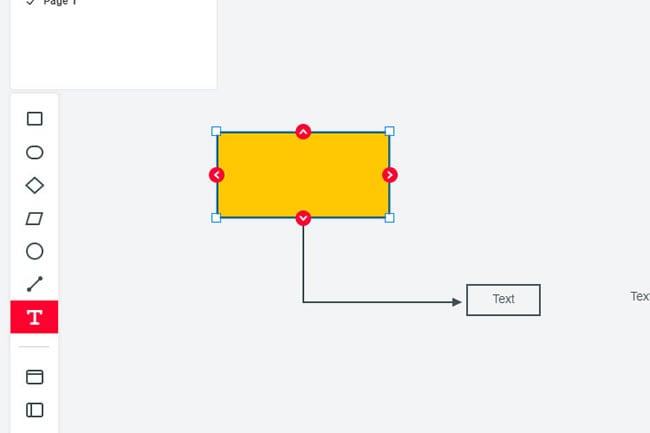
Step 7: To add a separate text box, drag the T symbol from the right corner and paste it on the screen.
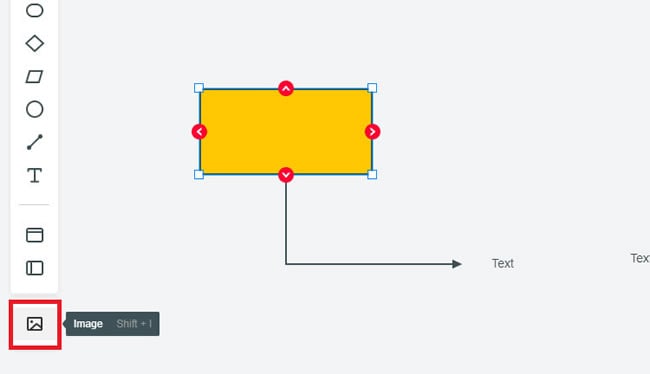
Step 8: You can also add Images to your flowchart to make it presentable.
2. Customize the Flowcharts: Change Themes and Styles
To change the themes, go to the top-left corner and click the Paint icon. Here, you will see a number of options; press the one you need to use for your diagram.

3. Export and Share the Flowchart
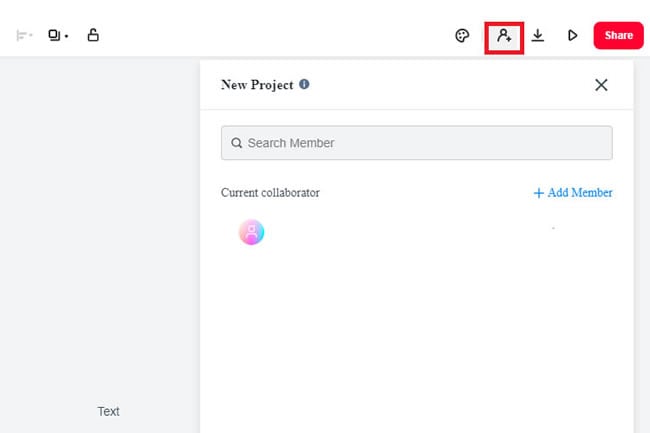
Now that the flowchart is complete click the Add Member icon just beside the download. Type the name of any member you want to look at and co-edit the diagram.
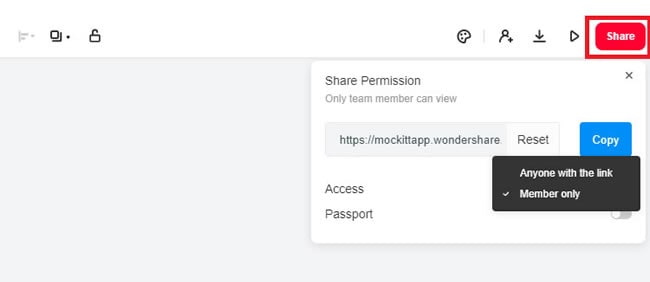
To share this with other team members, click Share > Copy Link. Also, make sure to Give Access to others so that they can leave feedback on the diagram.
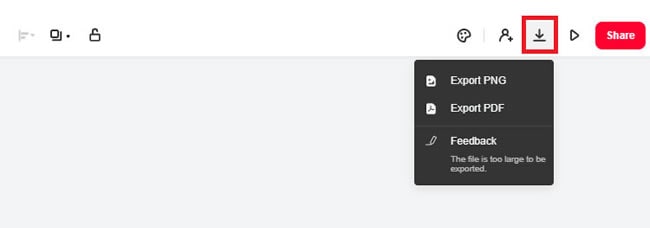
Finally, click Download > Export PNG or JPG from the top-right corner to export the flowchart to your device.
Finally: Here is a Quick Tip
Now, you don’t have to go to any platform to present this flowchart to the team members. Click Preview from the top-right corner and get your idea across the board through the slide.
