Guide:Manage Interactions on Mockitt
On Wondershare Mockitt, users can build basic as well as complicated interactions with multiple options. Here is a step-by-step guide on utilizing these screen state functions and animations to manage interactions.
Create Interactions
Step 1: First of all, open the Mockitt application and enter the login information.
Step 2: After this, select the project you want to edit from the dashboard Project Management menu.
Here are the multiple types of animations Mockitt supports to help you build interactions within the project.
Page Transitions
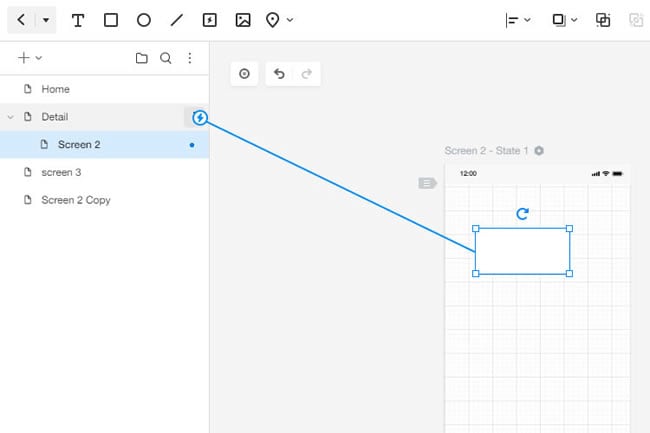
The Page transition enables users to switch between different screens. Hence, the reason why they are also known as screen transitions. To create one, choose any symbol on the desired screen from the project panel and drag its lightning symbol to the screen to add the transition.
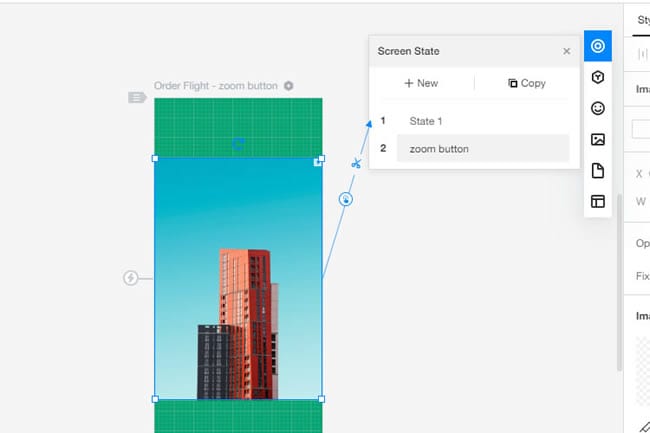
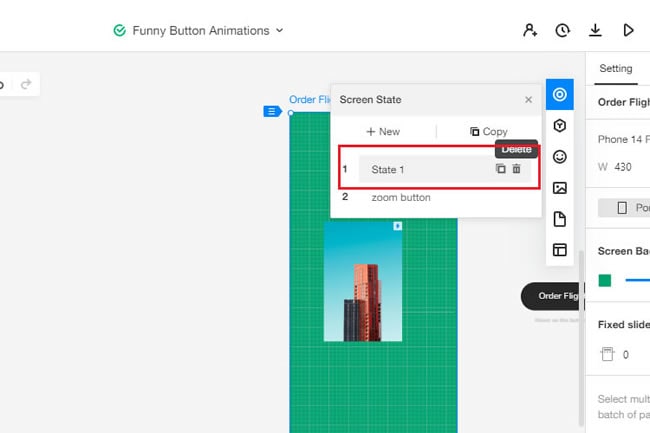
Screen State
Mockitt also supports a screen state that enables users to create multiple screen states. For example, when users click multiple tabs, they transition from one screen to another. With this function, you can create full-screen animations.
While switching from the default screen to another, you will see a shift (with the change of elements, like its color, size, zoom, and so on). This move is known as Magic Move.
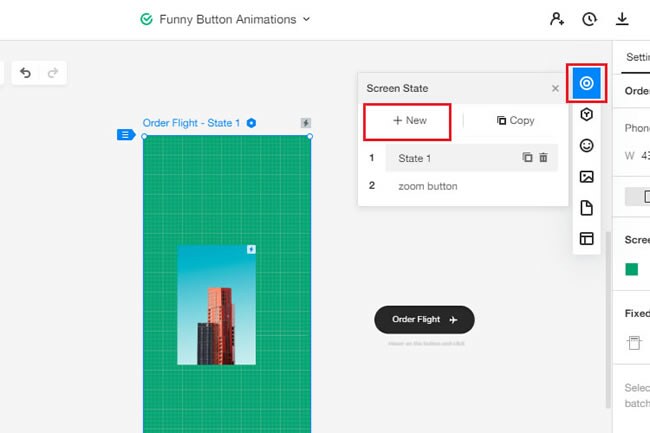
Also, all the interaction links and components are added under the default screen or Screen 1. To create a new state and build interaction, follow the simple steps below:
Step 1: First, open the editing panel and click the Screen State button from the right side setting panel. From here, click New to add a new screen.
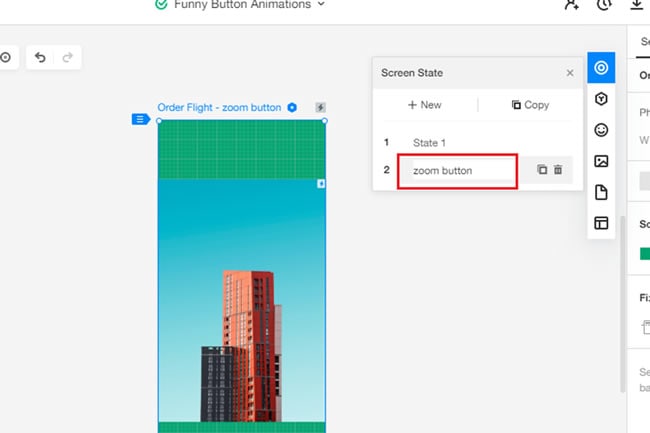
Step 2: To rename this screen, double-tap and modify its name.
Step 3: After you have multiple screen states, you can create an interaction. For this, click any icon from the first screen and use its lightning symbol to drag it to any other screen.
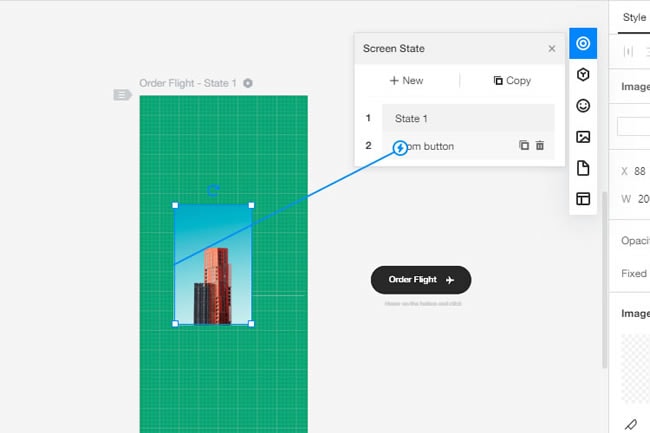
Step 4: Do the same in reverse order. For instance, go to the screen where the action is supposed to happen and connect its icon with the first screen using the lightning symbol.
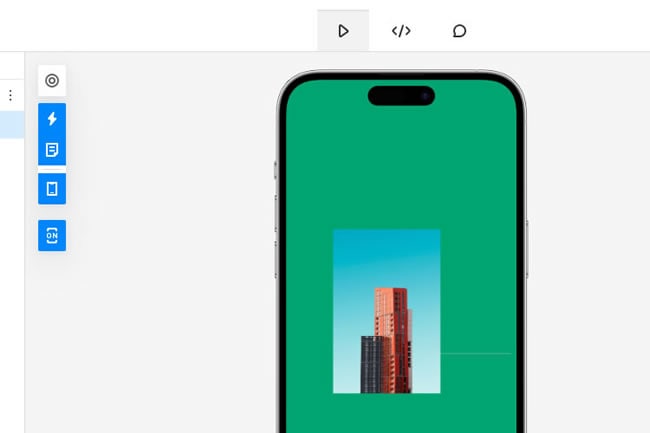
Step 5: In order to view the interaction, click the Preview button from the top-right corner menu and click the icon to see the action happening.
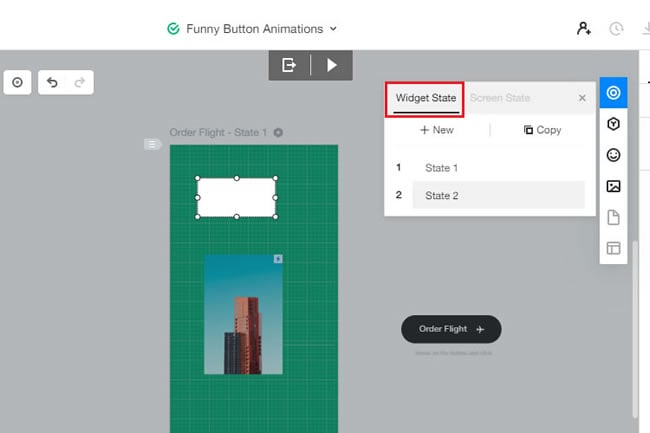
Widget State
The widget state is specifically designed for individual icons. For instance, if you need an open or shut down button in the project, these widget states can help you create one. Here are the steps to follow:
Step 1: First, select any icon from the editing panel, and click Add Widget State from the right setting panel.
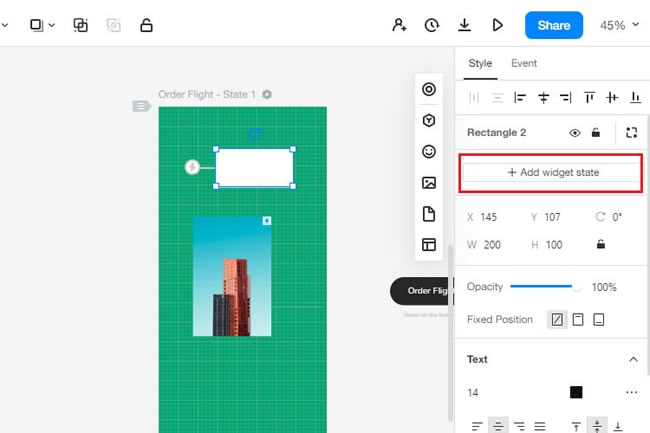
Step 2: After this, you will see a menu to manage all these states.
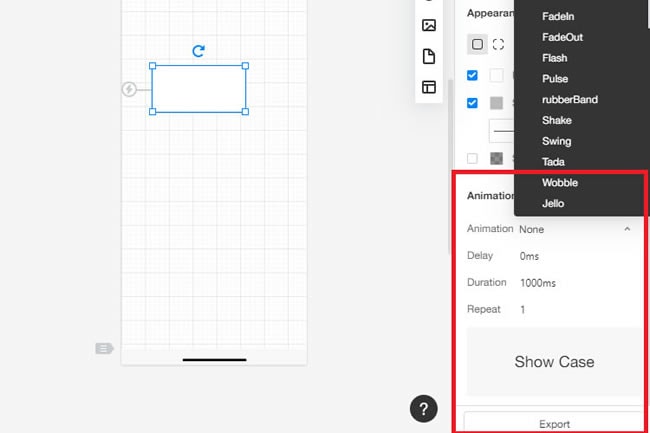
Animations
Animations are the effects you can use for different widgets. They allow you to add different effects for the icons within the projects, such as Bounce, Shake, and Fade. Here is the step to follow:
From the editing project panel, click the icon to which you want to apply the animation. After this, you will see the Animation section on the bottom-right menu. Modify its properties like style, duration, and delay.
Hide and Delete Interactions
elete Interactions
Open the screen state panel and click the Delete icon to delete the interactive link
Hide Interactions
Step 1: To hide the interaction, click More > Preferences from the top-left corner of the toolbar.
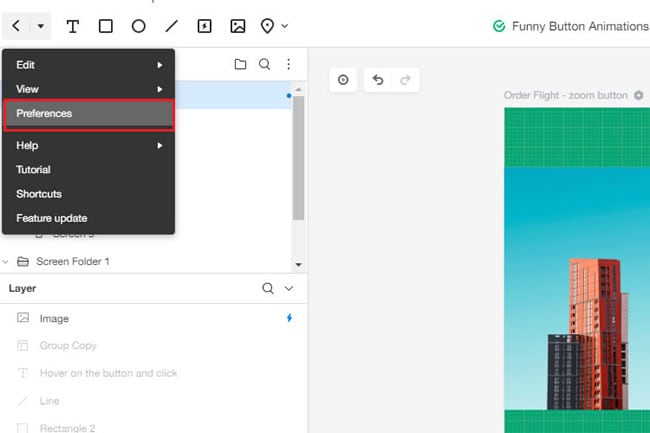
Step 2: After this, select the Not Show button under the Theme section and confirm it.
