Guide:How To Manage Widgets In Wondershare Mockitt
Widgets are the digital components used for designing prototypes, flowcharts, mind maps, etc. Wondershare Mockitt has a wide variety of assets you can integrate into your designs. Adding them to a project is simple as they work on a drag-and-drop mechanism.
Managing multiple components in a single design can be confusing, especially for beginners. Here’s a complete step-by-step guide on adding and managing widgets in Wondershare Mockitt.
- 1. Add and Use Built-in Widgets
- 2. Edit Widget Properties
- 3. Hide or Show Grid Lines
- 4. Manage Image Widgets
- Pro-Tip To Manage Widgets Efficiently
1. Add and Use Built-in Widgets
Step 1: Open the Wondershare Mockitt app on your desktop or browser and log in with the correct credentials.
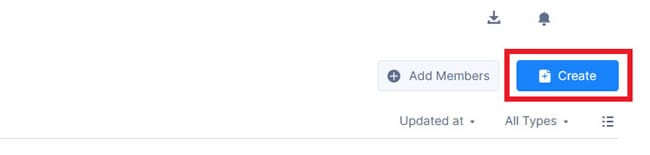
Step 2: Now, click Create at the right corner of the screen and select Prototype for this tutorial.
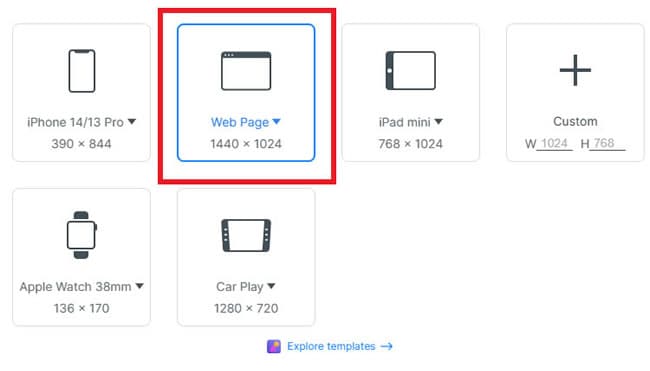
Step 3: You can choose any device. For this tutorial, we will be using a Web Page. So, please select it and click Create.
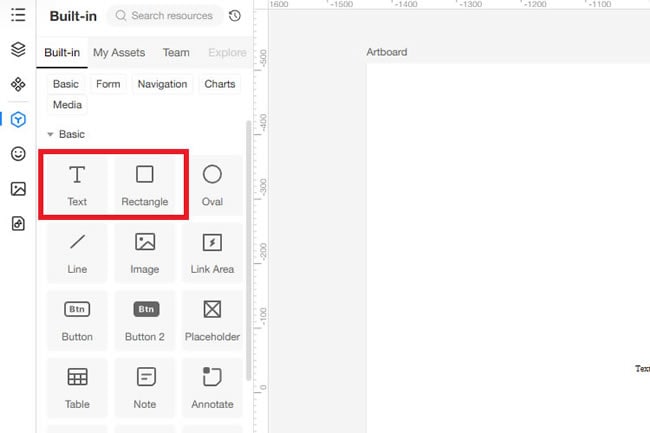
All the digital components available on the main screen are widgets. That includes shapes, text, charts, images, videos, audio, menus, forms, buttons, icons, etc.
Step 4: Pick a shape from the left toolbar and draw it on the canvas. Drag another widget, like text, and drop it on the main screen. That is how you can use any built-in widget in your design.
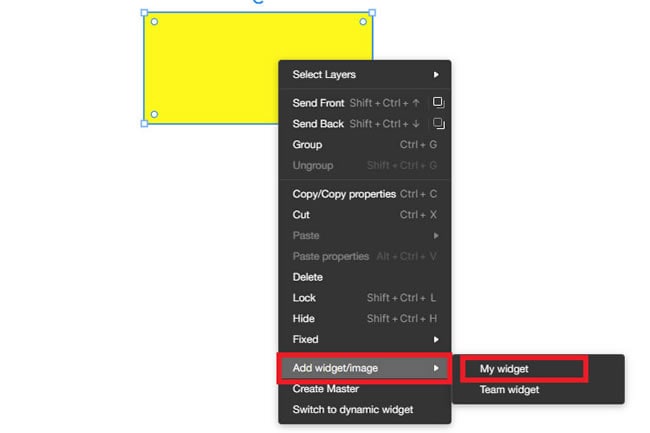
Step 5: Now, right-click any widget on your canvas. Go to Add widget/images from the drop-down menu and select My Widget.
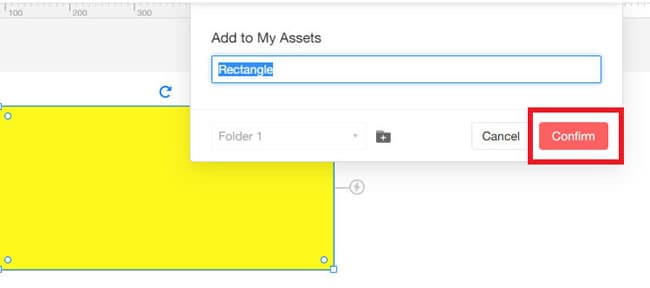
Step 6: Enter any name for your asset and click Confirm.
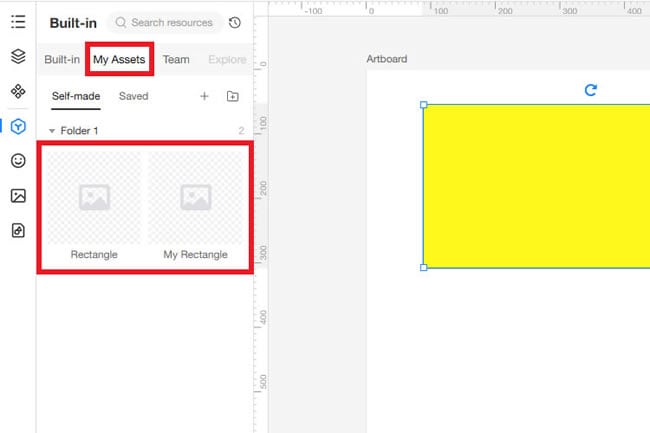
Step 7: You can access the added widget from the My Assets tab in the left toolbar.
2. Edit Widget Properties
Wondershare Mockitt offers properties like grouping, equal scaling, showing, hiding, and locking all the digital components. After adding a widget, you can customize it endlessly. Here’s how to do these functions.
- Group and Ungroup Widgets
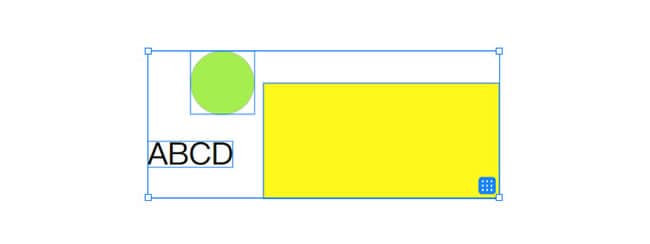
Step 1: Add any two or more widgets on the canvas.
Step 2: Hold the Shift key and left-click all widgets.
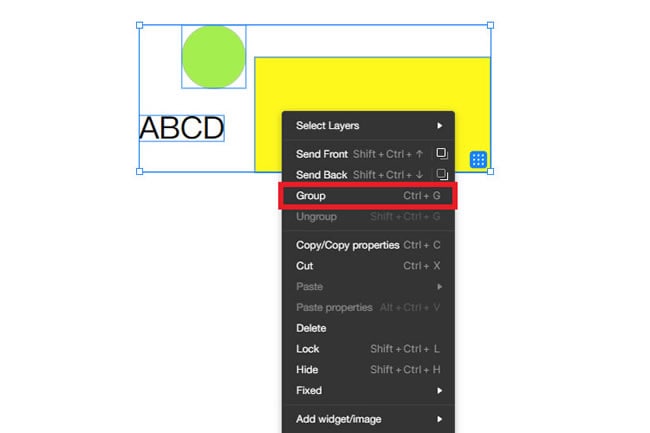
Step 3: Right-click the widgets and select Group from the drop-down menu. You can group them by pressing Ctrl + G on Windows and Cmd + G on Mac.
Once all the widgets are grouped, they can move simultaneously. You can also change the settings of all widgets at once.
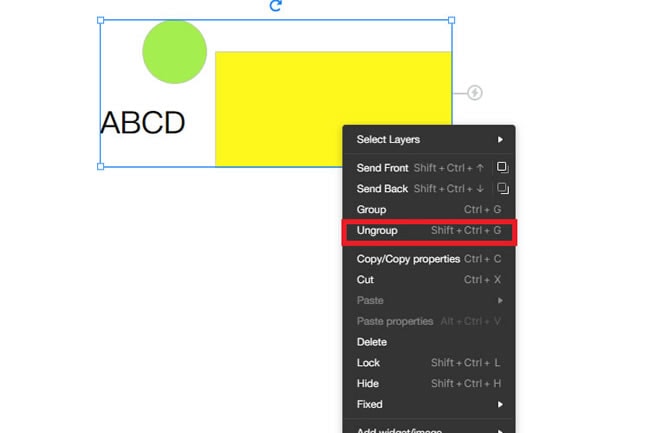
To ungroup, right-click the widgets and select Ungroup from the drop-down menu. Another way is to press Ctrl + Shift + G on Windows and Cmnd + Shift + G on Mac.
- Equal Scaling Widgets
Step 1: Drag and drop a widget on the canvas.
Step 2: Select any of the four corners.
Step 3: Hold the Shift key and drag it for equal scaling.
- Show or Hide Widgets
Step 1: Pick a widget and draw it on the canvas.
Step 2: Select the widget by clicking it.
Step 3: On the right toolbar, click the Eye icon or press Shift + Ctrl + H to hide the widget. You can also right-click the component and select Hide from the drop-down menu.
Step 4: Click the changed icon to make the widget visible again. Another way is to select the component, press Shift + Ctrl + H, or select Show from the drop-down menu.
- Lock and Unlock Widgets
Step 1: Drop a widget on the main screen.
Step 2: Select the component and press the Lock icon on the top toolbar. The lock icon is also present on the right toolbar.
Once a widget is locked, it will be fixed to its position. That means you can not move it around or scale it.
Step 3: To unlock the widget, select its layer and click the Lock icon again. You can also lock and unlock using Shift + Ctrl + L on Windows and Shift + Cmnd + L on Mac.
- Rounded Corners For Rectangles
Since you are working with a rectangle as a widget in this guide, let’s change its corners from sharp to rounded. Here’s how to do it:
Step 1: Draw a rectangle on your canvas and select it.
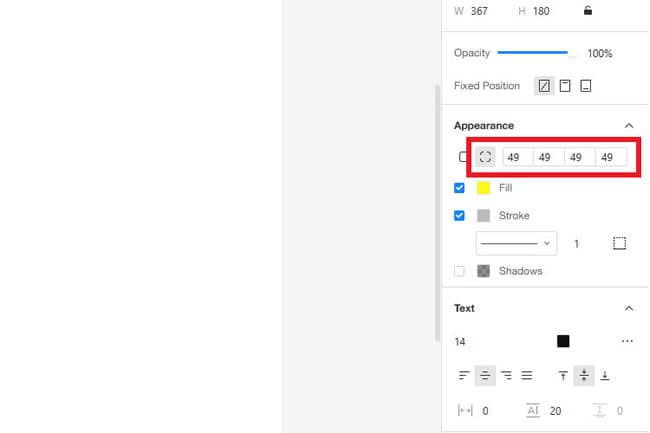
Step 2: Now, go to the right toolbar and click the Rounded Rectangle icon under the Appearance section.
Step 3: Now, enter a value or increase from zero using the arrows. As the values increase, your rectangle’s corners will become more circular.
Step 4: You can also select the icon next to the rounded rectangle one. It allows you to enter the value for each corner.
3. Hide or Show Grid Lines
Grid lines can be helpful in accurately positioning your components. You can show and hide them by following the steps below:
Step 1: Select the Artboard above the work area. You can also right-click anywhere on the canvas to select it.
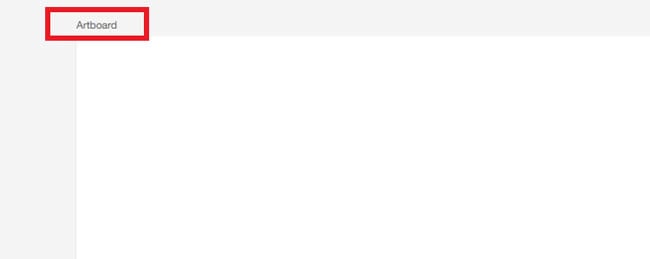
Step 2: From the right toolbar, checkmark the box next to the Grid icon. Enter the value you want to set for grid lines. Click the box again to hide the grid lines.

4. Manage Image Widgets
- Add an Image
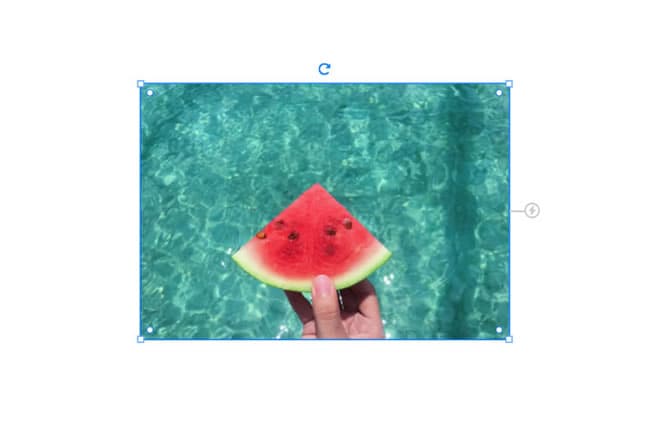
Step 1: Please select the Image widget from the left toolbar and drop it on the Artboard.
Step 2: From the right toolbar, hover over the image icon and click Upload Image.
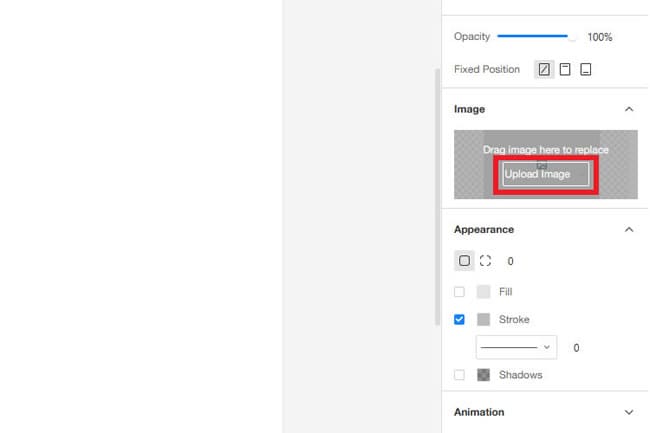
Browse from your computer and choose the picture you want to insert.
You will see it on the Artboard once the image is uploaded.
- Edit an Image
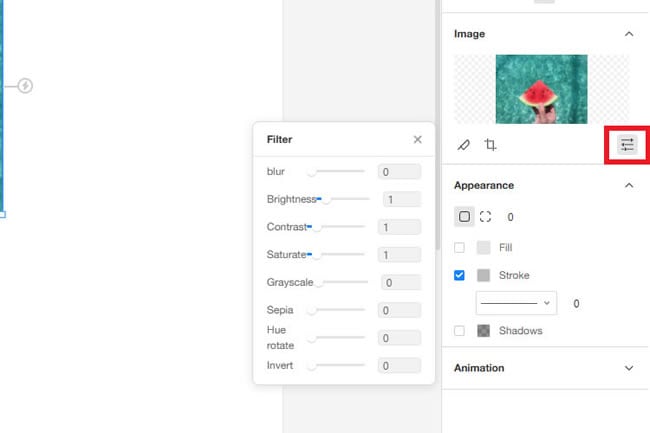
Step 1: After uploading an image, select it on the Artboard.
Step 2: Click the Levels icon under Image on the right toolbar. You can adjust the image’s blur, brightness, contrast, hue, etc.
- Crop an Image
Step 1: Select the image.
Step 2: Click the Crop icon under the Image section.
Step 3: Crop the image by moving the selected area according to your requirements.

- Export an Image
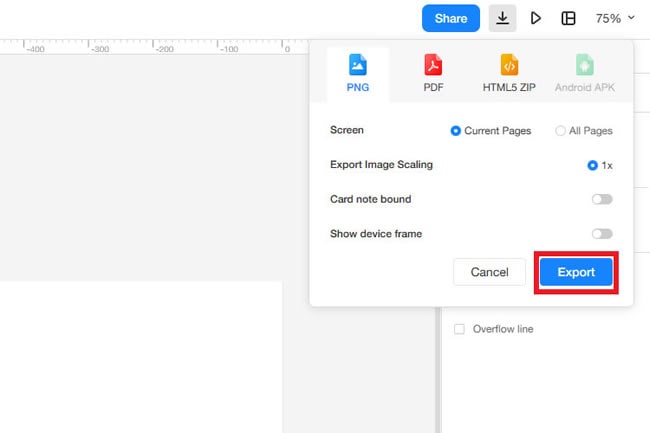
Step 1: After editing, click the Download icon in the top right corner. You can also export the entire project in different formats.
Step 2: Click Export to download the edited image.
- Delete an Image
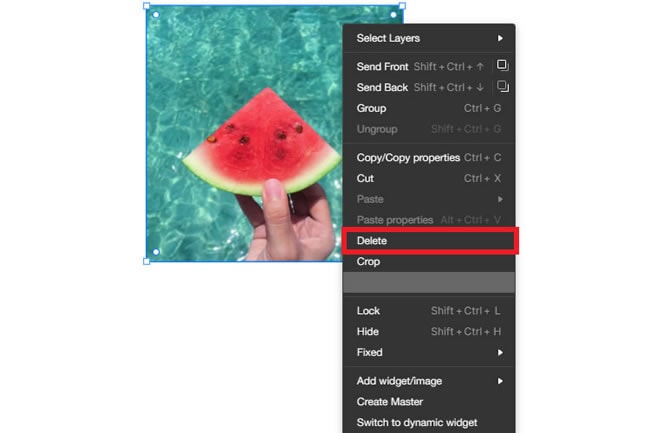
Step 1: Choose the image on the Artboard you want to delete.
Step 2: Right-click it and click Delete.
Pro-Tip To Manage Widgets Efficiently
Keep the layer tab open on the left toolbar. It will help you keep track of all the widgets and their layers. When you are done with a component, lock its position. This way, it will not interrupt other layers. Similarly, you can hide the widget that is not currently useful in the project. It will remain on the Artboard but will not distract you.