Guide:Manage Your Mockitt Account
Create Your Account
Sign Up
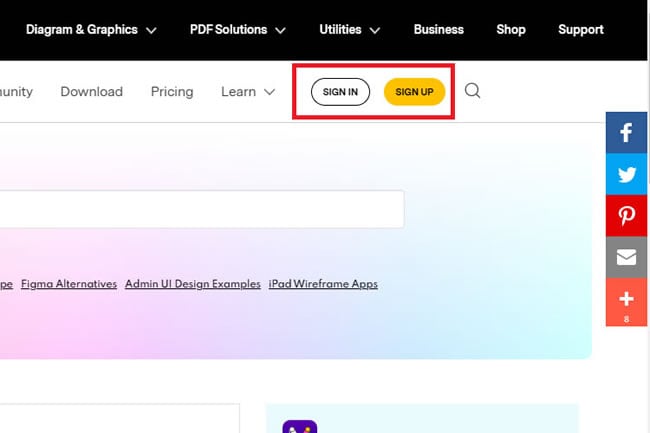
Step 1: To create a Mockitt account, visit the official website or desktop software, and click Sign Up from the top-left menu.
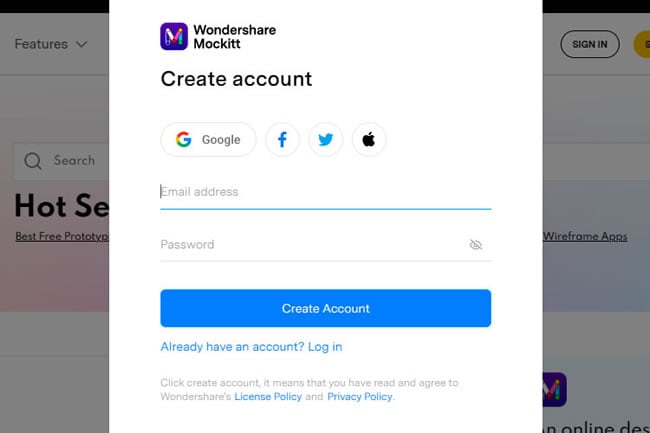
Step 2: You will be asked to enter personal information. Enter your email address and set the Password. Next, click Create Account.
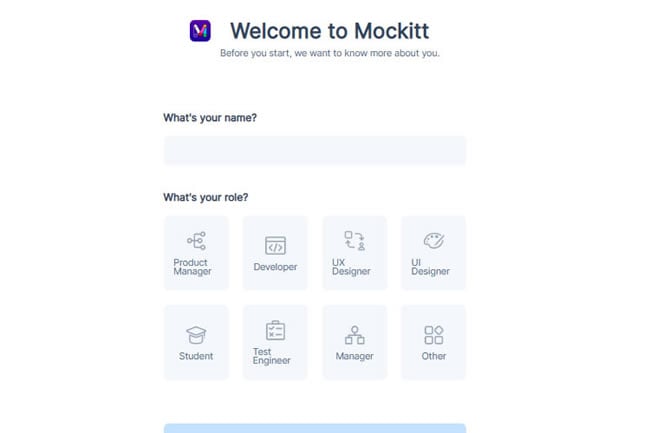
Step 3: After this, name your Mockitt account and choose a role per the working requirements.
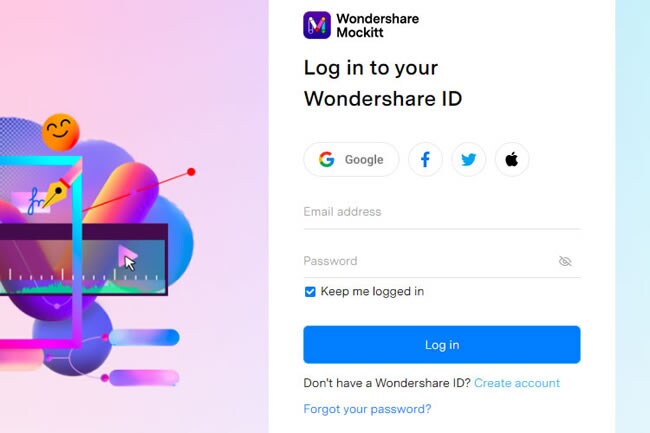
Log In
To start working on your prototype, click Sign In from the top menu. Enter the same email address and Password and press Next. Now, you can begin working on the New Project.
Manage Your Account
Once the creation process is complete, it is time to manage this account and customize the information.
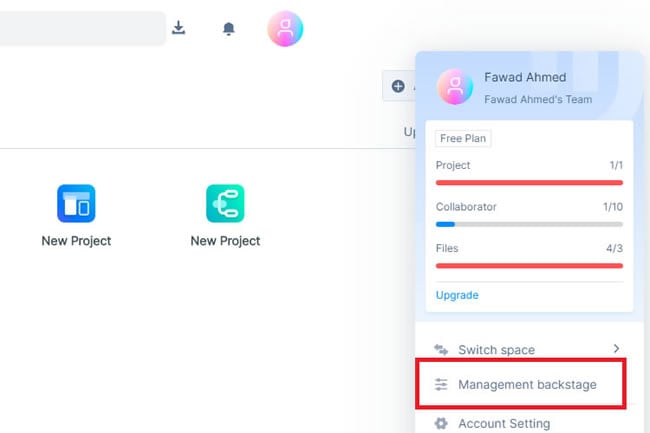
Step 1: First, click the Profile Avatar from the left corner of the main menu, as it has all the tools you need to manage the account. It further allows you to review billings and payments. To personalize and manage the team, press Management Backstage.
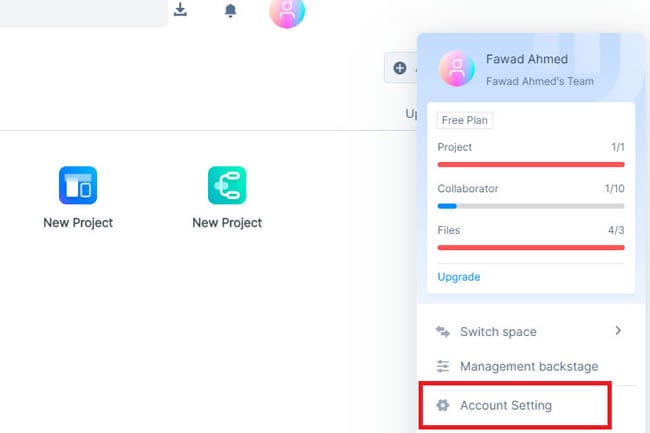
Step 2: Click the same Profile icon > Account Setting to review specific account information. Here, users can analyze their plans, manage tasks, and get access to other Wondershare products.
Upgrade Your Account
Users can upgrade their account to the Professional or the Enterprise version to unlock some premium features. Here is how to do it:
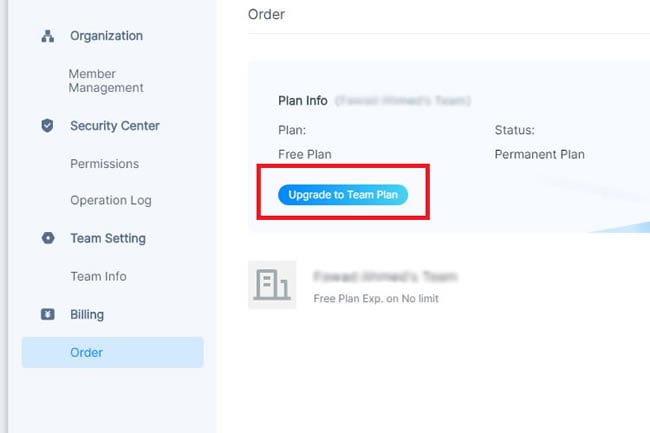
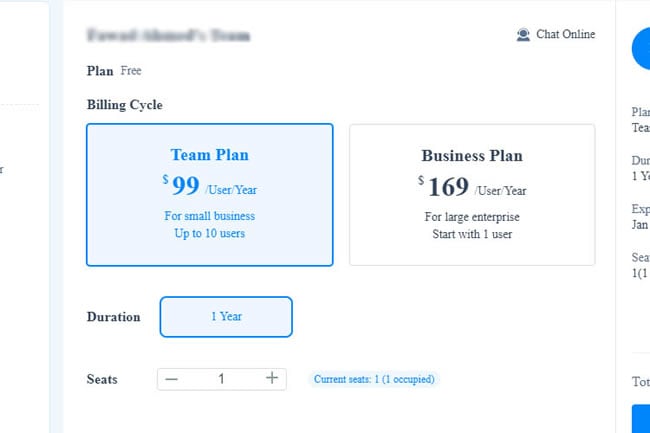
For Team Plan Upgrade
Step 1: Visit the official Mockitt website and click the Profile Avatar > Management Backstage. Next, choose the Billing option and press Upgrade to Team Plan.
Step 2: Purchase either of the plans and click Checkout.
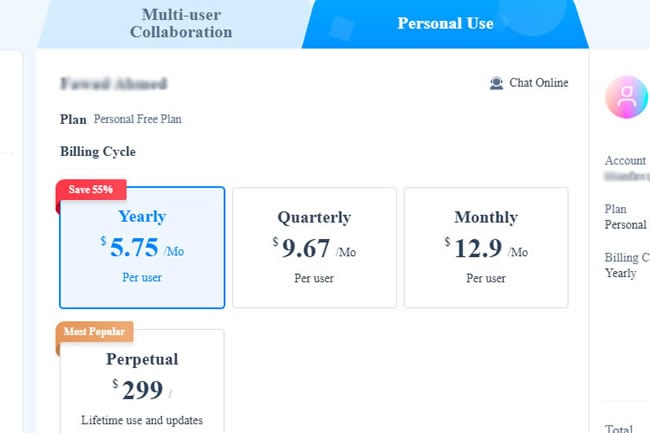
For Personal Plan Upgrade
Follow the same process, and once you click Billing, choose Personal Plan > Desired Plan. You can purchase any Monthly, Quarterly, Perpetual, or Yearly Plan.