Guide:Manage Folders
Wondershare Mockitt supports a co-editing function that enables multiple members to edit the project or leave feedback. For this, the team leader is responsible for adding and removing members. Here is how you can manage folders to facilitate the collaboration process between the team.
Add Members
On Mockitt, there are two ways you can add members to any project once the editing phase is complete.
Step 1: First, go to the Mockitt application and log in to your account.
Step 2: Now, open the project you are currently working on from the dashboard.
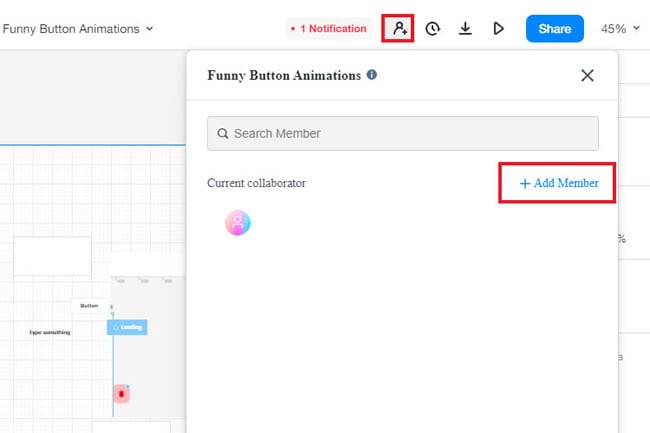
Step 3: Once in the editing panel, click the Add button from the top-right corner. When a pop-up menu appears, press Add Member and choose whoever you want to join the folder.
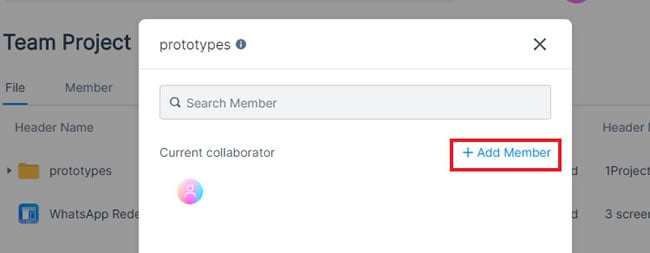
To add a member directly, go to the dashboard and select any folder. Next, click More > Add Members. To make changes, a person must be a member of the Enterprise space.
Remove Members
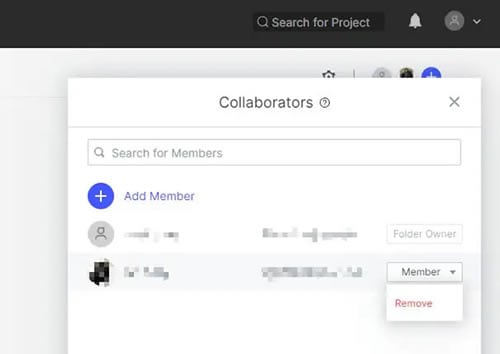
To remove any member from the collaborator's space, click the Add Members, and you will see a pop-up menu. Choose any member and press the Remove button, as shown in the picture.
Rename Folders
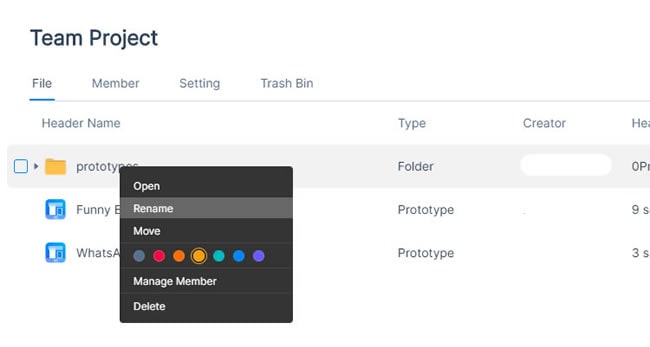
After logging into your Mockitt account, go to Project Management Menu > Team Projects. Here, select any folder and click More > Rename > Modify. You can also change the color of the folder to make it easily accessible.
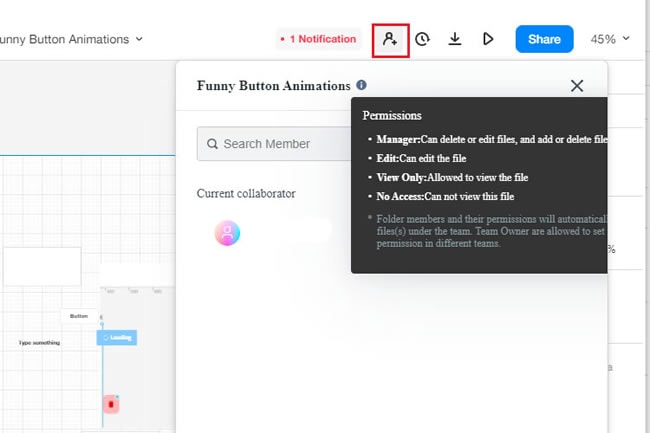
Add Permission for Other Folder Members
Click the member avatar from the top-right corner of the toolbar while on the project's editing panel. Next, select any member and use the drop-down menu to check and edit folder permissions.