Guide:Edit Prototype Design on Mockitt
Prototypes consist of multiple basic and complex interactions, for which you will use several useful tools on Mockitt. It has built-in quick toolbar and Layer functions that help you manage multiple screens and connect them. Here are some tricks that can make the editing process convenient.
- Create Transitions and Animations
- Add a Note and Remark
- Manage Auxillary Lines
- Adjust Layer Order
- Fixed Top or Bottom Bar
Create Transitions and Animations
While creating an interaction, you will use transitions to switch between screens. On Mockitt, you can create transitions in two ways, either manually or directly.
Create a Screen Transition Manually
Here is how to create one manually:
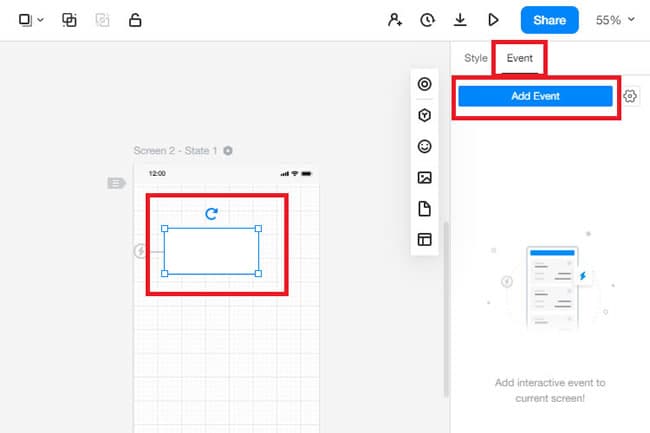
Step 1: First, drag any symbol from the library or choose any already-existing shape from the prototype. Next, navigate to Event > Create Event from the top-right corner.
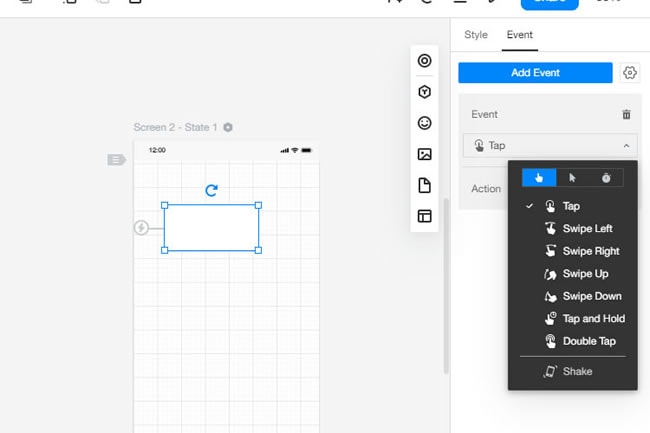
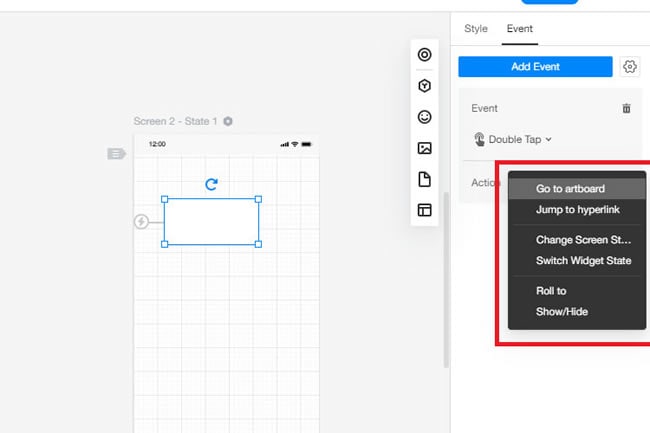
Step 2: Now, modify it. Here, you will select the triggering action (for instance, swipe left, pop, double-click), action time, duration, and the screens you will connect. After this, you will easily switch and connect between screens.
Create a Transition Directly
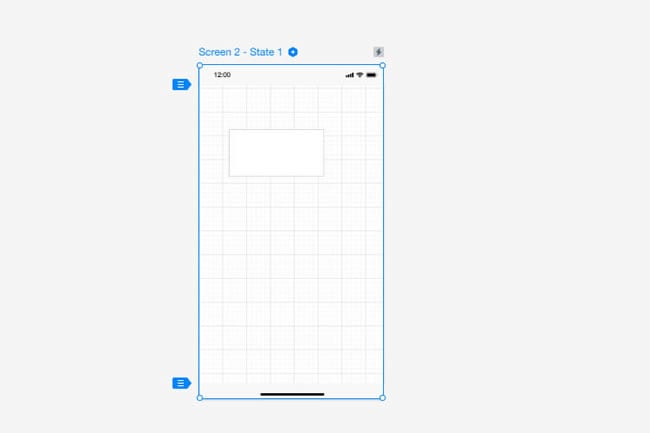
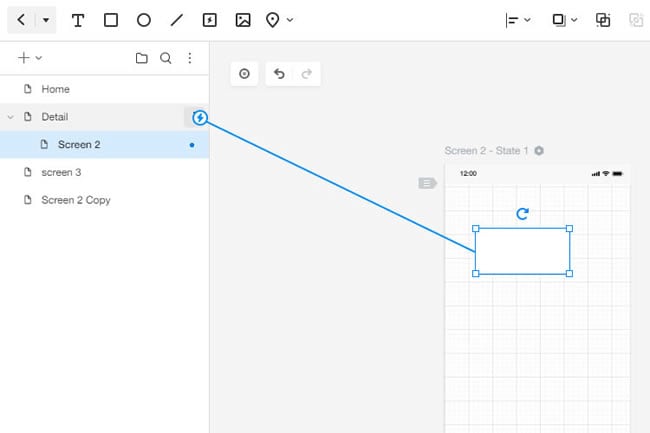
To create one directly, follow the steps below: Choose any symbol on the project panel, click on the lightning symbol on the left side of the selected shape, and drag it to any screen you want the action to happen.
For instance, if you want the shape to take you to the login page, drag the lighting symbol to that screen.
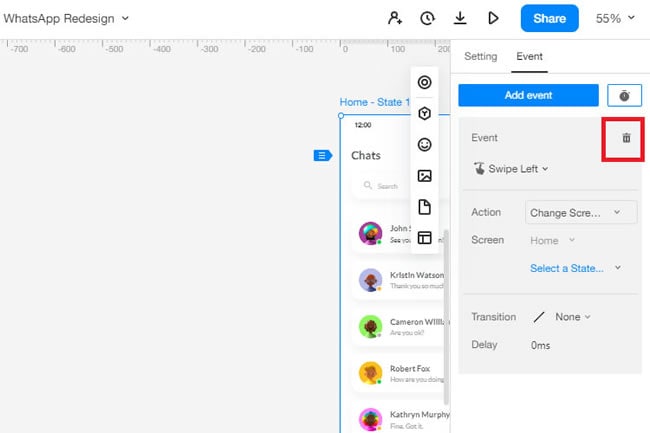
Delete the Screen Transition
If the transition link is no longer useful, click the Delete button on the top-right corner.
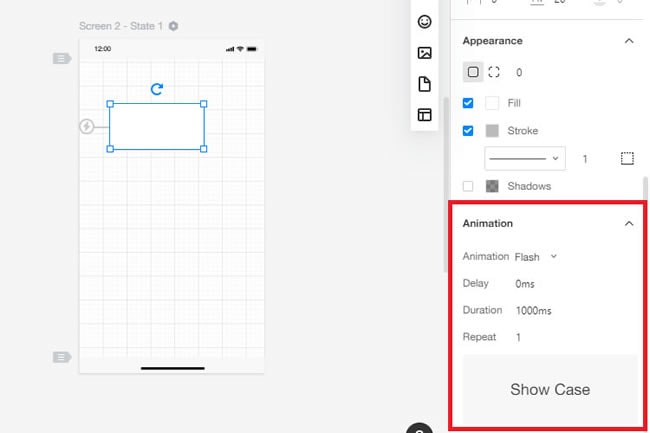
Create Animations
To create animation, choose any symbol from the project panel and go to the Animation Section on the bottom right of the screen. Now, you can modify its properties, including the style, duration, and delay.
Auto-Rotate Widget Animation
From the same section, users can set automatic rotations for widgets in any manner they like. Select the widget, go to the setting panel, and click Style > Animations > Rotations. Now, choose the preferred option.
Add a Note and Remark
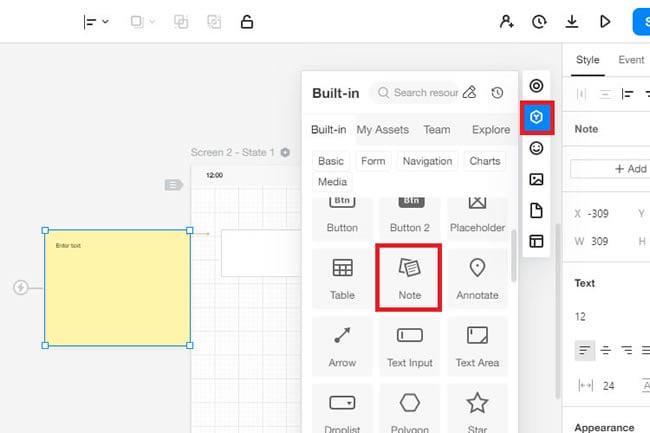
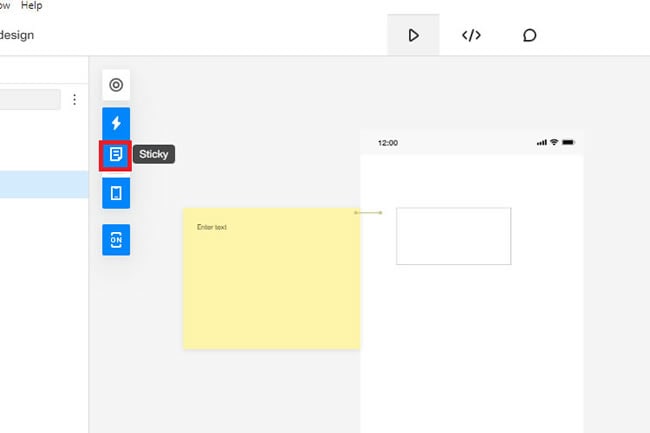
While creating any prototype, you might need to leave some important points to remember later. For this, utilize a sticky note widget from the quick toolbar. Here is how to do it.
Step 1: Go to the toolbar > Widget Library and drag the Notes widget to the project panel. Now, type any significant point you want to mention during the presentation.
Step 2: Here, while previewing the project, you also hide the note to prevent it from disturbing the visual experience.
Manage Auxillary Lines
To get an idea of the measurements of each project screen, you can utilize the Auxiliary lines function. Also, to prevent them from disturbing the visual experience, they can be hidden. Here is how you can manage these lines in your prototype project.
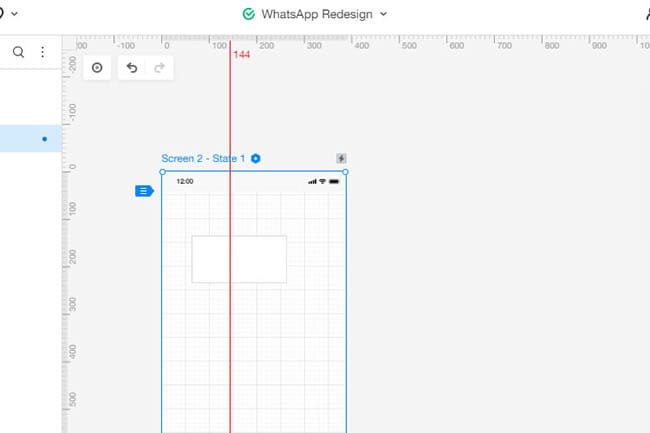
Add Auxiliary Line
To add an auxiliary line to the screen, hover the mouse across the top and sideways ruler. Drop it to the position where you need it to be. These lines can be set horizontally and vertically based on the ruler's orientation.
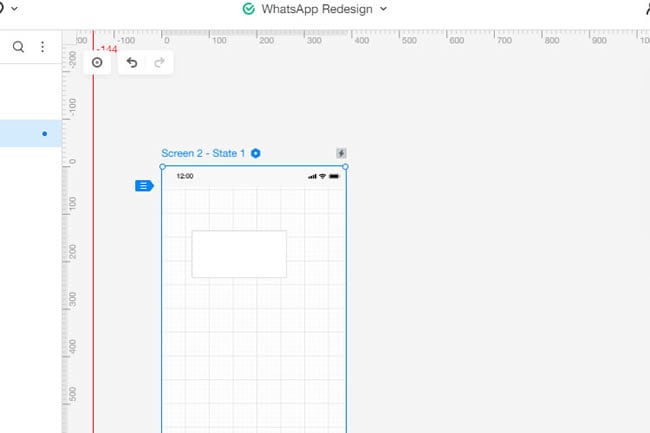
Remove Auxiliary Line
If these lines are no longer, you can delete them. Just hover the mouse close to the ruler on the left side until it shows a cross (x) sign. Click this sign to remove them.
Hide Auxiliary Line
Step 1: To hide this, you need to access the ruler. Go to More > Preference at the top-left corner of the preference menu.
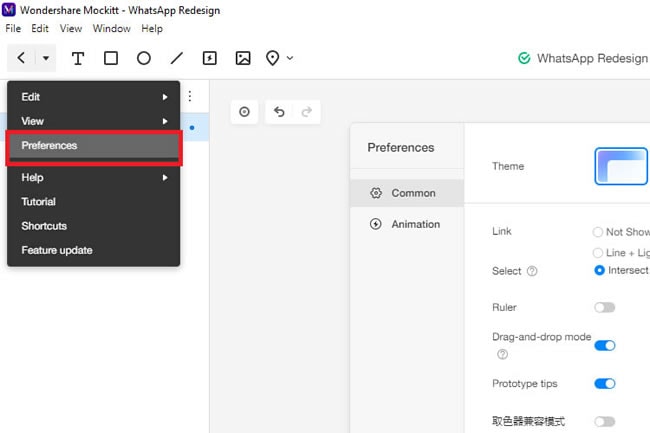
Step 2: Now, Turn Off the Ruler function, and the auxiliary lines won't disturb the visual layout of the screen.
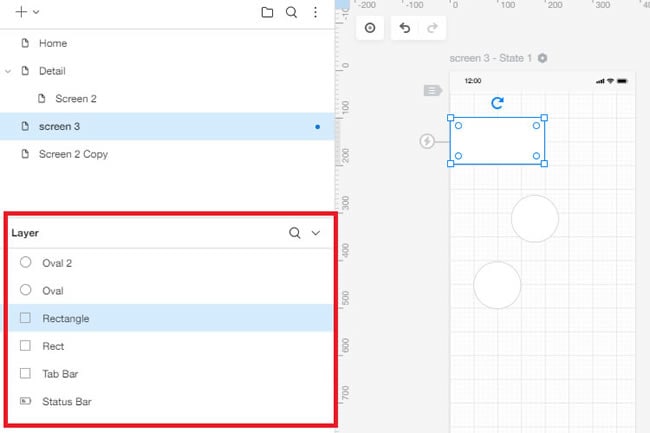
Adjust Layer Order
On Mockitt, you can adjust the layers with two different methods.
To do it directly, select any component you need to keep at the top and click Layers from the bottom right of the toolbar. From here, set it to the top or bottom, based on your preferences.
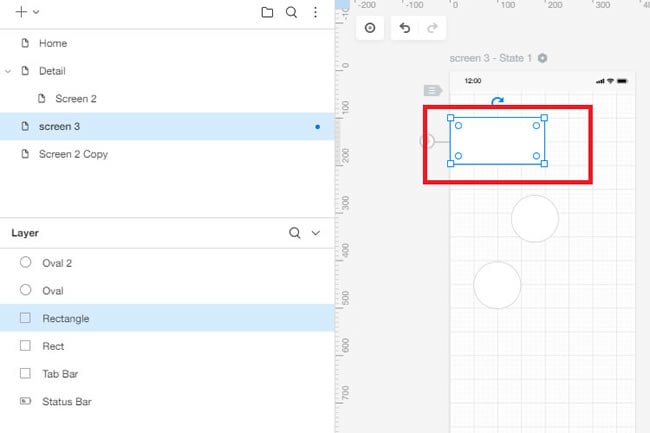
Or else, drag any element directly from the Layers sections and re-arrange it where you want to position it from the bottom right corner of the toolbar.
Fixed Top or Bottom Bar
While designing an artboard, two fixed sliders will be on the side of it. To fix it in one position, drag these two sliders to the top and bottom navigation areas. If, after the setting, the page is really long, you can scroll up and down the canvas while working.