Guide:Manage and Customize the Screens
Add and Manage Screens
You can manage and sort the hierarchy of the screens on the top-left panel. Here is how you can do it quickly.
Manage a Screen Folder
Creating a screen folder can help you manage the hierarchy of the elements within a project. Here is how you can sort screen logic while designing a prototype.
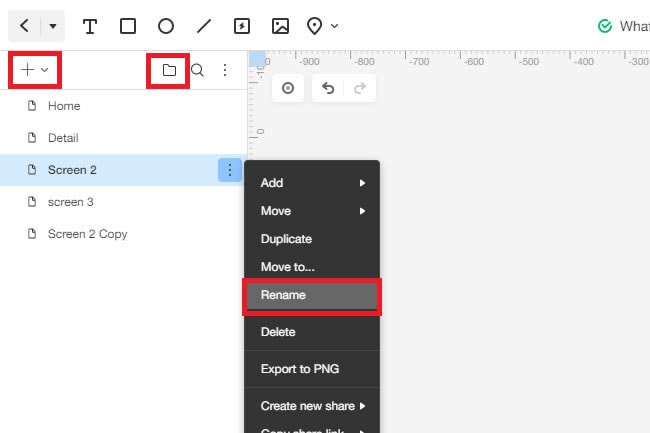
Create a New Screen: Click + from the top-left corner to add a new screen.
Create a Folder: Click the Folder Icon from the same corner to create a new folder. You can also drag and drop different items into this folder.
Modify Screen Name: To rename, right-click the folder and click Rename. Or, you can simply double-click and modify its name.
Copy and Delete the Screen
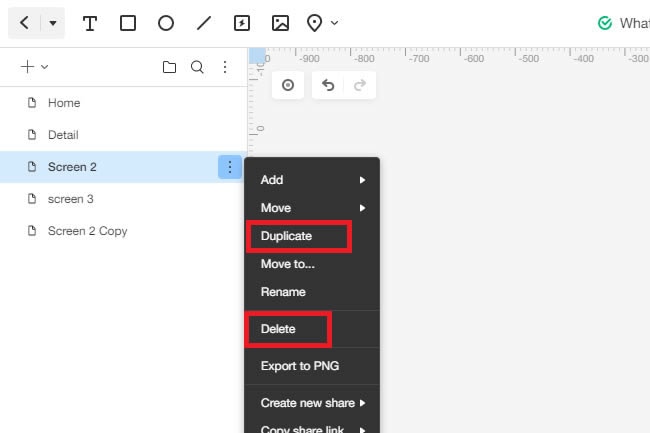
To copy the screen, right-click the screen and select Duplicate from the top-left corner of the dashboard. Likewise, right-click the screen and press Delete to get rid of the screen.
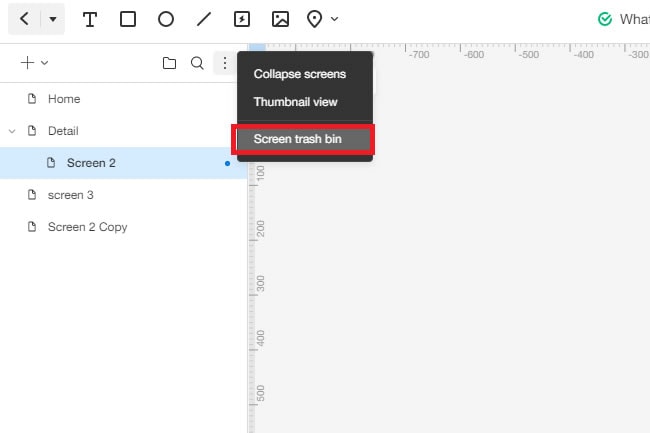
Recover the Screen
From the top-left corner of the dashboard, click the More button and select Screen Trash Bin. Here, you can find all the deleted items.
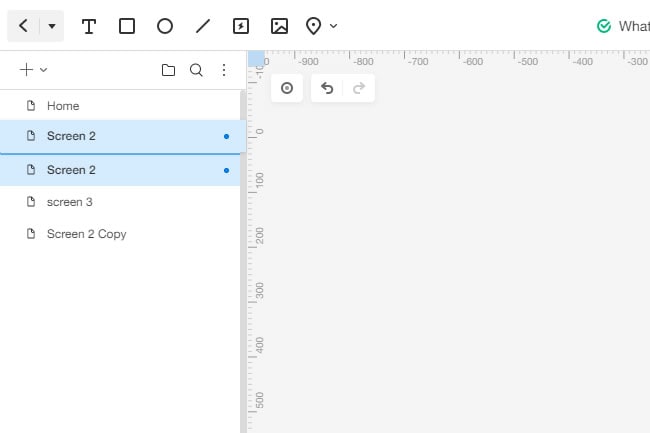
Re-Order the Screens
To re-order the screens, from the top-left corner, you can drag any screen and paste it into the position where you want it in the screen list.
Edit Screen Properties
The prototype tool has a right-side setting panel that allows you to customize screen properties easily.
Adjust the Size
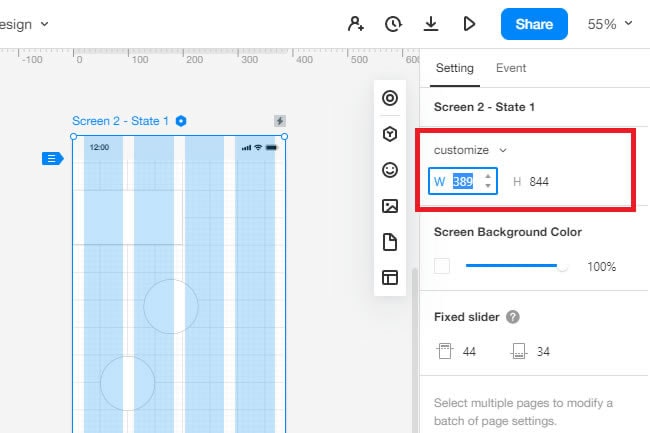
Once you have selected the canvas, it is easy to adjust the screen size. You must drag the screen from the points below or above to add to the screen height or width. Or, if you have specific screen size instructions, go and enter the exact numbers in H and W boxes from the right side panel. H stands for height, and W stands for the screen's width.
Change the Orientation
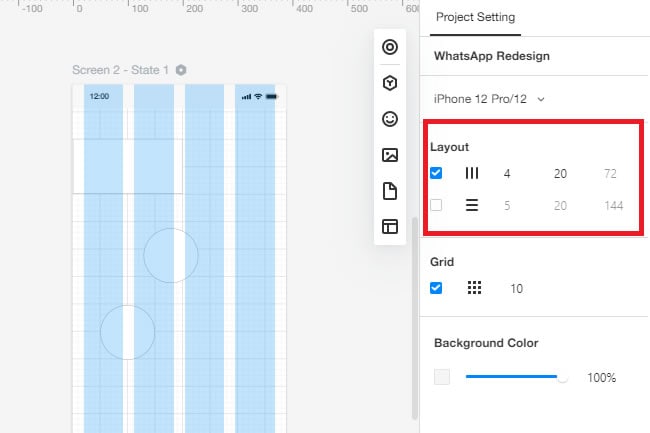
After selecting the canvas, go to the settings on the right side and click the Layout option. From here, choose whether you want the screen horizontal or vertical.
Background Color
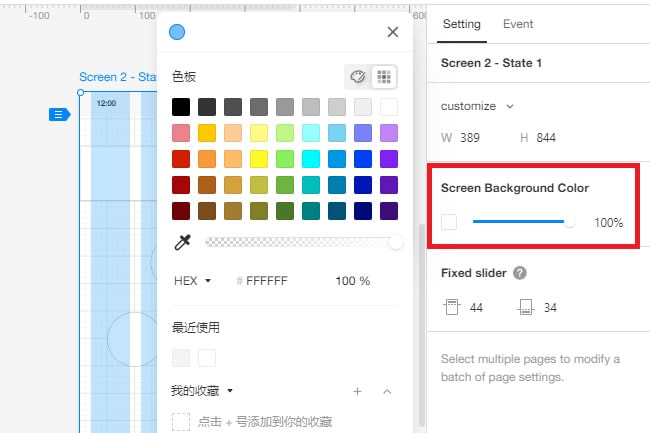
From the right-side setting menu, click Screen Background Color and select any preferred color.
Select Screens and Widgets
To manage a screen list, you can use the following shortcuts.
Manage Screen List
To select all the screens from one project, hold the Shift key and click the first and the last screen. After this, you can move, re-order, and delete multiple screens.
For macOS, use the Command key to select widgets one-by-one and right-click for further operations. Likewise, for Windows, use the Ctrl key.
Manage Widget List
To select all the widgets in between, hold the Shift key and click the first and last widgets. After this, you can right-click for further operations like combinations, adjusting layers, and re-order.
For macOS users, use the Command key to select widgets one-by-one and right-click for further operations. Likewise, for Windows, use the Ctrl key.