Guide:Mockitt Workspace
Wondershare Mockitt supports two workspaces; one is a personal plan, and the other for an enterprise plan. Here is a breakdown of what makes these two workspaces.
Personal Space
Personal Space on Mockitt is where an individual is doing all the work.
Step 1: Open the Mockitt application and enter your login information to access your personal space.
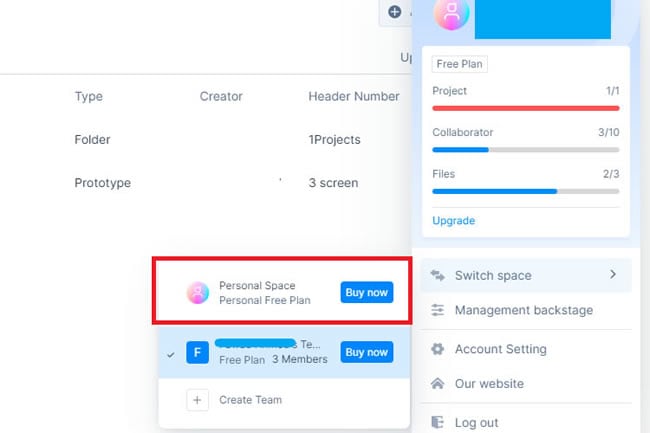
Step 2: Now, click Profile Avatar > Switch Spaces from the dashboard. Here, you can switch to personal space to access all the work (current and previous folders and projects) on the screen.

Personal Space Plan
The personal space plan include:
| Member | 1 |
| Projects | Unlimited |
| Screens per project | 500 |
| Assets | 2GB |
| Download | PNG/HTML |
| Templates | Unlimited |
| Template Type | Free & Premium |
Enterprise Space
On Wondershare Mockitt, the Enterprise space is a collaboration area. Multiple team members collaborate to comment, view, and co-edit products and projects. A person can create multiple spaces for different projects.
Create an Enterprise Space
Step 1: Open the Wondershare Mockitt application and enter the login information.
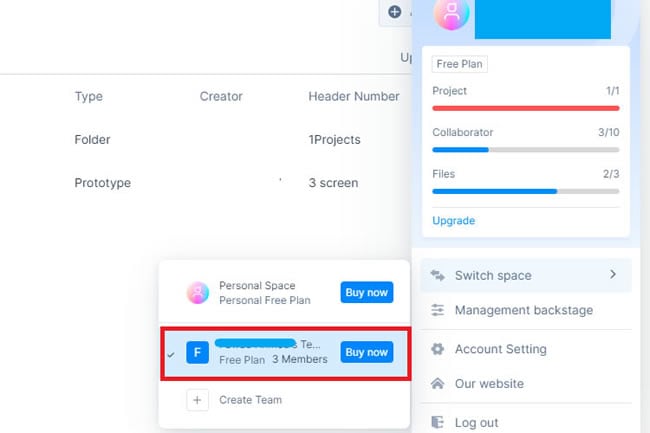
Step 2: Once you are on the dashboard, open Enterprise Space by clicking the Profile Avatar > Switch Spaces > Enterprise Space.

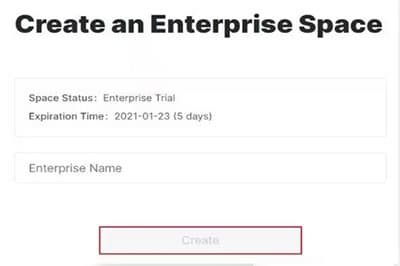
Step 3: Now, add the name of the Enterprise space (this will be used permanently from now on).

Enterprise Space Plan
The Enterprise space plan includes;
| Member | 1+ |
| Projects | Unlimited |
| Screens per project | 3000 |
| Assets | 2GB/seat |
| Download | PNG/HTML/APK |
| Templates | Unlimited |
| Template Type | Free & Premium |
| Comment | Yes |
| Collaborative edit | Yes |
| Version History | Yes |
| Member management | Yes |